background preloader

Blender 3D: Noob to Pro

Blender 3D: Noob to Pro
You are strongly encouraged (read as begged) to contribute to this book! There are many things you can do to help: edit existing modules (to correct errors, improve the writing, or make additions)add new modules (tutorials or reference material)upload new images (screen shots or sample renders)join the team responsible for this WikiBook How to Edit a Module To edit any wiki page (including this one): Click on the Edit tab at the top of the page.Make your change in the large text box.Type an explanation of your change in the Edit summary text box below.Click on the Show preview button below the edit summary to preview your change.If you're satisfied with the result, click on the Save page button. Your contribution will be reviewed before it is officially published. Things you shouldn't add to modules: external links that are not directly related to the modulecomments or questions regarding the text To ask questions and make comments about any module: How to Add a Module Images How to Join the Team

Blendcraft Creations Subscribe to Blendcraft for Minecraft based animations, Blender tutorials, and programming tutorials. Also check out my website!My website: ╠═══════════════| Info |═══════════════╣ This video was created in Blender in one day. ╠══════════════| Credits |══════════════╣ Explosion Sound - sarge4267 - All other sounds were created by me or were listed under a Creative Commons 0 licence (also know as Public Domain). ╠═════════════| Disclaimer |═════════════╣ All sounds and files were used under Fair Use or Creative Commons. ╠═════════════════════════════­══════╣ Show less Blender Newbies 3D Video Tutorials (Learn to Create 3D Graphics with Blender!)
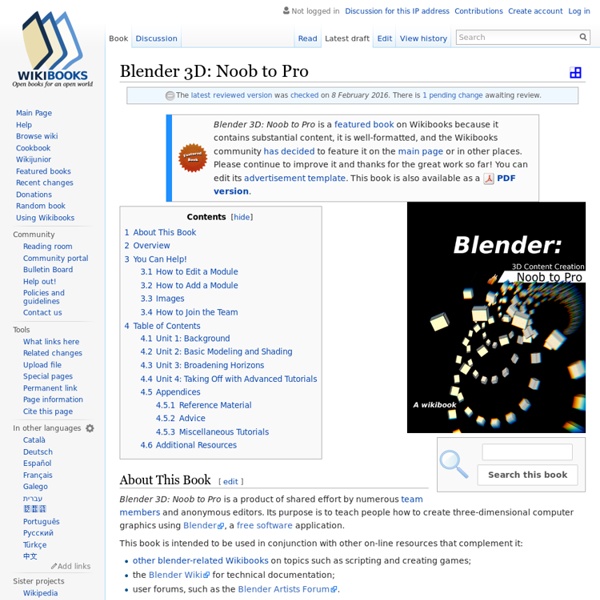
Blender 3D Design Course Blender 3D Design Course Note: Added new Lesson #13 - NURBS Surfaces / Meta Objects - April 27, 2013 Note: Added new Lesson #14 - Rigid Body Dynamics- June 1, 2013 Students: This course is also available for downloading to your iPhone or iPad via Tufts University iTunesU. (Install the iTunesU app / Search Colleges and Universities - Tufts University / Subscribe to "3D Design - Blender"). The video tutorials are also available on my Vimeo channel (Blender Video Tutorials - Neal Hirsig) Instructors: If you are an instructor and would like to download the 3D Design Blender 2.6X content (Syllabus, Video Tutorials, PDF Tutorials, Projects and Exercises), send me your name, e-mail address and the name of your school or institution. Neal Hirsig nhirsig@tufts.edu Syllabus Blender Cheatsheet Project 1A - Jewelry Project 1B - Robot Project 2A - The Way Things Work Project 2B - Wind Sculpture Project 3A - Architecture Project 3B - Reality 3D Project 4A - Animal Planet Project 4B - Set Design Links

Blender (Software) Einfache, mit Blender erstellte und gerenderte Szene: „Wikipedia. Die freie Enzyklopädie“ Blender 3D-Fenster (Version 2.47) Das Programm ist trotz seines Funktionsumfanges verhältnismäßig klein (gepackt bis zu 70 MB) und läuft auf den meisten gebräuchlichen Rechnersystemen. Da der Quelltext frei verfügbar ist, kann es bei Bedarf auch für die eigene Plattform übersetzt werden. Es ist als portable App verfügbar und bietet somit auf vielen Systemen, beispielsweise Windows oder Ubuntu die Möglichkeit, ohne Installation betrieben zu werden (z. Zusätzlich enthält das Programm ab Version 2.6 auch eine non-biased Renderengine namens „Cycles“, die auch in Echtzeit, d. h. während des Redigierens funktioniert und mithilfe von CUDA und OpenCL (experimentell) auch mit der GPU rendern kann. Wesentliche Entwicklungsschritte machte das Programm mit den folgenden Versionen: Suzanne Der größte Blender-Wettbewerb vergibt jährlich einen Preis mit dem Namen „Suzanne Award“. Modelle in Version 2.63 gerendert

2.6 Gingerbread - Animate From BlenderWiki If all we needed was a still picture, our work would be done, but we want Gus to move. The next step is creating a skeleton or armature, which will allow us to move him. This is called rigging. Gus will have very simple rig: four limbs (two hands and two legs) and several joints (no elbows, only knees), no feet and no arms. Rigging To add rigging: Adding the first bone - hand to elbow. In Object mode, set your 3D cursor where Gus’s shoulder is, and press ⇧ ShiftA >> Add >> Armature >> Single bone. To make the process more successful, please periodically look at the Gingerbread man and armature from many different viewpoints to make sure the armature is inside the gingerbread man, just as bones are inside a human body. Adding the second and third bones, a leg bone chain. Stay in Edit mode, then move the cursor to where the hip joint will be and add a new bone ⇧ ShiftA. We now have three bones that make up Gus’s armature. The complete armature after duplicating and flipping.

2.6 Gingerbread Man - Model From BlenderWiki This chapter will guide you through the animation of a small "Gingerbread Man" character. We will describe each step completely, but we will assume that you have read the interface chapter, and that you understand the conventions used throughout this book. In Part I of this tutorial we'll build a still Gingerbread Man. Then, in Part II, we will make him walk. Warming up After starting Blender, you should see the Default screen set up. Default Blender screen. We will start by organizing our working area by placing Objects on different layers. 3D scenes can quickly become confusing when multiple Objects are on the screen. Layer visibility controls. Blender provides you with twenty layers to help organize your work. and manage the visibility of multiple layers with ⇧ ShiftLMB . Let's clean up the screen by first moving the camera and lamp to another layer. The Move to Layer popup. Select the Camera with RMB . . Building the body Snap cursor to the Center Add a cube to the scene. . .

Blender Tutorial: How to make a Minecraft Scene Once your scene is set up you can either make still images, or you can do an animation. If you don't want to do animation you can skip this section. First, go to the "Render" tab. It is the one on the left that looks like a camera. First you have to decide how long your animation will go for. For this tutorial, there will be 24 frames per second but if you wanted you could change that. Now we have the frame range set up, we can start the animation. At frame 1, move the camera in the starting position that you choose. If you want to edit the location of keyframes or delete keyframes, you can change the view to the "DopeSheet". While you are doing your animation, you may want to play it to see how it will appear. When you have finished your animating, now your computer will have to render each and every frame of the animation, which will probably take hours unless it is really short. Go to the "Output" settings in the Render tab. Now click the Animation button under Render at the top.

Mineblend This is the latest version of Mineblend.I'm acro on Blenderartists. If you have any feedback please join the discussion thread at Quick-Start Extract the io_import_minecraft folder from the 7z archive into your Blender scripts/addons folder. Start Blender, and in File > User Preferences (Ctrl-Alt-U) select the "Import-Export" category on the left, or filter addons by typing "mine" into the top left search box. Script operation: - It reads directly from your system default .minecraft folder to select saved worlds.- Loads, colours and textures all block types.- Blocks are instanced onto a dupliverted mesh, allowing for diverse animation possibilities and manual tweaking/editing of scene/view.- Stone (and Dirt) will be discarded by default to save time and increase viewport performance. This script of course also allows viewing underground areas for cheating (I do not endorse this behaviour; if you choose to spoil your adventure game in this way, it has nothing to do with me.) Limitations

Related: