
Rigs and Tools - Rigging. Tutorial: fixing mirrored normal map seams. OK warby I found something similar to what you're saying.

I think you're using unsigned normal maps, which for your engine means a 128 color is considered a non-bent normal (pointing straight up on X/red). Here's a quote from one of our graphics programmers: Signed normal maps are useful for helping to hide tangent space seams that exist because of mirroring. Such a seam can only be hidden if the normals on either side of the seam are not bent along the mirrored axis. Ultimately, this means that 0 must be represented in the unsigned normal map as 127.5, but unfortunately the normal map can only store integers. Signed normal maps do not magically cause all tangent seams to vanish, but they do make it possible that some mirror seams may be hidden. With an unsigned normal map the seam is visible despite the fact that the normal map is flat. The problem is that there is no way to represent 0 in the [-1, 1] range in an unsigned texture.
Articulation Home Page. SoulburnScripts. Would you like to be notified the next time I add scripts to this page?
Join the SoulburnScripts Mailing List! Click here to Subscribe to the list. Click here to Unsubscribe. Send the resulting email (no subject or body necessary) and you'll be added. Introduction The SoulburnScripts for 3dsmax is a collection of scripts that I've written for my personal artwork at home. Warnings Feel free to install and use these scripts, however, I can't be held responsible for any problems that arise from their use.
Installation All the scripts come packaged into a single zip file of interconnected scripts, SoulCollection3dsMax_v0xx_Rxx.zip, which includes all the scripts in the rest of the table below. The zip will then install a bunch of files and directories (Max 2013 to Max 2014, this example using Windows 7)... Usage All of these scripts are run as macroscripts, ie, as buttons, keyboard shortcuts, quad menus, etc, just go to Customize, Customize User Interface, category SoulburnScripts. Bugs.
3d Tutorials, Videos, and Downloads. Welcome to The Computer Graphics Society. Stone Placement Tools. Author Name: Alessandro Ardolino This script creates stone walls, quad stones pavements and irregular stone patterns for various uses.
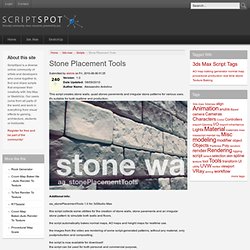
It's suitable for both realtime and production. Additional Info: aa_stonePlacementTools 1.0 for 3dStudio Max this script collects some utilities for the creation of stone walls, stone pavements and an irregular stone pattern to simulate both walls and floors. the script automatically bakes normal maps, AO maps and height maps for realtime use. the images from the video are rendering of some script-generated patterns, without any material, only postproduction and compositing. the script is now available for download! Please refer to the video to see almost all the features in action. Rock Generator. 3D Studio Max -> Быстрая ретопология, тряпичных поверхностей. Хочу представить вашему вниманию один свой не большой видео урок по ретопологии достаточно сложной поверхности.
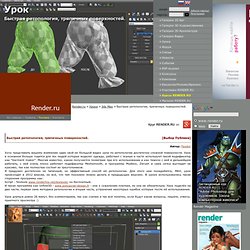
Урок в основном больше годится для тех людей которые моделят одежду, работают с тканью и часто используют такой модификатор как "Garment maker". Многим известно, какая получается геометрия при его использовании и как тяжело с ней в дальнейшем работать, с ней очень плохо работает подификатор Meshsmooth, и программы Mudbox, Zbrush и сама сетка выглядит не красиво, так как полностью состоит из треугольников. Я придумал достаточно не типичный, но эффективный способ её ретопологии.
TexTools. CGPeers. Polycount Wiki. View topic - Tutorial; Brick Arch (Baking Multiple Maps in 3dsmax) This tutorial will show you how to build a brick arch and then bake diffuse and normal maps from a high poly model using the projection modifier. Baking multiple maps using the Projection Modifier in 3dsmax8 by Michael Bartlett Introduction.In this tutorial you will learn how to produce diffuse maps and normal maps in 3dsmax using the projection modifier.
As an example I’ll show you how to make a simple brick archway. I hope I can explain this in a simple way, as it’s really quite a simple technique. In fact I wouldn’t call this an advance tutorial at all but it does require some modeling skill as well as a lot of time if you wish to extend this tutorial into your own project and add more detail to the mesh, which I hope you do. 1. PHILIPK.NET. Step by step tutorials for various materials Several step by step tutorials with tricks, tips and hints on howto create such materials ranging from sometimes involving sculpting in a program like Zbrush and sometimes just using Photoshop.
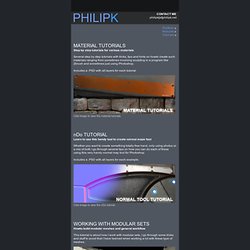
Includes a .PSD with all layers for each tutorial. Click image to view the material tutorials. Learn to use this handy tool to create normal maps fast Whether you want to create something totally free hand, only using photos or a mix of both I go through several tips on how you can do each of these using this very handy normal map tool for Photoshop. Generic wall tutorial. The social network for professionals in entertainment - Animation, Movies, Visual Effects, Games, Illustration, Concept Artists, and more. If you make cool stuff, join us!