
A repository of optional extensions for the GIMP. Bibliography. Gimp Tutorial: Awesome Bokeh Effect in Gimp. It was fun to to follow Abduzeedo tutorial for making bokeh digital effect in Photoshop (i'm using photoshop and gimp) and i really excited when i managed to do similiar effect in Gimp.
So i decided to make a Gimp tut for this one..it's been over a months since my last tutorial and i think after this i'll make more Gimp tuts..Click More Inside The Post to read the tutorial. P/s: This tutorial has been converted from the original Photoshop tutorial into Gimp. The original Photoshop tutorial can be found HERE in Abduzeedo site. Before you try this tutorial,please download my Eclipse brush where i made it by myself. You can download the brush by click HERE. Create new document. Then create new layer.I renamed it as dark violet. Choose a dark purple. Select gradient tool, Radial for the shape and low the opacity to 50. Now create a new layer and i renamed it as eclipse. Select the brush tool. and I'll using my Eclipse brush. Now we'll paint some ellipses at the eclipse layer. Finish! Result. Create a Transparent Glossy Lettering with The GIMP. Create a Blue Wallpaper with The GIMP.
Web Graphics - GIMP Tutorials. Mygimptutorial.com - Gimp tutorials and resources. In this Gimp tutorial we will create a round web 2.0 button/icon with a metal ring around it.
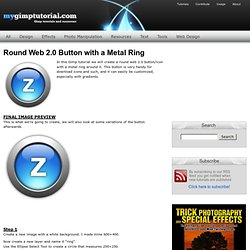
This button is very handy for download icons and such, and it can easily be customized, especially with gradients. This is what we’re going to create, we will also look at some variations of the button afterwards. Step 1 Create a new image with a white background. I made mine 600×400. Now create a new layer and name it “ring”. Step 2 Set your FG and BG color to a dark gray (333333) and white (ffffff). Use the Blend Tool to create a gradient from the top of the selection to the bottom of it. The offset simply makes it so that we get more white on the top of the button, while Adaptive Supersampling makes it smoother.
Step 3 Shrink the selection by 25px. Use the Blend Tool to create a gradient from the bottom of the selection to the top of it. Step 4 Create a new layer and name it “sphere”. Now set your FG color to cyan (4feeff). That should give us this result: Step 5 Set your FG color to white (ffffff). Web 2.0 Text logo. Preview: This web 2.0 text logo tutorial was made for beginners as well as intermediate users, ill be doing it step by step and try not to skip anything so expect it too be long and easy!.
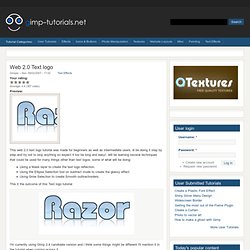
Will be learning several techniques that could be used for many things other than text logos, some of what will be doing: Using a Mask layer to create the text logo reflection.Using the Ellipse Selection tool on subtract mode to create the glassy effect.Using Grow Selection to create Smooth outline/borders. This it the outcome of this Text logo tutorial I'm currently using Gimp 2.4 candidate version and i think some things might be different I'll mention it in the tutorial when coming across it. Step: Step 1 Open a new image 420x300 select the Text Tool from the Tools Dialog and choose your font and type in a word, Rename the Text layer to "Main text" Step 2 in the layer dialog tick the "lock alpha channel" * In 2.2 its located a bit on the right. Step 3 Step 4 Step 5 This is how it should look Step 6 Step 7. Mygimptutorial.com - Gimp tutorials and resources. In this button tutorial you will learn how to create a nice blue glossy Web 2.0 button with a reflection in Gimp.
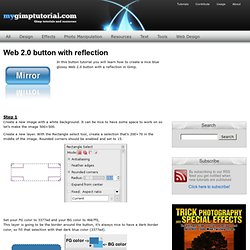
Step 1 Create a new image with a white background. It can be nice to have some space to work on so let’s make the image 500×500. Vista Button. Preview: Have a look at the end result you really need to see it to appreciate this tutorial :) also inside is a html/java script example of aRollover in action.
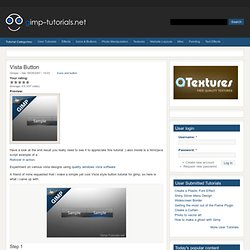
Experiment on various vista designs using quality windows vista software A friend of mine requested that i make a simple yet cool Vista style button tutorial for gimp, so here is what i came up with. GIMP bump map tutorial · Tankedup-Imaging. Preamble This tutorial has been updated for use with GIMP 2.6.
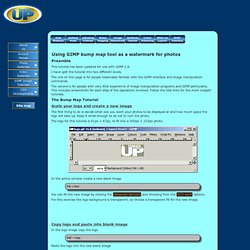
I have split the tutorial into two different levels. The one on this page is for people reasonably familiar with the GIMP interface and image manipulation commands. The second is for people with very little experience of image manipulation programs and GIMP particularly. This includes screenshots for each step of the operations involved. The Bump Map Tutorial Scale your logo and create a new image The first thing to do is decide what size you want your photos to be displayed at and how much space the logo will take up.
The logo for this tutorial is 91px × 47px, to fit into a 300px × 225px photo.