
Sampler Channel. Crispy clean vocals for fruityloops. The future of FL Studio: 6 things you need to know. Despite the fact that it's been on the market (originally as FruityLoops) for more than 15 years now, it's only in the past few years that some people have started to take FL Studio seriously.
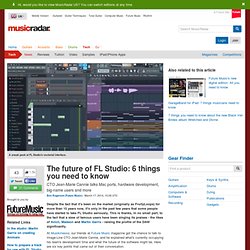
This is thanks, in no small part, to the fact that a slew of famous users have been singing its praises - the likes of Avicii, Madeon and Martin Garrix - raising the profile of the DAW significantly. At Musikmesse, our friends at Future Music magazine got the chance to talk to Image-Line CTO Jean-Marie Cannie, and he explained what's currently occupying his team's development time and what the future of the software might be. Here are six key points that came out of their conversation. 1. Performance mode is a big focus 2. Mac users continue to be able to use the beta of the 'wrapped' version of FL Studio that Image-Line launched last year, but this has its limitations (OS X Audio Unit and VST plugins won't run in it, for a start. 3. 4. 8 Expert Tips for Programming in FL Studio. Tip 1 To quickly create a pattern without having to manually program it by hand, open the Piano Roll window for any channel and from the Tools menu, select the Riff Machine option.
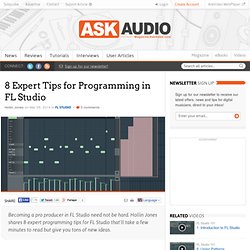
This provides a selection of generator types including chords, arpeggios, groove and the ability to manipulate levels. Click the Throw Dice button to create a new melody or beat, depending on what kind of instrument you have loaded, and then Accept to render the pattern to the Piano Roll. Tip 2 From the same drop-down menu, locate the Chord submenu. Tip 3 From the title bar of the Piano Roll editor window, you can see a hierarchical display of what you are currently working on.
Tip 4 If you hold the Alt key and click on any MIDI note in the Piano Roll editor, you will reveal a control window for that individual note. Tip 5 Select one or more notes and then from the Tools menu choose Arpeggiate. Tip 6 Tip 7. 10 Essential Mixing Tips for FL Studio Users. FL Studio is very flexible in the way you can work with it when mixing.
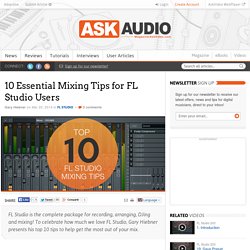
With its channels and mixer insert tracks, you can build up quite complex mixes. Let’s look at some tips and tricks on how to get the most out of FL Studio when you mix your tracks. Tip 1 - Route Your Channels to Dedicated Mixer Insert Tracks With FL Studio you can route any channel to any insert track in the mixer. This is nice in that you can customize your channel layout in the mixer by determining which channels go to which track.
To see what track a channel is routed to, first select the track by clicking on it in the Step Sequencer window. Tip 2 - Summing Channels to Mixer Insert Tracks You can use this channel/track flexibility to your advantage. Tip 3 - Setting Up a Reverb Send Send effects are great in that it allows you to apply an amount of one effect across all the tracks. 11 FL Studio Tips You Need To Know. Although FL Studio has a deserved reputation for being an application that beginners can pick and start making music with quickly, experienced users will tell you that it can also be a deep and involved beast.So here’s a collection of tips that takes you below the surface and deals with some FL Studio features that you might not be familiar with, but once mastered will speed up and improve your workflow. 1.
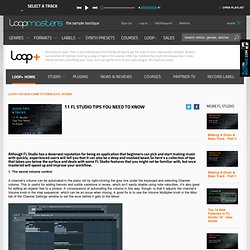
The secret volume control A channel’s volume can be automated in the piano roll by right-clicking the grey box under the keyboard and selecting Channel volume. This is useful for adding tremolo and subtle variations in levels, which isn’t easily doable using note velocities. It’s also great for adding an organic feel to a phrase. 2.
Patterns that contain notes on multiple channels can be split by channel, making it easy to build variations on a single pattern without having to clone it and edit the piano roll for each one. 3. 4.