
Web Based Weather Server Version 2. I have added a Barometric Pressure Sensor to our Web Based Weather Station, and added calculations for Heat Index and Dew Point.

You can read about how to build the Weather Server at and I will be adding the new features to that Instructable. I had to connect the sensor shield with jumper wires, as it did not play nice with my old Ethernet Shield. I will have to notch the Protoshield to avoid hitting the Ethernet Connector. The Ethernet Shield does not work stacked on top of the Protoshield, as it appears to use the ICSP Header.
Arduino Webserver Control Lights, Relays, Servos, etc... Online Thermometer. Note: This project is based on the "Online Thermometer" project described in detail in chapter 7 of the book "Practical Arduino".
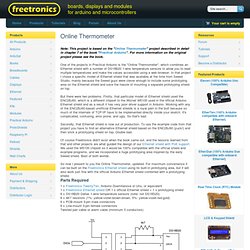
For more information on the original project please see the book. One of the projects in Practical Arduino is the "Online Thermometer", which combines an Ethernet shield with a number of DS18B20 1-wire temperature sensors to allow you to read multiple temperatures and make the values accessible using a web browser. In that project I chose a specific model of Ethernet shield that was available at the time from Seeed Studio, mainly because the Seeed guys were clever enough to include some prototyping area on the Ethernet shield and save the hassle of mounting a separate prototyping shield on top. But there were two problems. Firstly, that particular model of Ethernet shield used the ENC28J60, which is a different chipset to the Wiznet W5100 used in the official Arduino Ethernet shield and as a result it has very poor driver support in Arduino.
Parts Required. Control an LED over the internet using the Arduino Ethernet Shield and Transistor (the transistor is optional) Internet of Things with Arduino and the CC3000 WiFi chip. The CC3000 WiFi chip from Texas Instrument is a quite versatile chip that can be used to connect your projects to the web.
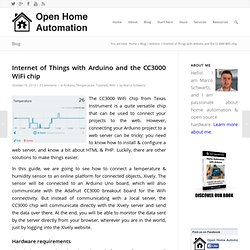
However, connecting your Arduino project to a web server can be tricky: you need to know how to install & configure a web server, and know a bit about HTML & PHP. Luckily, there are other solutions to make things easier. In this guide, we are going to see how to connect a temperature & humidity sensor to an online platform for connected objects, Xively.
The sensor will be connected to an Arduino Uno board, which will also communicate with the Adafruit CC3000 breakout board for the WiFi connectivity. But instead of communicating with a local server, the CC3000 chip will communicate directly with the Xively server and send the data over there. Hardware requirements The whole project is based on the Arduino platform, so of course you will need an Arduino board. Then, you need the famous CC3000 chip. You also need a DHT temperature & humidity sensor. Software requirement. Remotely Controlling a Motor Using Arduino and PHP. In a previous article on this website, I taught you how to read a temperature measurement from your Arduino board, and how to display it on a server so it can be accessed remotely.
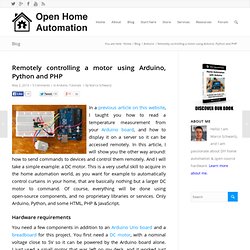
In this article, I will show you the other way around: how to send commands to devices and control them remotely. And I will take a simple example: a DC motor. This is a very useful skill to acquire in the home automation world, as you want for example to automatically control curtains in your home, that are basically nothing but a larger DC motor to command. Of course, everything will be done using open-source components, and no proprietary libraries or services. Only Arduino, Python, and some HTML, PHP & JavaScript. Hardware requirements You need a few components in addition to an Arduino Uno board and a breadboard for this project. In this project, we possibly want to control the motor in both directions, because we want to control curtains up and down for example. Software configuration. Make a WiFi Weather Station With Arduino and the CC3000 chip. As open-source hardware users and makers, we love playing with new chips, boards and tools.
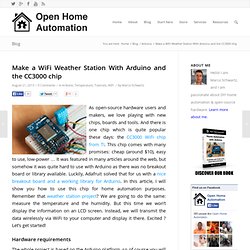
And there is one chip which is quite popular these days: the CC3000 WiFi chip from TI. This chip comes with many promises: cheap (around $10), easy to use, low-power … It was featured in many articles around the web, but somehow it was quite hard to use with Arduino as there was no breakout board or library available. Luckily, Adafruit solved that for us with a nice breakout board and a working library for Arduino.
In this article, I will show you how to use this chip for home automation purposes. Remember that weather station project? Hardware requirements The whole project is based on the Arduino platform, so of course you will need an Arduino board. Then, you need the famous CC3000 chip. You also need a DHT temperature & humidity sensor. Finally, you need a breadboard and some jumper wires to make the connections between the different parts. Software requirements Hardware configuration.