
http://sublimestitching.com/pages/tutorials
Related: craftNon daily diary — Le Lapin dans la Lune Working on watercolors after 25 years of CG art, then publishing illustration books, I discovered one thing : there’s gazillion of ways to create colors, but only one to see them. I know a lot of people won't believe it , but here is the truth about colors. Red is not really the complementary of green, and blue isn't always the complementary of orange, but purple is the complementary of green. Yes.
Annies Crazy World On the last seam I did a Double Feather Stitch with Colonial Knots. Then before adding embellishments I cut a window template to help place them, which is just as well because I found that the flower trail was cramped on the edge, fortunatly I had enough in the seams to make the heart about 1/4 inch bigger which gives just enough extra space so that it isn’t cramped. To Draw a basic heart shape Draw a square and then draw a half circle on 2 edges…to make it slightly more shapely, I then deepen the indent at the top just a little and slightly curve the point at the bottom, curving the bottom or just snipping of the very tip of the point will prevent the point poking through the fabric when you cover it. Trace the heart onto template plastic or any stiff plastic. I Draw the finished size of the heart onto the back of the crazy piece and Run a gathering thread around the edge, Use a big knot and start at the top of the heart…clip into the V at the top.
Project: Vintage Lamps Hoodie So, by now you either have the new patterns in your stitchy little hands, or are anxiously awaiting them. Wanna project ideer? How about this one using the Vintage Lamps and Glow-in-the-Dark thread? What a bright idea... x - x - x - x - x Bookbinding University: How to Make a Hard Cover - Damask Love Bookbinding University is in full swing! If you missed the last lesson on “How to Make a Text Block,” you’d better study up because today we’re moving on to the fun part! Today we’re making the covers for our text blocks and this is where you get to tap your creativity and personalize your notebook. If you are like me, you have a stash of 12 x 12 patterned paper that would make Hobby Lobby jealous. Well, today’s tutorial will have you searching through your collection for the perfect “statement” pattern for your notebook. Let’s get started.
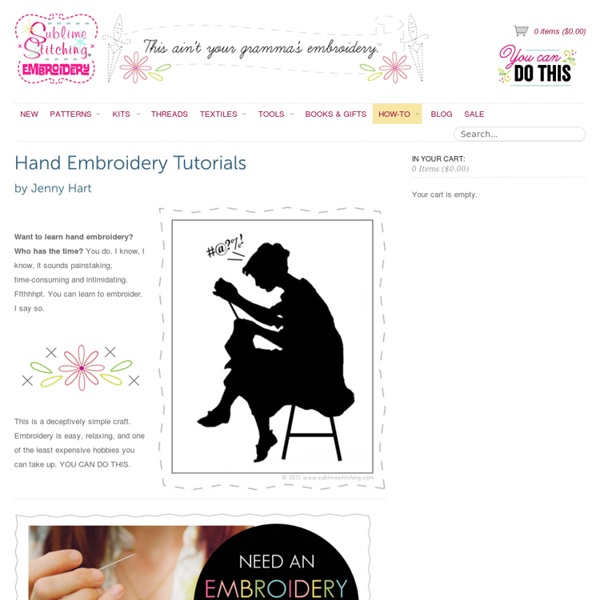
stitch and embroidery picture dictionary This picture dictionary will help you to identify the stitches based on how they look. Hovering over the stitch picture will display the stitch name. Clicking over the picture will take you to the respective tutorial pages. Tags: back stitch, chain stitch, cretan stitch, cross stitch, embroidery tutorials, feather stitch, fishbone stitch, fly stitch, hand embroidery, herringbone stitch, knots, palestrina stitch, picture dictionary, running stitch, satin stitch, stem stitch, stitch dictionary, stitch family, stitch variations, weaving stitch 213 Comments » Stitchable Gift Tags Template Here's a super quick embroidered gift tag tutorial for those extra special gifts. Pish, it looks more difficult than it is, so let's do this! Who: You!
Build Your Own Murphy Bed for $275 - LifeEdited One of the bigger challenges to starting your edited life is reasonably priced transforming furniture. While we believe the high quality and versatile Resource Furniture used in the first LifeEdited apartment is worth every penny, many of their large pieces are several thousand dollars, putting it outside the price range for many people. Perhaps no piece of furniture is more important to an edited home than a transforming bed. Beds are huge space hogs, whose utility is only relevant when we’re unconscious. Tutorials Weekly (almost):Shawkl Blog PostsMonthly:CQJP - Octogon CQ BlocksBOM - Jingle QuiltBead Cabochon or Something!UFOs to Finish This Year:Jingle!My Own - No Schedule:Shabby Chic 12 inch quiltShabby Chic 8 inch blocksSilkie CoCo Drawing StitchingAidan Horse QuiltApplique Design MedallionWriting:Book - ECQIICook BookPattern Designing:StitchMAP Hex ClassesStitchMAP Quilting ClassesAll prayers for strength,good health, and sanityretention are welcome!
Cinderberry Stitches Time to share a little Cinderberry fun with you just in time for Easter! It's a Bunny Bunting printable - it's quick and simple to make and will look too cute hanging in your home! No stitching or needle required, just plain old paper & scissor fun. Print and Play Games Cutting Tools By Tatsu For the do it yourselfer, there are certain basics that go towards making your own games. The first is a cutting tool. While its true that a steady hand and a decent pair of scissors will suffice, often the materials being cut are thicker than normal or made from more durable materials. In addition, its much harder to get a nice professional look with scissors.
embroidery basics: strands, sewing, stabbing and starting Welcome back to Embroidery Basics! We took a week off for some other fun, but things are on track to keep on for the next month and beyond. It's just about time to learn some stitches, but there are a few more things to consider before starting. After today, you'll be ready to dig in. First things first. Sustainable Geometry : 45 Steps (with Pictures) - Instructables Introduction: Sustainable Geometry Use some scrap cardboard and a few easy to find supplies to create a decorative, geometric table lamp made of pentagons and dodecahedrons. Add a color changing LED bulb for a relaxing mood or nightlight. Teacher Notes Beginners' Silk-Ribbon Embroidery: Five Easy Stitches Vests come to life with asymmetrical floral designs embroidered with silk ribbon. Sloan Howard The basic straight stitch can be used for numerous effects. Christine Erickson Ribbon stitch makes great leaves or petals.