
LightSweep - Free & Open-Source HDR Tutorial. First, you need some software Well, that’s not a problem!
You are extremely fortunate to have at your disposable plenty of choices for creating beautiful photos, all free! First, you should download and install Luminance HDR; it’s a crucial step of the entire HDR photo process. Fear not! I shall guide your trembling hands and together we will make beauty happen before your eyes—it’s really quite easy! Whoa there, what is HDR? Apologies! Perhaps you’re on a beach, the white sandy coast stretches out to the distance, the water is a cool blue and the sun is setting, casting intoxicating shafts of golden light everywhere. You see, your human eye can take in much more light than a camera’s sensor can, even modern and hugely pricey DSLR cameras cannot compare to the range of light the human eye is able to capture. Show me some examples Well, well, I thought you’d never ask!
No. 1: Gather thy tools HDR Software: Required More apps for the finishing blow! I am ready for this! Best Of What's New 2009: Bombproof Wallpaper Test. V-Ray Shading and Lighting Pipeline. This Master Class will help you integrate V-Ray into your workflow.
Konstantin Gaytandzhiev, 3D Artist and V-Ray Master Trainer Topics include: One-click linear workflow. Managing large scenes using the improved V-Ray Proxy loader. Transferring animated assets from Maya to 3ds Max using Alembic caches. Texture shortcuts using V-Ray procedurals. ——————– V-Ray Shading and Lighting Pipeline. Oliver Wolfson Creating a Maya batch render script » Oliver Wolfson. Creating a Maya batch render script for a PC using Windows has always been straightforward in my experience.
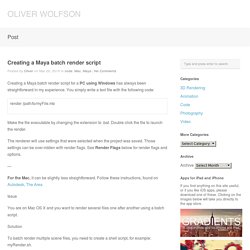
You simply write a text file with the following code: render /path/to/myFile.mb Make the file executable by changing the extension to .bat. Double click the file to launch the render. The renderer will use settings that were selected when the project was saved. For the Mac, it can be slightly less straightforward. Issue You are on Mac OS X and you want to render several files one after another using a batch script. Solution To batch render multiple scene files, you need to create a shell script, for example: myRender.sh. 1. . #! In some cases, you may need to enter the complete path of the Render command. /Applications/Autodesk/maya2009/Maya.app/Contents/bin/Render (of course, different for later versions of the software) 2. 3. Open the Maya Terminal (Applications > Autodesk > Maya2009 > Maya Terminal) and type: chmod 755 /Users/YOUR-USERNAME/Desktop/myRender.sh 4.
(note! Autodesk Backburner net render 3dsMax Maya Setup Part 1 of 2. SolidRocks - FlyWiz. FlyWiz automates the workflow needed to generate a Flythrough animation while using all SolidRocks optimisations and settings.
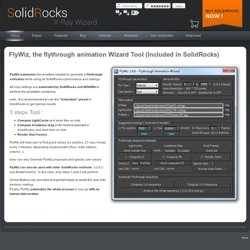
All Vray settings are automated by SolidRocks and MOAWiz to perform the animation rendering. note : It is recommended to use the "Animation" preset in SolidRocks to get optimal results. 3 steps Tool : Compute LightCache and store files on disk. Compute Irradiance map (if IM method selected in SolidRocks) and store files on disk. FlyWiz will help user to find good values (Lc subdivs, LC size, Irrmap every n frames), depending of parameters (Run, walk, Interior, exterior...). User can also Override FlyWiz proposals and specify user values. 3Dean: How To Render Elements Using 3ds Max, Vray and After Effects. 3dsMax Batch Render Tutorial. The Making Of “Brooklyn City” This tutorial is intend for anyone who wants a better understanding of what and why they're doing what they're doing.

A higher level view of my personal workflow towards creating large scale environments. This is not a “How to snap boxes onto a grid” type of tutorial, there's nothing wrong with those types of tutorials, but I want to really provide a different perspective on a ‘making of’ tutorial. This tutorial is intended to continue the learning from my first tutorial called "Making of Yuki Machi" I'll be referencing it from time to time in this tutorial, so I suggest reading that first before reading this tutorial, you can find it here "Making Of Yuki Machi".
Software Used:Autodesk 3D Studio MaxAdobe Photoshop Why? Why? You might find out you wanted to make a cool environment because you want a job in the Arch-Viz industry, but then realize that's only a stepping stone to get into another job. On this environment my “Why’s” were: Goals.