
How to make a cheap, awesome, professional Curtain Rod. First off, thank you so much for being so kind about my new curtains in the dining room!
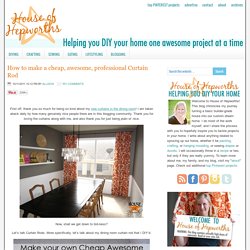
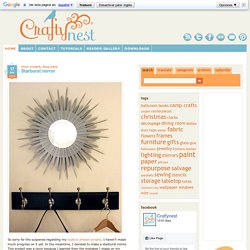
I am taken aback daily by how many genuinely nice people there are in this blogging community. Thank you for loving the curtains along with me, and also thank you for just being plain ol’ nice. Now, shall we get down to bid-ness? Let’s talk Curtain Rods. Vintage Revivals. DIY: Starburst Clock. I love clocks and especially love clocks with personality! Starburst Style clocks appeal to me in many ways but they're usually a little too retro or gold for my style-- so I was excited to try making a new version of the Starburst :) I'd love to see you do the same using the tutorial below! These clocks were my inspiration! [sources 1 & 2] a big handful of wood coffee stir sticks (7" long) 21 ways of turning pallets into unique pieces of furniture.
Before & after: rustic refinished desk. I see desks like these in thrift stores and on the side of the road all the time, and honestly, I can’t say that I feel inspired when I look at them.
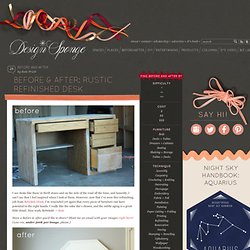
However, now that I’ve seen this refinishing job from Rebekah Disch, I’m reminded yet again that every piece of furniture can have potential in the right hands. I really like the color she’s chosen, and the subtle aging is a great little detail. Nice work, Rebekah! Before & after: creative chair reupholstery. I might be angering some die-hard upholstery experts out there when I say this, but I’m a firm believer in thinking outside the box when it comes to choosing fabrics.
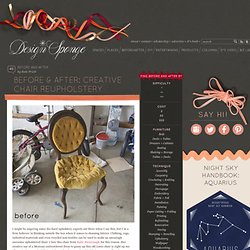
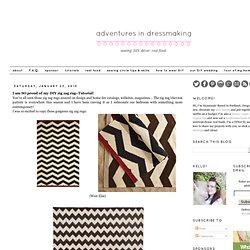
Clothing, rugs, industrial materials and even recycled non-textiles can be used to make an amazingly awesome upholstered chair. DIY Chevron Rug. One of my favorite parts of my most recent project has to be the rug I made.
From the very beginning of the project I kept talking about how I was going to make the rug, blah, blah, blah then the time came to actually make it and I freaked out a bit, but in the end it really was super easy. Print Hula Hoop Rug Page. I am SO proud of my DIY zig zag rug. You've all seen those zig zag rugs around on design and home dec catalogs, websites, magazines...
How To Create Paper Blossoms. Previous image Next image We've talked about using paper decorations to punch up a last minute party, but there are ways that you can incorporate paper into your everyday décor as well.
My favorite paper creations of late are tissue paper cherry blossoms, which are as pretty as they are easy to make.A few weeks ago I was charged with the task of decorating a ballroom for my daughter's school auction. The theme was cherry blossoms, and the result was magical…and budget friendly too! MATERIALS• Tree branches (branches with multiple off-shoots are best)• Tissue paper (A few sheets goes a long way. Design*Sponge » Blog Archive » sewing 101: machine appliqué. Here’s a great way to snazz up simple textiles with an easy embellishment technique – machine appliqué! This technique allows you to apply cut-out shapes of fabric to the surface of another fabric, achieving colorful and interesting effects that would otherwise be complicated to sew.
In this post I’m appliquéing a tablecloth, but you can use the basic instructions here to appliqué shapes on just about anything around the house — curtain panels, throw pillows, cocktail napkins, duvets, even totes. (Bonus: appliqué is great for covering stains or flaws, so it’s a sneaky way to rescue stained pieces!) For beginners, it’s best to start with simple shapes with straight lines, but once you get the hang of this easy technique, you can appliqué just about any shape. Think monograms, floral or animal silhouettes, or even images cut from patterned fabric.
Branch Bookshelf. Starburst mirror. So sorry for the suspense regarding my toolbox dresser project.
David stark’s post-it fridge project. [i'm so thrilled to welcome one of my design idols, david stark, to the site today. david is sharing a fun post-it diy project inspired by his fantastic new book, david stark design. welcome, david!]
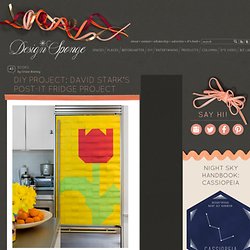
I am really excited to share our new book DAVID STARK DESIGN with you all, and I look forward to your feedback on it! As an artist, it is both exhilarating and strange to stand back and view the trends and thought processes of your own work. Working on the book forced me to zero in on and articulate a design strategy that is instinctual to me. The ideas that we blow out on a grand scale for big events are really small notions, often made with rather humble materials. Grace inspired me to think about how those ideas could be carried out in a personal way. Immediately, I thought of an evening we created for New Yorkers for Children last September. Functional Space Saving DIY Coat Hooks. Functional and space saving coat hooks aren’t easy to find. Some manufacturers have such hooks among their products but most of them are quite pricey. You would be amazed what you can make similar hooks from… A few of 1 gallon paint cans is all you need.
At less than a foot deep they they are the perfect size. They can hold several hats or pairs of gloves without encroaching on your entryway. Sound like an awesome idea, right? In Vermont we need a little more. Dictionary Sacrifice Rosettes DIY. I’m a little in love with the rosettes I use to top my origami gift boxes. They come from the humblest of beginnings, but end up looking pretty sharp smart when all’s said and done. Wanna make one —or sixty-three, like me? First, gather your materials: paper grocery bag cut-up-able dictionary page (or other contrasting paper)glue stickglue gun and glueselection of vintage buttonspaper cutter (or ruler and scissors) Next, cut your bag crosswise into 1.5″ strips.
Now go ahead and cut your contrasting paper (in this case, some dictionary pages) into 1″ strips. Great. Get your gluestick and slather it on the the back of one of your contrast strips. Okay, now we’re getting to the good stuff.