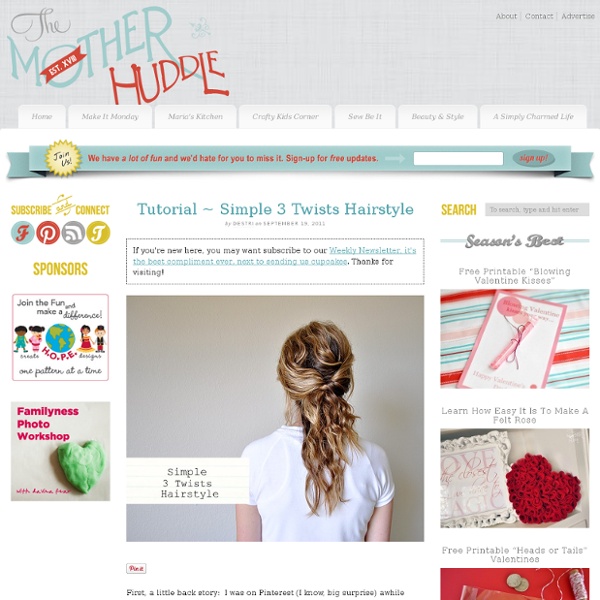
Simple 3 Twists Hairstyle

http://www.themotherhuddle.com/tutorial-simple-3-twists-hairstyle/
How to Put Your Hair Up In A Cute Bun
Comb your hair carefully to eliminate any tangles or knots.Take some hair from the top of your head. 3. Tie off this hair with a hair elastic. 4. Don't pull off the ends.
page 2
We get a lot of emails asking how to use brushes correctly so I hope this helps you out a little! A brow brush is designed to be stiff and angled for a reason. And we use the slanted edge to shade and the tip of the edge to outline. Put those components together and a brow brush is quite frankly a thing of perfection! Here’s how to use it properly: READ MORE…
1 Minute To Soft Hands – Olive Oil Sugar Scrub
Happy Friday friends! I am so excited to introduce our new segment Beauty & Style. We had such an overwhelming response from our 3 Twists Hair Style post, we decided beauty and style is something all of us want to see more of. Oh the fun we’ll have! The focus will be practical tips, tutorials, and advice that can be applied by a busy mom. You know, stuff that easily fits into your life that you can pull off without feeling awkward.
DIY - MAKE YOUR OWN WAX FOR HAIR REMOVAL
I was chatting with someone on my flight back from my vacation. She lived in another country where salons are hard to come by or if they are around, they aren't very good. So, sometimes a girl has got to depend on herself. You can make one on your own so easily. So when I described it to her, she loved it and she said I just have to put it up online. So here goes:
...love Maegan: No Heat SJP BIG CURLS w/ Twisted Buns ...also known as Bantu Knots Fashion. DIY. Lifestyle.
If you follow me on Instagram you already know about this because I shared it there see photos below but the other night I slept on twisted buns to get these BIG CURLS just to switch it up a little which the husband LOVES. In fact he said “You know, you could do that MORE OFTEN if you wanted to”. Big curls are a BIG hit around here In 2009 I did a quick video demonstrating how I twist my hair into the little buns whilst singing to Lady Gaga – but I only did a photo tutorial of how to get the finished look. So the other morning before I left for the gallery I filmed it for you and hopefully answered all the questions I’ve gotten about this easy little tutorial. Enjoy…
Ten Ways to Dress Up a Ponytail
Sometimes I'm just not in the mood to spend a lot of time on my hair. But at the same time, I don't want to look like a homeless hairdresser when I go to work, so I try to make my ponytails as fancy as possible. Here are ten easy ways I like to dress up my ponytail: 1. Wrap it with a strand of hair -Put your hair in a ponytail like you normally would.
TIPPED OUT
all photos: Kristin Ess + thebeautydepartment.com post designed by kristin ess Lots of emails this week asking for a tutorial on Lauren’s temporary bright colors. Here I’ve replicated the process for you in 7 steps on an extension.
GUEST POST
photos by: Kathleen Bly post designed by kristin ess Mad love for our first guest post winner, Taylor Nick!!! I am fully obsessed with this bohemian-inspired-braided-goodness! Even though Taylor had some SERIOUS competition, there’s no doubt that this little lady took the cake in our hair tutorial contest. She created a beautiful, textured, easy hairstyle that will work with almost any hair type. Congratulations Taylor, and thanks to ALL of you who entered this post contest.
Related:
Hair
•
Hairstyles


