
24 Statement Hairstyles For The Holiday Party Season. How to cut bangs. How To: Braided Updo. One sided braid. Braid head band thingy. I am sometimes asked how I style my hair, and while my method is far from perfect, I thought I'd show you how!
My hair is pretty straight and fine naturally and I always let it air dry. Since I go about three days between washes, I like to curl it on the first day and let it mellow out into some nice waves over the next two. Let's get started! If your hair doesn't hold curl very well then you may want to put a palmful of curling mousse in it when it is halfway dry.
First I comb out all of the tangles and apply a liberal amount CHI Iron Guard Protection Spray to prep my hair. (though I want to upgrade to one of the fancy new ones from Sultra soon!) When I'm done curling the bottom section, I mist it with Bumble and bumble Spray de Mode and comb through the curl with my fingers. Ahh!! If you want to dress it up a little, you can do a braided headband look! Find a spot on the opposite side of your head and pin it so that it blends in naturally with the rest of your hairstyle. 24 Statement Hairstyles For The Holiday Party Season. How-To: The Cascade/Waterfall Braid. The waterfall braid also known as the cascade braid recently exploded as the new "trend braid" of the season.

The waterfall effect looks cool and complex, but it's easier to style than you think. Give this beautiful braid a try when Beautylish takes you through the how-to! Section Off The waterfall braid works best on straight or loose waves. Brush out all the knots with a wide tooth comb. Braid As Usual Braid your strands regularly three times, beginning from the right strand.
Drop the Strand This is where it gets tricky. Step and Repeat Repeat this process—French braid the left strand, drop the right strand, and pick up an adjacent new piece. Pin and Secure Once you've reached a comfortable point to stop your braid, secure it to your scalp with bobby pins. Braid your bangs into a bohemian twisted rope hairstyle. 2 Minute Updo For Work. Hair Chalking. TBDtwistedsistertutorial114.jpg (512×2033) How To: Hair Bow. A few weeks ago I posted a picture of a hair bow I did on a bride.
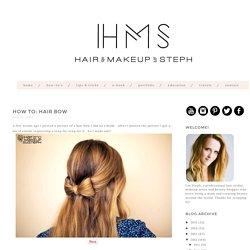
After I posted the picture I got a lot of emails requesting a step-by-step for it. So I made one! 1. Begin by taking one small section of hair from each side of your head. 30 hairstyles/30 days. Cute up-do's. Photo/post/graphic design: Kristin Ess One of my all time favorite hairstyles for a wedding or for red carpet is the most super simple chic chignon (say that 3 times fast!). In this tutorial we show future brides and bridesmaids alike how to keep their hair out of the way while maintaining a timeless, classic look for any event. This is one of those updos that really allows you to focus on the dress, accessories and overall beauty instead of being a major focal point.
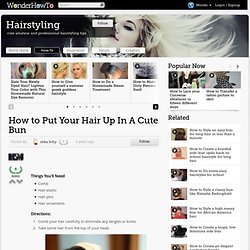
Let’s get started! Start with all of your hair in a ponytail. A fuller bun + a tighter bun can both look great for different reasons. If you’re looking for accessories similar the one in the top image for your wedding, here are a few of my current favorites: And you can always use fresh flowers, silk flowers or an embellished appliqué from the fabric store. How to Put Your Hair Up In A Cute Bun. Comb your hair carefully to eliminate any tangles or knots.Take some hair from the top of your head. 3.
How To Style a Hair Bow. Love bows?
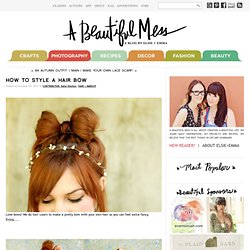
We do too! Learn to make a pretty bow with your own hair so you can feel extra fancy. Enjoy..... 1. Start with a loose pony tail. 2-3. Here's a second option. Thanks so much Katie! Head Scarf Tutorial. After many requests, I finally made a tutorial on how to tie a simple head scarf.
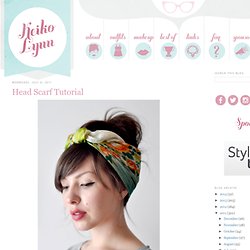
It's really, really easy. I did this without looking in the mirror, so that should tell you how easy it is. Let's get started! Start with a large, square scarf. I like my vintage silk scarves because they're soft and not bulky. Fold one corner to the other to form a triangle. Fold the corner down to about the middle, and then fold over again (but not all the way to the edge, because you want it to be a little thicker). Put the scarf around your head with the ends in the front, making sure the wrong side of the scarf (the part where you can see the folds) is against your head. Tie it in a loose knot at the front. How to's for hair.