
Simple origami Lily Flower tutorial. Because I enjoyed my visit to Kew Gardens so much I thought it would be nice to post a origami flower tutorial.

One of my first craft loves was origami. I find it a really pleasant way to unwind it's also very useful; the amount of times I've used a spot of origami to keep little ones amused when it was raining outside, or given my mum a bunch of paper folded flowers as a pressie (when I was broke), and in a moment of madness I even asked Al if he would like to be engaged to me by writing the proposal inside a paper folded rose (which he now stores in his keepsake box.) Here is a tutorial for one of my favourite flowers. It's not hard to do even if you haven't done any paper folding before. There's just a fair few steps because you have to repeat some of the steps 8 times, but I think it's worth it and you'll have this flower folded in under 15 minutes flat :) NB: For my easy peasy origami lidded box tutorial click here. Here are two Lilies I folded earlier. 1.
50+ Paper Flower Tutorials & Templates: {Free. Here’s a lovely assortment of paper flowers to make, I’ve organized them in a few sections for easier browsing: Bouquets & Centerpieces, Tissue Paper, Crepe, Origami and the rest under general tutorials.
Many of these have free templates to download and most are surprisingly easy to make! I’ve also compiled a vintage booklet into a pdf tutorial that you can download. It shows step-by-step how to make crepe flowers (includes images). Just click the banner to the right to grab a copy for yourself. Ready to see what’s available from around the net? Ninthstreeteast.blogspot.com Stained Glass Style: Made with black construction paper and tissue paper of various colors. Double Fringe: You will need double-sided colored paper, scissors, glue, a ready-made or a do-it-yourself slotted tool, or just a wooden toothpick. increations.blogspot.com cheekymagpie.com. Guest Feature: Crepe Paper Roses. Today we’re happy to present the first Folding Trees tutorial from a contributor!
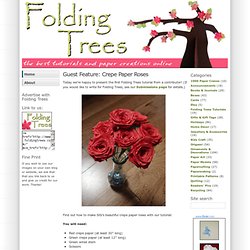
(If you would like to write for Folding Trees, see our Submissions page for details.) Find out how to make SiSi’s beautiful crepe paper roses with our tutorial: You will need: Red crepe paper (at least 30″ long)Green crepe paper (at least 12″ long)Green wired stemScissorsGlue Instructions Fold the red crepe paper in half horizontally to form a long thin strip. Roll the paper around that end about 3 times (you are forming the center of the rose). With the long end of the crepe paper, gently fold it backwards and continue to roll. A good tip is to hold the bottom part tightly so it does not become loose. When you get to the end, leave about 2.5″ unrolled. Insert the green wired stem at the bottom of your rose. Cut a piece from the green crepe paper, and cut out an X-shaped ‘leaf’ for the bottom of the rose. Kusudama Tutorial part 1. The Japanese kusudama is a paper ball made out of multiple identical origami shapes glued together.
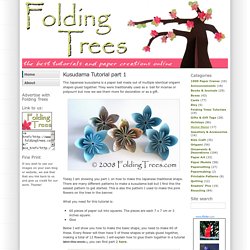
They were traditionally used as a ball for incense or potpourri but now we see them more for decoration or as a gift. Today I am showing you part 1 on how to make the Japanese traditional shape. There are many different patterns to make a kusudama ball but I find this the easiest pattern to get started. This is also the pattern I used to make the pink flowers on the tree in the banner. What you need for this tutorial is: 60 pieces of paper cut into squares.
Below I will show you how to make the basic shape, you need to make 60 of these. Fold the bottom corner to the top. Fold the left and right corners up to the middle corner. Fold the same points down. Open up the flaps you have just created and flatten them. Fold the top triangles towards you so they are level with the edges of the paper. Fold the triangles back using the crease you made earlier and glue the outside triangles together. Elegant Parchment Flowers with Jeffrey Rudell. Friend Etsy on Youtube & Blip.tv | Subscribe to Etsy’s iTunes Podcast | MP4 Verson This week’s How-Tuesday comes from Jeffrey Rudell, a paper artist, inventor, and engineer who has an eye for simple, beautiful projects and a knack for sharing his marvelous creations.
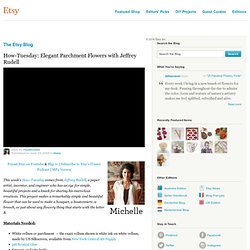
This project makes a remarkably simple and beautiful flower that can be used to make a bouquet, a boutonniere, a brooch, or just about any flowery thing that starts with the letter B. Materials Needed: White vellum or parchment — the exact vellum shown is white ink on white vellum, made by US Silkscreen, available from New York Central Art SupplypH Neutral GlueScissors or Xacto knifeStraight edge18″ of pre-cut, straight lengths of floral wireFloral tape Elegant Parchment Flowers: Step One: Begin with a 3″ disc of paper, parchment, or vellum. Fold the circle in half, into quarters, and finally into eighths, until you have a little triangle. Once folded, use scissors to round out the the top.