
School of Decorating by Jackie Hernandez. These are my happy scrappy decorative spheres.
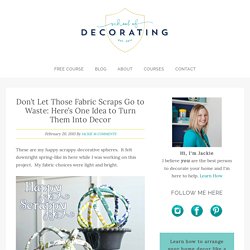
It felt downright spring-like in here while I was working on this project. My fabric choices were light and bright. This project was born of two inspirations; upcycled embroidery hoops and fabric wrapping. The embroidery hoop obsession started years ago as I saw so many cute projects for reusing them. I started a mini-hoard of them and the small pair from the Thrift Shop Challenge tipped me over the edge. This project only required 3 things: Embroidery hoopsFabric ScrapsElmer’s Glue (I know…how fancy) I used two small embroidery hoops and two medium hoops to create two spheres. For the fabric scraps, I first turned to the selvedges from another project I am working on.
For the small sphere, I rummaged through my fabric stash and picked out this mix of fabrics. I cut my fabric scraps into 1/2″ wide strips. Next came the wrapping. When I reached the end of a fabric strip, I added a dab of glue and started a new color of fabric. You're in. Hi everyone!
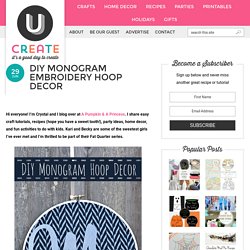
I’m Crystal and I blog over at A Pumpkin & A Princess. I share easy craft tutorials, recipes (hope you have a sweet tooth!) , party ideas, home decor, and fun activities to do with kids. Kari and Becky are some of the sweetest girls I’ve ever met and I’m thrilled to be part of their Fat Quarter series. I would consider myself a beginner level when it comes to sewing. My house is filled with fabric projects like fabric garlands, lamp shades, and embroidery hoops. Our two toddlers share a room and we’ve been trying to find a color palette that works for boys and girls.
To make the hoop I used a fat quarter from Jo-Ann’s, an embroidery hoop that I painted white, fabric scraps, and no-sew interface (I used Silhouette brand). Supply List: -Fat Quarter -Embroidery Hoop (painted white) -Fabric Scraps -No-Sew Interface I ironed on the “clean cut” interface to the back of my grey fabric. Vase fillers are little decorative items that you can display in a vase, bowl or urn.
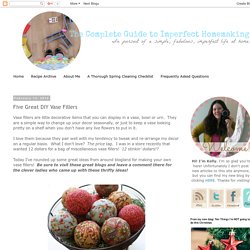
They are a simple way to change up your decor seasonally, or just to keep a vase looking pretty on a shelf when you don't have any live flowers to put in it. I love them because they pair well with my tendency to tweak and re-arrange my decor on a regular basis. What I don't love? The price tag. I was in a store recently that wanted 12 dollars for a bag of miscellaneous vase fillers! Today I've rounded up some great ideas from around blogland for making your own vase fillers! I can't wait to try all of these great ideas!
So--I had been admiring THESE awesome decorative Hemp Balls from my most favorite Blog: Make it and Love it.
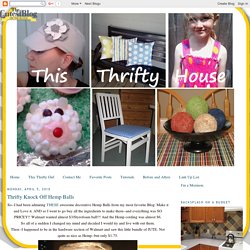
AND so I went to go buy all the ingredients to make them--and everything was SO PRICEY!! Walmart wanted almost $3/Styrofoam ball!!! And the Hemp cording was almost $6. So all of a sudden I changed my mind and decided I would try and live with out them. Then--I happened to be in the hardware section of Walmart and saw this little bundle of JUTE. I decided that maybe I could find a different round object to use instead of the Styrofoam. I searched a little bit until I found these wiffle balls at the dollar store for 5 for $1. So with Glue gun in hand--I started winding around and around and around and around...etc. I just glued down all the jute and it went fine right over the holes too. This project is a little time consuming as it really takes a while to go around and around those little guys! Here are some of the finished little guys WITH OUT their paint jobs. Linking up to: I've been hard at work!
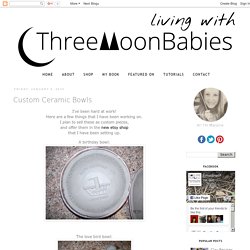
Here are a few things that I have been working on. I plan to sell these as custom pieces, that I have been setting up. A birthday bowl: The love bird bowl: The key bowl: I think that they all would make wonderful gifts! Oh yeah...