
MAKE + GIVE : DIY Zipper Clutch with Monogram or Pom Pom. Reusable Lined Snack Baggies. Perhaps you already caught this tutorial when I shared it over at SevenAlive last week, but in case you didn’t, I’d like to show you a fun and simple sewing project that’s a great addition to any summer picnic basket set – a reusable, plastic-lined snack baggie.
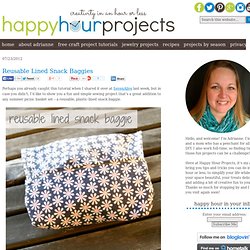
Not only can you make use of some of the plastic bags they push on you at the grocery store (seriously – I think the only reason they withhold paper bags is to get me to buy their reusable bags), but you can also cut down on buying disposable plastic baggies and change it up with something cute and personal with a very simple sewing project. That’s a win-win-win, right? ;) What you’ll need for each snack bag:4-8 plastic grocery bags (I used 6)Parchment paperIron Fabric scrap at least 7″x15″ (optional, it just makes it pretty!)
Sewing machine and general sewing supplies (scissors, rulers, pins, etc). Part One: Fusing your plastic. 20 minutes. A note about this. Flatten your bags and trim them down. Now, fold up your baggie. The Sewing Magazine: Fashion DIY: Can you make a knot? ¿Qué tal se os dan los nudos marineros?
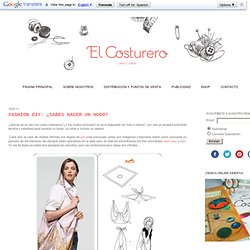
¿Y los nudos normales? Si es la respuesta es "más o menos", con eso ya poseéis suficiente técnica y habilidad para haceros un bolso, un collar e incluso un vestido. Cada año la casa de modas Hèrmes nos regala en pdf unas preciosas cartas con imágenes y tutoriales sobre cómo colocarse un pañuelo de mil maneras. No siempre están operativas en la web, pero en internet encontramos los tres volúmenes: aquí, aquí y aquí.
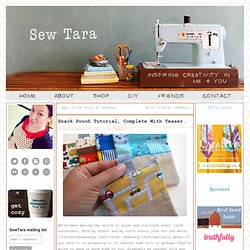
Yo me he fijado en estos dos ejemplos tan sencillos, pero las combinaciones e ideas son infinitas. Braided Belt Messenger Bag Tutorial. Hello Dolls, I am so excited to bring you all this tutorial!

I was in love with this bag the second I finished it! I am also so happy because the more I sew the more comfortable I feel designing bags myself without looking at another tutorial – and you can too! I looked at multiple tutorials for messenger and tote bags and then combined and changed different elements that I liked about them into one “super” bag. I recommend reading lots of tutorials when you are beginning to sew. I hope you all enjoy this bag as much as I do! Now, onto the tutorial… Materials:[1] Exterior Fabric (for body)- 14.5″ x 13″ CUT ON FOLD* * By cut on fold I mean that you should cut your fabric so the bottom is on the fold of the fabric. . [2] Lining Fabric (for body)- 14.5″ x 13″ [2] Pellon SF101 Interfacing – 14.5″ x 13″ [1] Exterior Fabric (for flap) – 14″ x 12.75″ [2] Exterior Fabric (for pocket linings) – 9″ x 6.25″
Mauby's: Re-usable Produce Bag Tutorial. Snack bags! a sewing tutorial video. Snack pouch tutorial, complete with teaser. We’ve been making the switch to glass and stainless steel lunch containers.
Both my school and my son’s school push for the whole literless/boomerang lunch thing. Bomerang lunch basically means if you send it in packaging or it creates some sort of garbage they’re going to send it back home to you. Strangely we teacher folk are free to load up the garbages at school with our lunch litter but I’m trying desperatly to avoid that. Hence my binge to create some snack pouches! Now I created a few for my son and I’m going to show you how to make some yourself. I also tried to use fabrics I had on hand and chose some of the bright colourful kid prints I have to jazz the pouches up a bit. You will need: - lining fabric 4 1/2 x 6ish - printed fabric for outside about 4 1/2 x 3 1/2 - plain fabric for outside 4 1/2 x 3 1/2 - 4 inch length of velcro, hook & loop piece - strip of fabric to make tabs Pin the 2 outside fabric pieces right side together and sew together.
Crafting: Tea Bags for Gifts and Favors. Today I have a fun project that anyone can do.
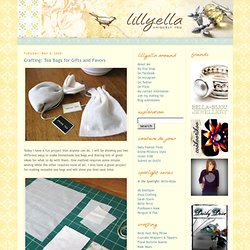
I will be showing you two different ways to make homemade tea bags and sharing lots of great ideas for what to do with them. One method requires some simple sewing while the other requires none at all. I also have a great project for making reusable tea bags and will show you that next time. The materials needed are basic and I was able to make mine using scraps I had on hand. All you need is some lightweight fabric, cotton thread (I use size 10 crochet thread, you can also use embroidery floss), and loose tea.
Crafting: Tea Bags for Gifts and Favors. Mauby's: Re-usable Produce Bag Tutorial. Mauby's: Re-usable Produce Bag Tutorial.