
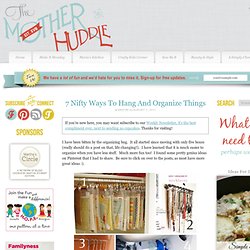
7 Nifty Ways To Hang & Organize Things. I have been bitten by the organizing bug.
No Purchase Necessary Junk Drawer Organization. Everyone’s got one (or more), but no one likes to share it!
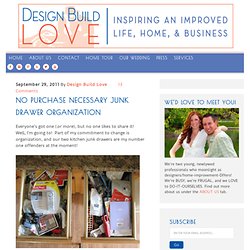
Well, I’m going to! Part of my commitment to change is organization, and our two kitchen junk drawers are my number one offenders at the moment! So, I did the most logical thing and dumped both of them out on our family room floor and decided to just start from scratch! After dumping it all out, I categorized all the contents and separate them into separate piles. This gave me a clear idea of the contents that were actually forming all this clutter… After I paired items down, put misplaced items in their proper home (in other rooms- mainly the office and garage), and just flat-out got rid of trash, I was able to refill the empty drawers.
Items Needed: Extra rubberized carpet pad (top left corner of the picture above)Miscellaneous small tupperwareRubberbands. Cereal Box Drawer Dividers. Hanging Storage Baskets. Fabric Cuts: From your fabric cut six 18½ x 28 inch pieces, and three 4 x 10 ½ inch pieces.
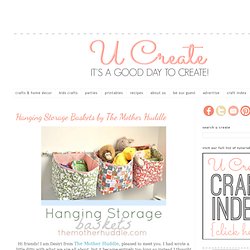
You will then iron them onto you interfacing per it's instructions, and then cut out. Trust me, it's easier than cutting out the pellon and then ironing! As a side note, the ironing is the longest part of this project...if I had a teenager I would have paid top dollar to have them do it, just sayin'! A Tisket, A Tasket, Make A Supercool Basket. My niece snorted at me the other day when I showed her this latest DIY of mine.
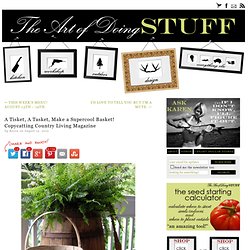
Not because she didn’t like the end result, but because I told her I copied it from one I saw and loved in Country Living Magazine. “Did you ever think you’d see the day when you’d be looking at Country Living Magazine?” She has a point. Create Stylish Storage: Various Projects. Denim Organizer From Coats & Clark. This fun organizer, made from the legs of cut-off jeans, is a great recycling project.
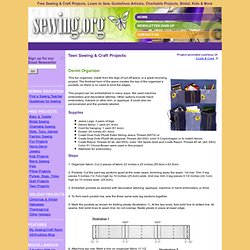
The finished hem of the jeans creates the top of the organizer’s pockets, so there is no need to bind the edges. This project can be embellished in many ways. We used machine embroidery and decorative stitches. Other options include hand embroidery, rickrack or other trim, or appliqué. It could also be personalized and the pockets labeled. Supplies Jeans Legs: 3 pairs of legs Denim fabric: 1 yard (91.4cm) Cord for hanging: 1 yard (91.4cm) Dowel: 24 inches (61.0cm) Coats Dual Duty Plus® Extra Strong Jeans Thread (N574) or Coats Dual Duty Plus® All-purpose Thread (Art 200): color 5 Copenhagen or to match denim Coats Rayon Thread-30 wt.
Steps 1. 2. 3. 4. Jeans Wall Holder. Denim Crafts To Make: Organizers. DIY Organizer For A Home Office. If your working space is a mess, organize it making a paper and newspaper holder of a piece of wood and plastic.

For this craft you’ll need 3 plastic bottles, a piece of wood, 3 can tops, a knife, scissors, a screwdriver, a ruler, an awl and some screws. Cut the top of the bottles, don’t deform them; using the awl or a drill make holes in the tops of the bottles. Screw the bottles to the slab of wood and from the other side fix some screws for hanging on the wall. If you don’t like the edges of the bottles you can decorate them with some braids. Enjoy the organizer! Desk Organizing Projects.
Turn An Old Birdcage Into A Desk Organizer. Hi Everyone!
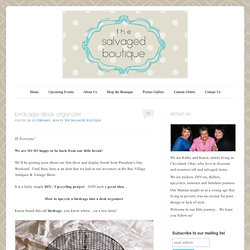
We are SO SO happy to be back from our little break! We’ll be posting soon about our first show and display booth from President’s Day Weekend. Until then, here is an item that we had in our inventory at the Bay Village Antiques & Vintage Show. It is a fairly simple DIY / Up-cycling project. AND such a great idea… How to upcycle a birdcage into a desk organizer Karen found this old birdcage, you know where…on a tree lawn!
Karen stores many ideas in her brain (way too many for me to ever remember) so when she picked this birdcage up she knew she would make a desk organizer out of it. Spray paintWooden dowel rods – you can buy dowel rods at hardware stores or local craft stores like Pat Catan’s Pieces of scrap wood / plywood. Decorative items to embellish (flower, ribbon, etc) Staple gun, glue gun, wire cutters, hand saw Thoroughly clean the bird cage and remove the bottom pan. Place your pieces of wood on top of the dowel rods, Karen painted the plywood white. Distressed Mail Holder From Pallet. We have a problem in our home when it comes to the mail.
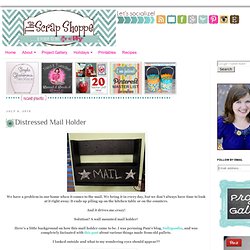
We bring it in every day, but we don't always have time to look at it right away. It ends up piling up on the kitchen table or on the counters. And it drives.me.crazy! Solution? DIY Handy Pull-Out Hardware Bins With Muffin Tins. Organizing: Cigar Boxes. I love having my own little studio, but it’s quite chaotic most of the time because of all of the stuff I tend to hoard.
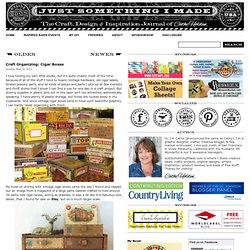
Vintage hardware, old cigar labels, broken jewelry parts, and all kinds of pieces and parts I pick up at flea markets and thrift stores that I know I can find a use for one day in a craft project. But storing supplies in plastic bins out in the open isn’t too attractive, aesthetically speaking. I have plenty of plastic storage, but those are tucked away in my cupboards. And since vintage cigar boxes tend to have such beautiful graphics, I can hardly resist organizing with them. DIY Rotating Tool Organizer. Organize your crafting tools with this handy tool caddy with turntable.Materials:1 Rubbermaid Twin Turntable(Walmart)see photo below1 decorative hook1' of 1" wood dowel1.5 sq. ft. of 1/4" MDF finished white on 1 side2 screw dowels 3/16"1 #8 x 1" round head screwBlack paint and wood glueTools:Saber saw(band saw), drill & bits, screw driver, and compass for drawing circlesSteps:1.
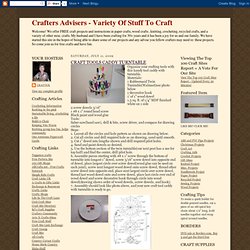
Layout all the circles and hole pattern as shown on drawing below.2. Cut all circles and drill required hole as on drawing, sand until smooth.3. "Hidden Storage" Books. Create Savvy Storage by Repurposing.