
DIY Wrap Bracelet. You should all know by now that we are all about stacking bracelets on our wrists.

The more, the better. In fact . . . the most, the best! With that being said, we’ll show you how to master a version of the ever so popular wrap bracelet. It’s so simple and addicting, you’ll soon be churning out these wristlets with your eyes closed. Clearly this arm party train isn’t stopping and it’s about time you get on board! You’ll need (for a double wrapped bracelet) :* Lengths will vary depending on the size of your wrist (see comments for suggestions). Fold the length of leather cording in half to form a loop. Place the ball chain along the leather cording with the end of the chain meeting the end of the wrap. Continue wrapping while checking it for fit around the wrist. When you have reached the end of the ball chain wrap the linen cording around the leather strands 2-3 more times.
Thread the hex nut through the strands and tie a second knot. Trim with scissors and your wrap bracelet is finished!! How To Use A Sock To Get Beautiful Curly Hair Without Heat. If you are a mom on the go with long hair you HAVE TO try this.

Newspaper Nails. A few weeks ago I shared in this post that I learned how to do this amazing thing called "newspaper nails.
" Since I love words, and reading, and books, it has inevitably become my favorite manicure. Want to learn the how-to? First, gather your supplies. You will need white nail polish, newspaper, rubbing alcohol, and clear shiny polish for the top coat. Step one: Grab some newspaper and cut it into pieces big enough to cover your nails. Step two: Paint your nails white. Step three: Dip a piece of newspaper into the rubbing alcohol and saturate them well.
Step four: Press the bit of newspaper on your fingernail hard for about three seconds and peel it off. Step five: Top coat time! These Peeps Were Made for Walking. Tuesday, February 28th, 2012 A girl can always use more shoes, especially with Easter just around the corner.
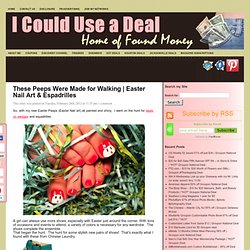
With tons of occasions and events to attend, a variety of colors is necessary for any wardrobe. The shoes complete the ensemble. Personal Finance News & Advice - StumbleUpon. I have an apology to make: I used to be one of those girls behind the makeup counter of a big, fancy department store selling you over-priced beauty products.
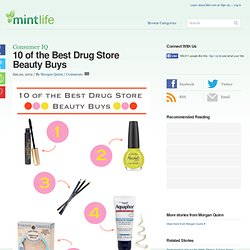
While I won’t say which brand I worked for, I can tell you that my uniform consisted of all black and way too much makeup. Hey, it was the 90’s, after all. Well, I’m here to make amends. Because, you see, not all department store makeup is better than the drug store version. In fact, a lot of drug store makeup is way better than the junk being sold in the department stores. The beauty industry is full of people pushing products that they don’t stand behind 100%. Also, celebrities rarely endorse products because, like the rest of us, they aren’t always picture perfect and no cosmetic company wants to be represented by someone who actually looks like the rest of us common folk.
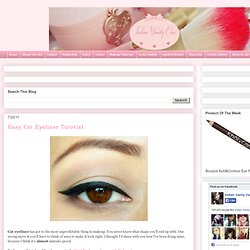
So, to make up for the error in my ways, I am sharing ten of my all-time favorite drug store beauty buys with you. L’Oréal Volumnious Mascara in Carbon Black. Easy Cat Eyeliner Tutorial - StumbleUpon. Cat eyeliner has got to the most unpredictable thing in makeup.
DIY Beauty: 3 Homemade Cleansers Recipes. Cleansing our faces is one of the most important steps in our beauty routine as it removes all traces of dirt and other impurities from our skin, leaving it clean and bright.
Although there are lots of good and inexpensive cleansers on the market, it is a lot of fun sometimes to make your own. If you wanna try it, here are a few recipes: 1. Strawberry and yogurt cleanser for normal to oily skin Ingredients: - 1 strawberry (better if fresh) - 1 tablespoon of yogurt (plain whole-milk type works best) - 1 drop of your favourite essential oil (optional) Mash the strawberry. 2. Ingredients: - 1/2 cup oatmeal (in alternative, you can use cornmeal) - plain yogurt as needed (add enough yogurt to form a paste) Put the oatmeal in a bowl and add as much yogurt as you need to form a paste (2 teaspoons should be enough but you can add more if necessary). 3.
Ingredients: - 1 tablespoon of apple juice - 2 tablespoons of skin milk - 1 tablespoon of honey Mix all the ingredients together in a bowl. GUEST POST - thebeautydepartment.com. Sea of Shoes: HAIR HOW-TO - StumbleUpon. I am sometimes asked how I style my hair, and while my method is far from perfect, I thought I'd show you how!
My hair is pretty straight and fine naturally and I always let it air dry. Since I go about three days between washes, I like to curl it on the first day and let it mellow out into some nice waves over the next two. Design Crush & Tipped Out - StumbleUpon.