

Textuts. Design a Rocket-Powered Retrofuturistic Digital Illustration. Retrofuturism is a topic that has always fascinated me.
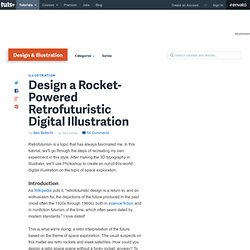
In this tutorial, we'll go through the steps of recreating my own experiment in this style. After making the 3D typography in Illustrator, we'll use Photoshop to create an out-of-this-world digital illustration on the topic of space exploration. Introduction As Wikipedia puts it, "retrofuturistic design is a return to, and an enthusiasm for, the depictions of the future produced in the past (most often the 1920s through 1960s), both in science fiction and in nonfiction futurism of the time, which often seem dated by modern standards. " I love dated! 3D Ribbon Wrapped Text Effect. This tutorial will explain how to use the Opacity texture map to create a ribbon-wrapped 3D text effect in Photoshop CS5 environment.
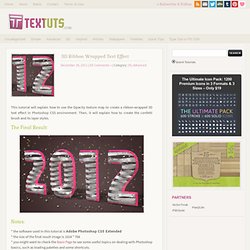
Then, it will explain how to create the confetti brush and its layer styles. The Final Result: Notes: * the software used in this tutorial is Adobe Photoshop CS5 Extended * the size of the final result image is 1024 * 768 * you might want to check the Basix Page to see some useful topics on dealing with Photoshop basics, such as loading palettes and some shortcuts. Happy New Year! To all textuts‘ readers, followers, subscribers, and fans. Hope 2012 will be an awesome year for each and everyone of you. Don’t forget to send me any notes, suggestions or ideas through the contact form. Best regards,Rose Enabling OpenGL The Repoussé will not work unless OpenGL is enabled. Also, go to Edit -> Preferences -> 3D, and make sure OpenGL (under Interactive Rendering) is enabled.
Step 1: 25 Mind Blowing Text Effects Photoshop Tutorials. 21 Fresh Text Effect Tutorials - Web Design Blog – DesignM.ag. Get the FlatPix UI Kit for only $7 - Learn More or Buy Now.
Create a realistic folded paper text in Photoshop. Today we will learn how to realize a folded paper text effect from scratch in Photoshop.
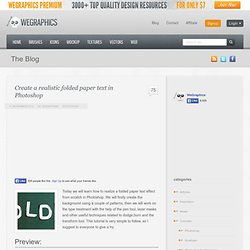
We will firstly create the background using a couple of patterns, then we will work on the type treatment with the help of the pen tool, layer masks and other useful techniques related to dodge,burn and the transform tool. This tutorial is very simple to follow, so I suggest to everyone to give a try. Preview: Click to enlarge. Create Light Painted Typography From Scratch in Photoshop. This tutorial was originally published in April 2011 as a Tuts+ Premium tutorial.
It is now available free to view. Although this tutorial does not use the latest version of Adobe Photoshop, its techniques and process are still relevant. If you’ve ever attempted to write words using traditional light painting photography techniques, you probably know how challenging it can be to create words that are easy to read. Create Elegant, Glassy, 3D Typography in Photoshop and Illustrator. In today’s tutorial, we will demonstrate how to create elegant, glassy, 3D typography using Photoshop and Illustrator.
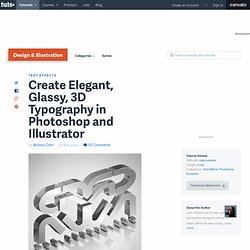
For this project, I used my company logo. Feel free to apply this effect to any logo, text, or shape. Easy Casino Style Sign in Photoshop. A few weeks ago while walking on the streets of NYC, I saw this big billboard of a movie called Burlesque ( What really caught my attention was the effect applied in the text, sort of those old signage that casinos used to have.
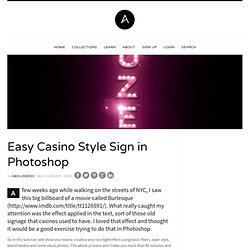
I loved that effect and thought it would be a good exercise trying to do that in Photoshop. So in this tutorial I will show you how to create a very nice light effect using basic filters, layer style, blend modes and some stock photos. The whole process won't take you more than 45 minutes and the level of this tutorial is in my opinion easy, but it require some attention to the details. Create Dynamic and Textured 3D Text with Perspective in Photoshop and Illustrator. In this design tutorial you will be taken through an extensive step by step on how to create detailed 3D text that sits in created environment.
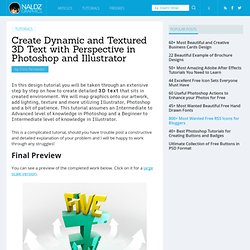
We will map graphics onto our artwork, add lighting, texture and more utilizing Illustrator, Photoshop and a bit of patience. This tutorial assumes an Intermediate to Advanced level of knowledge in Photoshop and a Beginner to Intermediate level of knowledge in Illustrator. This is a complicated tutorial, should you have trouble post a constructive and detailed explanation of your problem and I will be happy to work through any struggles! Final Preview. How to Create Super Colorful Typography. Add Fantastic Color to 3D Text – Part I. This is the first part of a two part series.
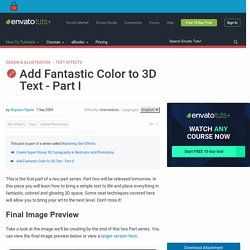
Part two will be released tomorrow. In this piece you will learn how to bring a simple text to life and place everything in fantastic, colored and glowing 3D space. 6 Quick’n’Dirty Photoshop Text Effects From Scratch. Photoshop is great for embellishing display text with little effects.
When you add layer styles into the equation, you have the added benefit of the styles being easily transferable. In this tutorial I'll show you how to make six different effects using just layer styles. So really this is like six tutorials in one! How to Create 3D Text Blocks in Photoshop. In this tutorial, I'll show you how to create a 3D Blocks text effect. You need to have Adobe Photoshop CS4 Extended to practice this tutorial. This will be fun and I'm sure you can do lots of cool things using this technique. Let's get started! Final Image Preview Take a look at the image we'll be creating. How to Create a 3D Text Photo Manipulation. By Tyler Denis In this intermediate-level graphic design tutorial, you’ll learn how to realistically superimpose a beautiful three-dimensional text object onto a living room scene with the help of Illustrator and Photoshop.
Final result Below, you’ll see the preview of the photo manipulation scene that we’ll be creating together – you can click on it to see the full-scale version. Let’s get this thing rolling, shall we? Opening the stock photo in Illustrator 1 We are going to use a free stock photo of a living room called Home Interiors 1 by Jeinny Solis. 2 Open the Home Interiors 1 photo in Illustrator by choosing File > Open… (Ctrl + O). Placing the text onto the canvas 3 Use the Type Tool (T) to add the text "Dd" onto the canvas. 4 Resize the text by activating the Selection Tool (V), holding down the Shift key to keep the text proportional, and then dragging the transform controls appropriately so that the size is roughly the same size as the following figure. Adjusting the guide layer’s hue. Metal Text Under 12 O’clock Spot Light « PsAwesome★ Awesome Photoshop Tutorials.
In this Awesome★ Photoshop tutorial, you will learn how to create a metal text which is illuminated from above, casting shadow. Basic transformations, some filters and actions will be covered through out this tutorial. Have fun. Awesome★ Tutorial Video >> Metal Text Under 12 O’clock Spot Light Download the video of this tutorial for just 1$. Here’s the Final Image Before we start lets see the final image we’ll create through out this tutorial. You can download the layered PSD document here. Create the Text Before you start, you may want to download the font used in this tutorial here. Metal Look the easy Way Create a new layer named "Metal" and fill it with 90% grey. Some Styles Select the "Awesome" layer in the Layers Palette and apply a Drop Shadow Layer Style with these settings: Blend Mode => Multiply, Opacity => 75%, Angle => 90, Distance => 2px, Size => 8px.
Create an Editable On Screen Text Effect using Smart Objects « PsAwesome★ Awesome Photoshop Tutorials. In this Awesome★ Photoshop tutorial, i’m going to show you how to create an editable screen shot text effect. You can easily edit the text, you don’t need to repeat all steps from scratch, just double click the text layer and change it. This tutorial also has some good applications of Smart Objects. Have fun.