
Skin Retouching in Photoshop - StumbleUpon. This tutorial will help you learn how to speed up skin retouching and polish photos in Photoshop using basic techniques.
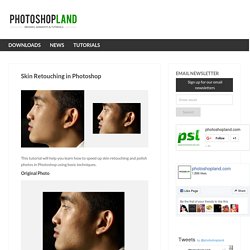
Original Photo Step 1 Duplicate the background image and rename it to Layer 1. Step 2 Go to Filter > Other > High Pass and set the Radius to around 4.5 pixels. Step 3 Change the Blending Options for Layer 1 from Normal to Soft Light and uncheck the eye to make Layer 1 invisible for the next step. Step 4 Duplicate the background image again and rename it to Layer 2. Step 5 As you’ll see the image will be just slightly blurred and smoothen out but not the edges.
Step 6 Flatten Image and use the Clone Stamp Tool mixed with a Soft Brush with the Flow set to around 30% to manually select areas next to one another, blend it in as much as you can using this tool to make further improvements to the skin. Step 7 This step here is to quickly balance out the whole lot, to do that we need that extra bit of shadow to be added to the overall image.
Final Result. 45 Useful Photoshop Tutorials From 2011. Featured Websites Created by Users. Custom Wallpaper Tutorial. It's very simple.
Just follow the steps and you will be fine. 27 Excellent Digital Photography Tutorials. To improve and modify digital photographs is very interesting and a fun part.

Lots of digital photography techniques and tutorials are available on internet, you can create same digital effect in different ways. The best technique to create effect is which take less steps. In this post i have listed 27 excellent digital photography tutorials to help you create different effects and manipulate your digital photographs. I hope you will enjoy these tutorials and don’t forget to mention the tutorial which was an add on in your experience. 1. In this tutorial designer will show you how to create a post apocalyptic manipulation using adjustment layers, vector masks, and some special effects. 2. This tutorial uses a different method than either of CMYK curves adjustment layers. 3. In this tutorial designer will show you how to spice up a fairly dull and flat photograph. 4.
In this tutorial, you will learn how to create a fantasy landscape using some simple and easy techniques. Photoshop CS4: A Picture Worth a Thousand Words - Layers Magazine. I love Photoshop techniques that offer all kinds of possibilities for experimentation—and the following tutorial is a perfect example of one of those techniques.
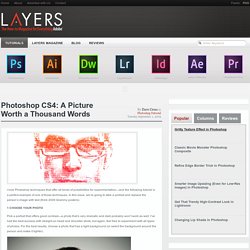
In this issue, we’re going to take a portrait and replace the person’s image with text (think 2009 Grammy posters). Pick a portrait that offers good contrast—a photo that’s very dramatic and dark probably won’t work as well. I’ve had the best success with straight-on head and shoulder shots, but again, feel free to experiment with all types of photos. For the best results, choose a photo that has a light background (or select the background around the person and make it lighter). Create a new document (File>New) in a size that’s smaller than your photo: the specifics don’t really matter.
Switch back to the photograph. Then, press Command-J (PC: Ctrl-J) to copy the selected pixels onto a new layer. Go back to the Select menu and choose Color Range again. Click the Create a New Layer icon at the bottom of the Layers panel. The Making Of 'Lust' - Worth1000 Tutorials.