
Lion Brand Yarn - StumbleUpon. A Quick Hair Routine. Bloglovin and Aussie hairproducts are giving bloggers the opportunity to share their hair routines with the world through their website.
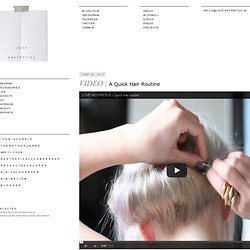
They also asked me to contribute by showing how I style my hair. Click to see the hair tutorials of the other bloggersI like hair to look a bit neglected.You could say that Kate Moss, Debbie Harry and Mary Kate Olsen are my hair-idols.My hair is very thin and fragile, therefor I only wash it 3x a week. I do not mind frizzy hair at all. *Very rude of me to have forgotten to include the music credits: Side Dish by Psapp. HAIR: How to get Vintage Style Curls without Heat! YARN BRACELET DIY! See the updated version of this project here!
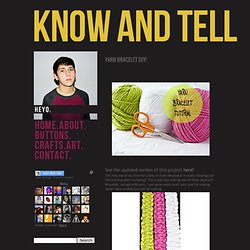
This was one of my favorite crafts to make because it is really relaxing just like knitting and crocheting! This is just like making one of those paracord bracelets, except with yarn. The 30 Minute $6 Dress Tutorial. Guest post by Rachael at Talk 2 the Trees.
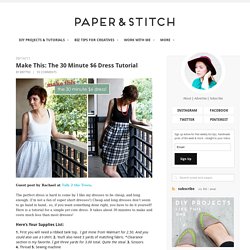
The perfect dress is hard to come by. I like my dresses to be cheap, and long enough. Cables - StumbleUpon. The Technique Zone: Acrylic Paint Transfer - StumbleUpon. Supplies needed: Acrylic dabbers, photocopy of an image, water spritzer bottle, paintbrush, card stock, craft sheet and heat tool (optional) Take the lid off the dabbers and brush the paint onto the card stock, ensure you get a good coverage Take your photocopied image ( remember that you will get a reverse of the image, so don't use bold words), flip it over and place it in the acrylic.

Lightly press it down making sure it's smooth and not wrinkled Leave to air dry for at least 15 minutes and then if you wish give it a blast with the heat tool Only move onto this step when you are sure your paint is completely dryTake your water filled spritzer bottle, spray the back of the paper no more than two squirts, you don't want it too wet Next start to rub the paper very gently with your finger Keep rubbing and extra spritzing if you need too Eventually you will get rid of all the paper, but it does take a bit of patience as you have to be careful not to wet it too much and rub the image away. Patterns - free patterns - cocoknits by julie weisenberger - StumbleUpon.
T-Shirt "Yarn" Tutorial. How to Cable Without a Cable Needle. November 7th, 2011 by Jess Now that you’ve learned to use a cable needle, what do you do if you want to start a cabled project and don’t have a cable needle on hand?

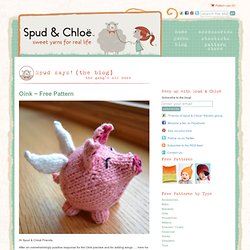
Don’t fret; you can cross your stitches without using a separate needle! Here’s how to do it. Now, a few notes on this technique. Spud & Chloë & Blog - StumbleUpon. Hi Spud & Chloë Friends, After an overwhelmingly positive response for the Oink preview and for adding wings….. here he is!
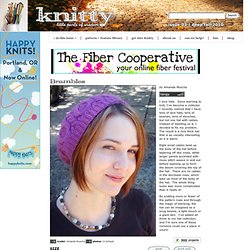
Craftside: Knit leaf coaster pattern from the book The Complete Photo Guide to Knitting by Margaret Hubert. It's Thursday and that means Question day with a book Giveaway.
The book is The Complete Photo Guide to Knitting and today you get a free knit leaf coaster pattern from the jam-packed book of knitting fabulousness! Leave your answer to today's question in the comments section of today's post by Midnight ET on Thursday, September 2, 2010: What is your favorite leaf (real or crafted)? Mine are Dusty Miller with a close second being fall maple leaves. The Dusty Miller because I love the idea of a leaf being so soft and fuzzy. Brambles beret: Knitty Deep Fall 2010. BAND Using smaller circular needle, CO 96[104, 112] sts.
Place marker and join to work in the round, being careful not to twist. Work 12 rounds 1x1 Rib. HAT BODY Using larger circular needle, work next round for your size as follows: Size S: *[K1, kfb] five times, kfb, kfb; repeat from * seven times more. 152 sts. Size M: *[K1, kfb] six times, k1; repeat from * seven times more. 152 sts. From this point on, all sizes are worked in the same way. Do stuff! & Ten minute no-sew recycled t-shirt bag! - StumbleUpon. Tutorial time!

I got a gig teaching a recycled t-shirt project at the library a few months ago, with a request for a recycled tee bag – the only bags I’d made from tees in the past had required sturdy sewing, and I didn’t want hand-sewing to be the only thing holding the bottom closed in a class version of the bags, so I started brainstorming about some kind of hand-sewing-friendly or no-sew bag idea…. and here’s what I came up with!
The simplest version of these bags is great for smaller tees, or the more light-weight kind of girl-tees – just turn the bottom of the shirt into a drawstring and tie it closed! As you can see, even with a not huge tee, this will still leave a significant hole in the bottom of your bag, but for purposes like grocery shopping, this size hole shouldn’t really matter… But to make smaller holes, just make more than one of them! The &How Many&?& Knitting Tool - StumbleUpon.
Haramisdesigns.wordpress.com/2010/11/01/kindle-sleeve-pattern/ Right, so I didn’t update again for the whole of October, even after I said I would, and I haven’t shared any projects that were knitted after August.
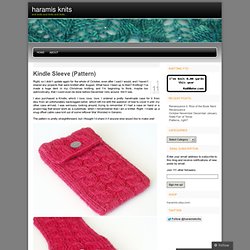
What have I been up to then? Knitting! I’ve made a huge dent in my Christmas knitting, and I’m beginning to think, maybe too optimistically, that I could even be done before December rolls around. We’ll see. I also purchased a Kindle, which I love, love, love. Free cartoons-games amigurumi patterns - Page 3 - StumbleUpon. Sheep Hat pattern by Renee Lorion.