
Realistic Security Camera Effect in Photoshop. In this short tutorial I will show you my technique of creating highly realistic security camera effects in Photoshop.

It’s not a difficult effect to achieve, I made this in about 30 minutes. It’s a really effective and very realistic as you can see on the preview image. If you like it, please stumble it. This is what you will achieve at the end of this tutorial. If you ever looked at the images captured by a surveillance camera, you’ve noticed that the quality is quite low so we will have to recreate that low quality in order to make the effect as realistic as possible.
Resources needed Room: Step 1 Start by opening the room stock image provided or any other picture where you want to add this effect on. Then I went to the menu Filter>Distort>Lens Correction and I added a bit of bulge to create an eyefish effect. Step 2 Next, I added a gradient map to change the color of the image. Add the Gradient Map adjustment layer from the menu Layer>New Adjustment Layer>Gradient Map. Step 3 Step 4. The Best Photoshop Tutorials to Turn you into a Better Designer – Part III. With this article, we have now reached the third part of the series.
Till now you have learned quite a lot of tips, tricks and useful techniques in Photoshop. You have also learned about the various tools and options in Photoshop, how they work and how you can bring the most out from them. In this part of the series, we at corePHP.com have tried collecting a variety of tutorials from different genre in Photoshop. Some are really very simple and I therefore recommend you not to jump and read those tutorial at the first instant. Have a look at their end results first and think of the various ways you know of achieving such results in Photoshop.
But you should read the all the tutorials at least once to ensure you are not missing any information or if there are some better ways to reach the results. Super Easy and Cool Flower Text Effect Tutorial in Photoshop [Read the Tutorial] Eye Sharpening - Photoshop Tutorial - 416 Studios. With this tutorial you can create amazing, bright eyes within minutes.

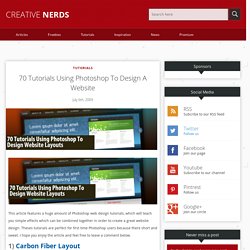
First retouch, adjust levels and do all necessary colour corrections on your image. With a Lasso Tool (L) select the eyes (hold Shift key to add to selection). Hit Ctrl+J to copy selection to a new layer. You can copy the whole layer instead of selecting eyes but applying the filter to the large area like this may take a while on slower computers. Use Smart Sharpen filter on the eyes, the choice of right settings will depend on the size of your file. Add a layer mask to the sharpened layer, then using a white soft brush on 50% bring back paint only iris’ and pupils to expose the sharpened eyes. Using levels brighten the whole picture and then copy mask from previous layer to select only eyes by holding Alt while dragging the sharpened mask (“layer 1” in the pic) onto the “levels 2” layer. Reduce opacity of the colour layer to make the eyes look more natural. And voilà, the image is ready. 70 Tutorials Using Photoshop To Design A Website.
This article features a huge amount of Photoshop web design tutorials, which will teach you simple effects which can be combined together in order to create a great website design.
Theses tutorials are perfect for first time Photoshop users because there short and sweet. I hope you enjoy the article and feel free to leave a comment below. 1) Carbon Fiber Layout. Make Your Amateur Photos More Professional. With everyone and their grandmother having a digital camera you can make almost anybody look like a professional photographer, well, better-than-amateur at least.
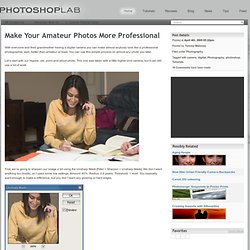
You can use this simple process on almost any photo you take. Let’s start with our regular, old, point-and-shoot photo. This one was taken with a little higher-end camera, but it can still use a lot of work. First, we’re going to sharpen our image a bit using the Unsharp Mask [Filter > Sharpen > Unsharp Mask]. We don’t want anything too drastic, so I used some low settings.
Graphic Design and Adobe Tutorials. Tutorial: Ripple Effect- Photoshopcontest.com. By: ReyRey ReyRey will show us how to make a nifty looking distorted/rippled/pushed-up effect in Photoshop.

The final ripple effect result Step 1 Start with an image (any image will do). Step 2 Add a new white layer and paint soft black lines across it using a soft brush. Step 3. Learn the Basics of Photoshop: The Complete Guide. 30 Poster Design Tutorials for Photoshop. Photoshop allows designers to create amazing posters that can be used for a variety or purposes like movie promos, product promos, event promos, as well as just for fun and practice.
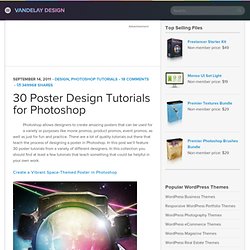
There are a lot of quality tutorials out there that teach the process of designing a poster in Photoshop. In this post we’ll feature 30 poster tutorials from a variety of different designers. In this collection you should find at least a few tutorials that teach something that could be helpful in your own work. Looking for hosting? WPEngine offers secure managed WordPress hosting.