
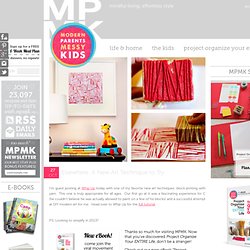
Crafty / Gypsy Purple home...... How to make a cardboard canvas. Supplies: cardboard/chipboard, mod podge, masking tape, a brush and pages from a book. apply Mod Podge on a piece of cardboard and collage book pages on it.
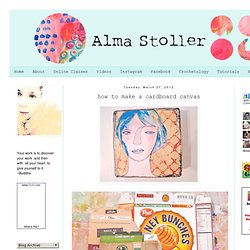
Let it dry cut a 4 inch square and 4 strips that are 1 1/2 inches wide use masking tape the adhere the strips to the square. add snippets of tape on the inside of the canvas. until it looks like this... then collage snippets of book pages on and inside the canvas in order to cover up the masking tape. when you are done, it should look something like this. done! Now, it is ready for you to paint or collage on it. check out the other tutorials by STITCHED instructors: Homespun Happenings: I Made a Sign. We are so close to the end of our school year. Eight more days to go. Research papers are soon due.
Iron Craft Challenge #1 – Paper Cut Map. Our first challenge for the second year of Iron Craft was to make something with paper.
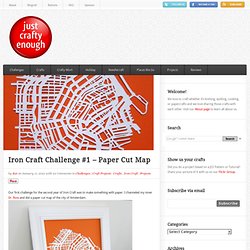
I channeled my inner Dr. Russ and did a paper cut map of the city of Amsterdam. We recently had the bathrooms redone in our house. I was looking through Etsy for some art for the downstairs one and came across these amazing paper cut maps by Lekker Haas Paper. They look so complicated, but I figured Iron Craft is about challenging myself, so why not give it a go. Toilet Paper Roll Heart Stamp. As promised, here is another tutorial that Sunny and I tackled together last weekend.
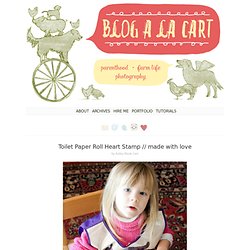
This was such a fun activity for her, and really easy to manage as the parental supervisor. DIY Photo on Canvas. I have a stack of canvas and stretcher bars in my basement that I bought back in college.
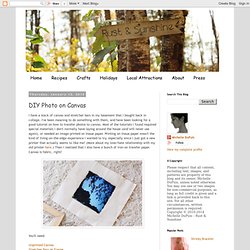
I've been meaning to do something with them, and have been looking for a good tutorial on how to transfer photos to canvas. Most of the tutorials I found required special materials I don't normally have laying around the house (and will never use again), or needed an image printed on tissue paper. DIY Art with Acrylic Paint and Letters. This is a fact: there is something magical about craft stores.

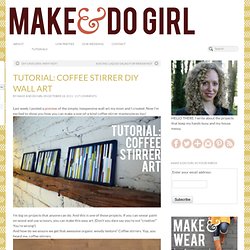
Like, fairy dust magical. TUTORIAL: Coffee Stirrer DIY Wall Art - makeanddogirl.com. Last week, I posted a preview of the simple, inexpensive wall art my mom and I created.
Pinterest Challenge: AZ Love / Nail and String Tribute to the Grand Canyon State. So I found Curiously Wrought's work through her Etsy on Pinterest the other day--how cute are these?!
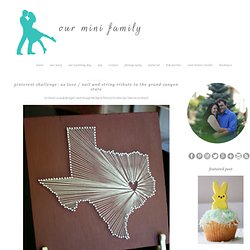
Click through the link below to check out my step-by-step tutorial: Quilling - Turning Paper Strips into Intricate Artworks. Quilling has been around for hundreds of years, but it’s still as impressive and popular now as it was during the Renaissance.
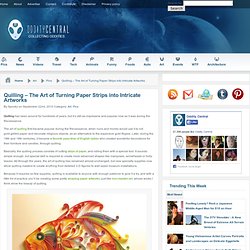
The art of quilling first became popular during the Renaissance, when nuns and monks would use it to roll gold-gilded paper and decorate religious objects, as an alternative to the expensive gold filigree. Later, during the 18th and 19th centuries, it became a favorite pass-time of English ladies who created wonderful decorations for their furniture and candles, through quilling. Basically, the quilling process consists of cutting strips of paper, and rolling them with a special tool. It sounds simple enough, but special skill is required to create more advanced shapes like marquises, arrowheads or holly leaves. All through the years, the art of quilling has remained almost unchanged, but new specialty supplies now allow quilling masters to create anything from detailed 3-D figures to wall-sized museum installations.
Reddit Stumble. Inspired by Yulia Brodskaya. I can't get over how amazing these are.
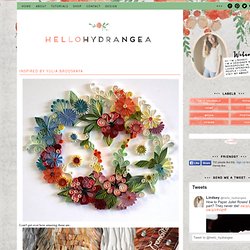
I wouldn't be surprised if Yulia invented quilling. She is a 28 year old artist from Moscow who creates beautiful designs from vertical pieces of thin paper and her website is full of inspiration in color, line, shadow and technique. You don't have to be a fellow quiller to wish you were like this great lady. Even though her pieces would be amazing if they were drawn, it was the fact that they are 3d that caught my attention. Projects / Silhouette Art / WrenWren on imgfave.
Unique Crackle Finish for Furniture or Toys. Elsewhere: A New Art Technique to Try, Decor DIYs & A New Gig. 27 Oct I’m guest posting at Whip Up today with one of my favorite new art techniques: block printing with yarn.
This one is truly appropriate for all ages. Our first go at it was a fascinating experience for C (he couldn’t believe he was actually allowed to paint on a few of his blocks) and a successful attempt at DIY modern art for me. Head over to Whip Up for the full tutorial. P.S. Bonus: Use the code JANUARY for 10% off the PDF file through the end of the month, plus all customers will receive a 20% off code for our favorite online meal planning site, Relish!
P.S. Acrylic Paint Transfer. Supplies needed: Acrylic dabbers, photocopy of an image, water spritzer bottle, paintbrush, card stock, craft sheet and heat tool (optional) Take the lid off the dabbers and brush the paint onto the card stock, ensure you get a good coverage. How to Transfer a Photograph Onto a Block of Wood. Projects / blank canvas, painters tape, and some paint. The Daily Telecraft: DIY: How to Create a Framed Button Artwork.