
Rollie Pollie! Looking for hours of entertainment?
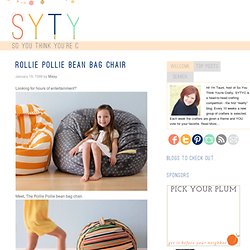
Meet, The Rollie Pollie bean bag chair. It’s a chair, it’s a toy, it’s your favorite pillow. Made of durable cotton twill or soft vinyl, each bag is actually a slip cover (with another Rollie Pollie inside) then filled with mounds and mounds of soft cluster stuffing. So if it gets dirty, just zip it off and throw it in the wash. And with a handle on top, it’s easy to toss around. Now, pick your favorite…. Decorchick! Changing her world, one project at a time. Hey everyone, here is a really quick and simple project that anyone can do in just a matter of about 5 or 10 minutes (plus drying time).

I made this pretty aqua vase from a mason jar I already had, and I love how it turned out! Save It’s not your traditional mason jar and that’s why I love it. And of course the white tulips make it even prettier. :) I was inspired by The Colorful Living Project’s spray painted bottles when I pinned them on Pinterest, and thought they were so pretty. So I was off to find something similar I could spray paint, and we are nothing short of mason jars around our house, so that’s what got blasted with the Krylon can. :) And again, this was so ridiculously easy, and spray paint continues to amaze me.
Better Late Than Never....Anthro Knock Off Lamp Tutorial. As I mentioned in an earlier post, I have been slightly obssesed with lamps as of late.So, when I came across this lamp at Anthropologie, I knew I had to try and recreate it.
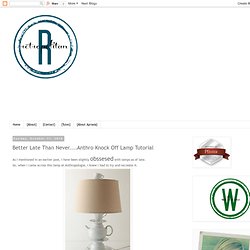
I made a teacup clock a while back and ever since then have had a little preoccupation with teacups and saucers. I can't go to the thrift store without browsing the dish section and as a result have acquired quite an assortment. I was excited to come across this lamp so that I could put my growing collection to use. Here's what you'll need to make your own lamp. One bowl. Silk-Dyed Eggs {aka TIE-Dyed!}
I posted this tutorial a few years ago and it has become somewhat of a tradition to bring it back every year!
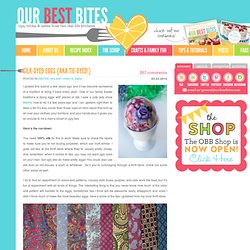
One of our family Easter traditions is dying eggs with pieces of silk. I saw a cute lady show Martha how to do it a few years ago and I ran upstairs right then to steal a tie! It’s way cooler than those cups of neon liquid that end up all over your clothes, your furniture and your hands plus it gives you an excuse to rid a man’s closet of ugly ties. Here’s the run-down: You need 100% silk for this to work. I try to find an assortment of colors and patterns. Usually it will tell you if it’s 100% silk right on the main label of the tie, but a lot of them don’t, and if that’s the case, check that little tiny end, it’s usually hiding there.
The first step is to deconstruct the tie. Next you cut a piece large enough to cover an egg. Now, notice how I tied the eggs in the above photo- with the tie on the top of the long side of the egg. I wish eggs came like this at the grocery store. Mad in crafts: DIY Fire & Ice Lanterns - StumbleUpon. The old becomes new: A new variation on the outdoor lantern.

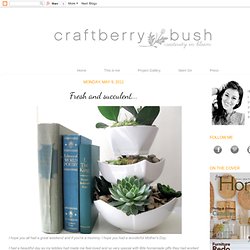
We have had an unusually warm winter in Michigan this year, and while the temps have been nice, I have had to hold off on this project idea until we got a cold snap. We finally got some snow and cold earlier this week, so I was able to try out this fun winter project. Bow pillow tutorial. Brenna’s paper capiz shell chandelier. I love wax paper for packing lunches; i wrap sandwiches in a piece of wax paper and tie it like a present with a little cotton string. it’s so much better looking than a plastic bag. wax paper comes in handy for more things than i realized, like rolling it up to use for a funnel, or how about rubbing a piece of wax paper on the top of your shower curtain rod to cut down on that terrible screeching in the morning…problem solved. but who knew that if you iron layers of wax paper together it looks remarkably similar to a capiz shell?
This discovery brought me to today’s project: the faux capiz chandelier. hung over your dining table, or outside at an outdoor dinner party, it is an easy solution to a dramatic light fixture and will look phenomenal in either setting. i hope you enjoy making your own as much i did! -brenna CLICK HERE for the full how-to after the jump! Materials: Instructions: 1. spray paint your planter basket. let dry. 8. once you cover the hanging basket you are done! Fresh and succulent... I hope you all had a great weekend and if you're a mommy, I hope you had a wonderful Mother's Day.
I had a beautiful day as my kiddies had made me feel loved and so very special with little homemade gifts they had worked so hard to make. The most beautiful part of it all was at the end of the day when the kiddies sat me down on the couch and then 'performed' a song they had written. My Bella sang while Tristan played the piano, to the best of his abilities. The words to the song - although simple - made me cry tears of joy because they get it. They get what family and loving one another means and that is priceless... I will share the words to the song and some pictures of their creations in a later post...so beautiful...sigh! In the mean time, I want to show you the latest craftberry.
BLOG: { DIY: Headboard! } When I showed you the pallet ideas yesterday, I also promised you that I would show you what I have used my pallets for.
So without further introduction – meet our new headboard! I´m actually quite pleased with the result, but I´m not sure if I should paint them or not. What do you think? I´m thinking either black or white. Gwenny Penny: Side-Tie Pillow Tutorial with Ameroonie Designs. Hi there Gwenny Penny readers!
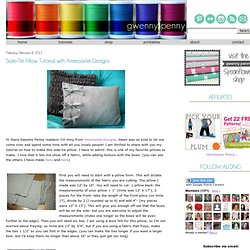
I'm Amy from Ameroonie Designs. Gwen was so kind to let me come over and spend some time with all you lovely people! I am thrilled to share with you my tutorial on how to make this side-tie pillow. I have to admit- this is one of my favorite pillows to make. Petal Pillow Tutorial. Supplies: Canvas drop cloth (or other fabric for the body of the pillow) Felt (7.5” X 17.5”) Sewing machine + thread Hand sewing needlePetal template Random blah blah blah about cutting the petals: The wool blend felt I bought was 17.5” wide.
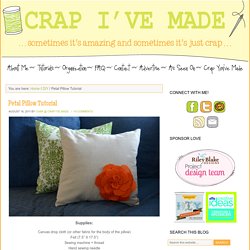
I cut three 2.5” strips and then cut those strips into 2.5” squares. This gave me 21 squares (18 for the big petals, 3 for the smaller center petals). I stacked the squares 3 or 4 at a time to cut them out. Make a Perpetual Button Calendar for 2011 (and Beyond) By Diane Gilleland I know calendars (and clocks and address books) are quickly becoming computer-centric tools, but I like the old-school charm of this desk calendar.
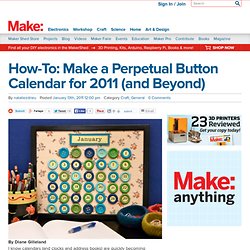
Make it once, and you can use it forever – just move the numbers to their correct location each month, and change the nameplate! Materials Picture frame, 11″x14″ or 16″x20″, see belowSheet of foam board or 1/2″-thick corkRuler Craft knife Piece of woven fabric, about 24″x30″ Spray adhesive Masking tape Scissors 42 large buttons, 3/4″ to 1″ in diameter 42 flat-head thumb tacks 5 sheets card stock, for numbers and nameplatesDownloadable name/number template 3/4″ circle punch, optional E-6000, or similarly strong glue Water-soluble fabric marker Fine-point Sharpie 2 squares of wool or acrylic felt 1 sheet of Friendly Felt, or lightweight chipboard Sewing machine and thread 2 sets Velcro dots plus 22 “loop” style dots (the softer half of a Velcro pair)Greeting card envelope Directions Step 1: First, prepare the background.
DIY Yarn Wrapped Monograms. I’ve got a lovely project to share with you. I used this monogram for a sweet friend’s baby shower. I love making party decorations that they can bring home and use as part of their decor. A word of warning though, this is not for the faint of heart.