
Python - how to add Permissions in Django to Models and Test it using the shell. Django allauth social login: automatically linking social site profiles using the registered email. OAuth2 with Django REST Framework. This post is part 2 of a series on using OAuth with Django REST Framework.
Part 1 is the series overview and I share some of my thoughts on the process. Part 3 is about social auth (e.g., Facebook, Twitter authentication) using DRF. Part 4 offers a richer explanation of server vs. client oauth flows, and part 5 is about integrating parts 2 & 3. Here at Yeti we build our APIs with Django REST Framework and we recently decided to switch from token authentication to the more secure OAuth2 authentication scheme. While the DRF documentation does have a section on this, figuring it all out took me awhile since I'm no oauth expert. First up: I used Django OAuth Toolkit instead of django-oauth2-provider. Setup I'm assuming you already have a User model and have DRF setup. How all this application and client stuff is working Setting up OAuth for your own application can be confusing. When you use a third-party service When you do your own OAuth Creating an application Get your token Sign Up. OAuth2 with Django REST Framework.
Installation — Cloud Browser 0.2.3 documentation. Install Cloud Browser can be installed from PyPi or from GitHub.
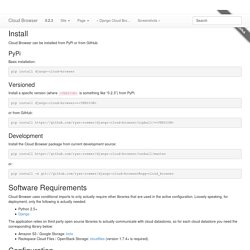
PyPi Basic installation: pip install django-cloud-browser Versioned Install a specific version (where <VERSION> is something like “0.2.3”) from PyPi: pip install django-cloud-browser==<VERSION> or from GitHub: pip install Development Install the Cloud Browser package from current development source: pip install. Django and Static Files - Do I Smell Burning? Django’s handling of static files is great, but sometimes causes confusion.
If you’re wondering how it all fits together, what some of the settings mean, or just want some example uses, then keep reading. Introduction A typical Django project will have multiple sets of static files. Chapter 14: Sessions, Users, and Registration. It’s time for a confession: we’ve been deliberately ignoring an important aspect of Web development prior to this point.
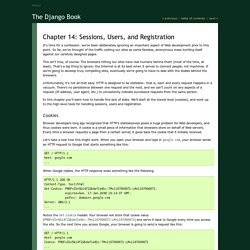
So far, we’ve thought of the traffic visiting our sites as some faceless, anonymous mass hurtling itself against our carefully designed pages. This isn’t true, of course. The browsers hitting our sites have real humans behind them (most of the time, at least). That’s a big thing to ignore: the Internet is at its best when it serves to connect people, not machines. If we’re going to develop truly compelling sites, eventually we’re going to have to deal with the bodies behind the browsers. Unfortunately, it’s not all that easy. In this chapter you’ll learn how to handle this lack of state. Cookies Browser developers long ago recognized that HTTP’s statelessness poses a huge problem for Web developers, and thus cookies were born.
Using the Django authentication system. This document explains the usage of Django’s authentication system in its default configuration.
This configuration has evolved to serve the most common project needs, handling a reasonably wide range of tasks, and has a careful implementation of passwords and permissions. For projects where authentication needs differ from the default, Django supports extensive extension and customization of authentication. Django authentication provides both authentication and authorization together and is generally referred to as the authentication system, as these features are somewhat coupled. User objects¶ User objects are the core of the authentication system. The primary attributes of the default user are: See the full API documentation for full reference, the documentation that follows is more task oriented. Creating users¶ Ottoyiu/django-cors-headers. E-Commerce. Writing your first Django app, part 2. This tutorial begins where Tutorial 1 left off.
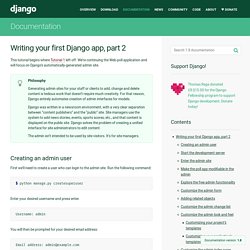
We’re continuing the Web-poll application and will focus on Django’s automatically-generated admin site. Philosophy Generating admin sites for your staff or clients to add, change and delete content is tedious work that doesn’t require much creativity. For that reason, Django entirely automates creation of admin interfaces for models. Django was written in a newsroom environment, with a very clear separation between “content publishers” and the “public” site. The admin isn’t intended to be used by site visitors. Creating an admin user¶ First we’ll need to create a user who can login to the admin site. . $ python manage.py createsuperuser Enter your desired username and press enter. You will then be prompted for your desired email address: Email address: admin@example.com The final step is to enter your password.
Password: ********** Password (again): ********* Superuser created successfully. Start the development server¶ Writing your first Django app, part 1.