
How to Create Halftone Effects in Adobe Illustrator - Envato Tuts+ Design & Illustration Tutorial. Halftones are dots of varying sizes and spacing, put together to simluate a tone or gradient.
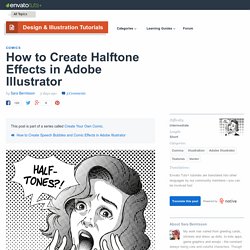
Though it is a method connected to print, the aesthetics of it have made it popular to use even for digital content. Having read a lot of comics where halftones are used, I have a special love for it that I hope to share with you in this tutorial. You will find that it is not so hard to create this effect in Adobe Illustrator, and by using halftones instead of regular black and white, or grayscale gradients, you can give your comics and artwork a certain unique appeal.
We first need to create the artwork which the halftones will be applied to. I've made a sketch of a shocked woman, as a reference to pop art, which many associate halftones with. I open a new document in Adobe Illustrator and import the sketch by going to File > Place... From there I double-click the current layer the sketch is placed on, check the Template box and press OK.
Now I start inking the loose sketch with the Brush Tool. How to load prior keyboard shortcuts in 3dsMax 2013 - Jamie's Jewels. Hi All Many of you have noticed we have changed the shortcut file format in 3ds Max 2013 to a new one.

The old *.kbd format has been superseded with *.kbdx However, as this file format has changed it does not allow you to load the old format and re-use your shortcuts from previous versions of 3ds Max. Luckily as 3ds Max users, we know there is always a way, and below we look at how we can easily achieve this in 7 simple steps.
So why change the format? Loading shortcuts from a previous release was something that was never officially supported and would ideally be avoided. So how do I load past ones? If you still wish to load the previous keyboard shortcuts, then follow the below steps: 1. 2. 3 Now navigate to the same window in 3ds Max 2013. As always, I recommend you save any existing settings before you start to load or edit any new ones, especially as this is an unsupported workflow. In 2013 you will see it only displays files with the '.kbdx extension. 4. Viz-People WeekTips Episode 1.
Rotate Ribbon - Dock left. Neon Glow Texture. A quick 3DS Max / Mental Ray tutorial that will help you create a neon glow texture.
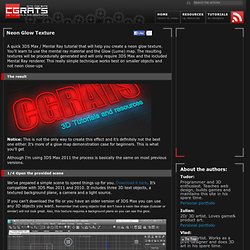
You’ll learn to use the mental ray material and the Glow (Lume) map. The resulting textures will be procedurally generated and will only require 3DS Max and the included Mental Ray renderer. This really simple technique works best on smaller objects and not neon close-ups The result Notice: This is not the only way to create this effect and it’s definitely not the best one either. Although I’m using 3DS Max 2011 the process is basically the same on most previous versions. 1/4 Open the provided scene We’ve prepared a simple scene to speed things up for you. If you can‘t download the file or you have an older version of 3DS Max you can use any 3D objects you want. 2/4 The Mental Ray material Before we start please maximize the Camera window (right corner) by pressing “Alt+W”. } by pressing “m” and select the first empty slot.
Hit the “Go To Parent” { } button from the Material Editor. 3/4 Duplicate material. Exeter Shot.
Post_render. Lighting. Modeling. Shading (materials) Rendering. Animation. Creating a Tron-like Portal Part 4 « « Max Cookie Max Cookie. View topic - Architectural Glass Facade. Hello, I've recently started to use Yafaray for architectural rendering and love it!
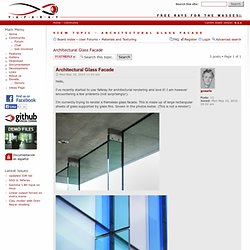
I am however encountering a few problems (not surprisingly!). I'm currently trying to render a frameless glass facade. This is made up of large rectangular sheets of glass supported by glass fins. Shown in the photos below. In order to achieve this the absorption colour/distance effect is very important. First i used the glass shader with an appropriate absorption colour/distance with a ior of 1.53. I Read using a blend material you could blend a small amount of a fully transparent and reflective shinydiffmatt with the glass material to add some reflectivity. I did this and it gives the desired reflectivity, however it completely removes the glass materials absorption effect.
Any ideas!? Thanks in advance, George.