
Hair & Fur in 3D Studio Max. Following a great thread in the finished works section of the forums, pixela was very kind to send me a little ‘How-To’ about the the use of 3D Studio Max’s Hair & Fur modifier you can see on the chair in the image above.
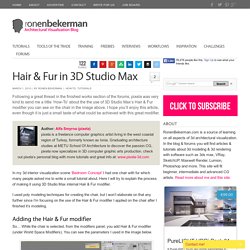
I hope you’ll enjoy this article, even though it is just a small taste of what could be achieved with this great modifier. In my 3d interior visualization scene ‘Bedroom Concept’ I had one chair with fur which many people asked me to write a small tutorial about. Here I will try to explain the process of making it using 3D Studio Max internal Hair & Fur modifier. I used poly modeling techniques for creating the chair, but I won’t elaborate on that any further since I’m focusing on the use of the Hair & Fur modifier I applied on the chair after I finished it’s modeling. So… While the chair is selected, from the modifiers panel, you add Hair & Fur modifier (under World Space Modifiers). First you should start with adjusting the size of your brush. 9 SketchUP Tips for better 3d modeling workflow.
I picked up SketchUP my first year of architecture school back in 2002 and never stopped using it since.
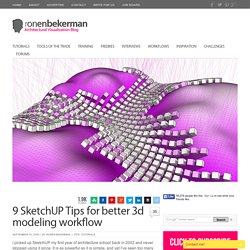
It is as powerful as it is simple, and yet I’ve seen too many pick up bad habits who find it hard to utilize SketchUP to its full potential. So while I work on the continuation of the Making of ‘MS House’ – Part 1, Let me elaborate further and share some more of my SketchUP work-flow. Before I get specific about a few things, I should mention that it is good practice to have the manual comfortably nearby while modeling and I also highly recommend watching the SketchUP video guides. The information I’ll elaborate here will, hopefully, help you model fast and efficient with a great amount of control over the 3d modeling process.
This is a pure text post, so please bear with me. Learning to use shortcuts is essential for fast modeling. I recommend mapping these commands Guides are a blessing, use them all the time. Color by Axis Monochrome mode X-Ray mode Hide Rest & Hide Similar Topology. Creating VRay for SketchUP Vermont Verde Antique Marble Material. ASGVIS 3D Artist and Trainer, Fernando Rentas, created the Vermont Verde Antique material in V-Ray for SketchUP Using basic material creation techniques as explained in the featured video tutorial “Creating Vermont Verde Antique”.
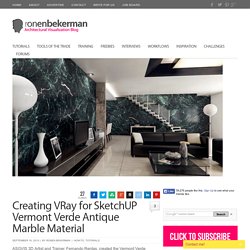
Fernando was able to match the rich green color and unique light green and white veins by looking at a small sample of the marble. Check out the video below, it is very informative and the result is remarkably good. You can also download most of the materials used in that scene form the ASGVIS website download area. 8 Hybrid 2D/3D Rendering Technique Videos by Les Chylinski. Realistic Rocks Tutorial by Daniel Hatton, Part 1. Making of Maison Hermes 3d render – 3D Architectural Visualization Rendering Blog - Ronen Bekerman.
Roberto De Rose from State of Art studio posted his great ‘Maison Hermes’ image at the forum not long ago.
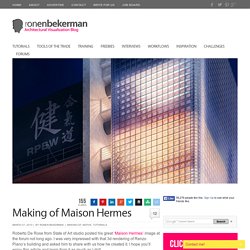
I was very impressed with that 3d rendering of Renzo Piano’s building and asked him to share with us how he created it. I hope you’ll enjoy this article and learn from it as much as I did! Author: Roberto De Rose (Cepp) Roberto is a Director at State of Art Studio – An architectural visualization studio based in Italy. Visit their website at – www.stateofartstudio.com Hi everyone, welcome to the Maison Hermes Making of. Let’s start! First of all, references! I can’t make an artwork (dedicated to our favorite architects) without photos. The modeling stage was the easy part, just the 12,000+ glass-blocks gave me a little problem. There are 9-12 spot lights on each floor, no HDRI, only a VRay sky with night settings. 3D Studio Max (3dsmax) & VRay were used to render out an A3 300dpi image (4960×3500).
Materials are very simple. Finally, we can start with the most fun part of the job! Linear Workflow made Simple by Matt Gorner. Generating 2d Displacment Map Texture from 3d models - Frank Gehry Titanium Scales Example. Bertrand posted a cool how-to article about the process of creating a 2d displacement texture map, including a reflection / glossiness map too.

Make sure to check his Frank Gehry Titanium Scales article at his blog. This method can easily be expanded to other 3d elements such as roof shingles, water drops on window, rope strands, pavement, etc. instead of actually using 3d models inside the scene.