
This playground. For the past 16 years, I’ve lived with my family in a small town on the coast of Maine.
Our community is filled with quirky, independent-minded, rather remarkable people, and my son (now 18 years old) is lucky to have grown up here, with these folks and their children as an extended family. One of those children is now also a high school senior, preparing to move to college, and out into the world. I’d like to introduce you to John Loxterkamp, who, as you will soon see, has a unique sense of visual style and wit, and a sophisticated ear for editing. What are the origins of John’s artistic vision? How did his early drawing skills inform his current work with video and typography? When John was an eight year old child, I was struck by his highly stylized drawings. At some point, around the age of nine, John turned to video. Design board and print blocks… DH is in the process of making me a design board.

Following instructions on Quiltart and on Mrs Mel’s blog, we went to buy a piece of 8′ by 4′ insulation board. It was interesting getting it home in the car, particularly as we had two of the boys with us! Here it is sitting in my studio. By the way, the latter is relatively tidy. Printmaking and Stamping with Foam StickersElementary AssistantElementary Assistant. I was given a large sack of foam stickets shapes and letters.
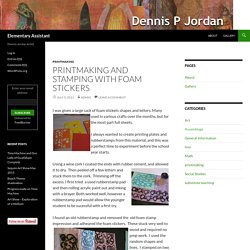
Many used in various crafts over the months, but for the most part full sheets. I always wanted to create printing plates and rubberstamps from this material, and this was a perfect time to experiment before the school year starts. Using a wine cork I coated the ends with rubber cement, and allowed it to dry. Then peeled off a few letters and stuck them to the cork. A Homemade Shape Stamp - Mama.Papa.Bubba. When you move overseas and take only things that can come along with you on the airplane, there are many things that just don’t make the cut.
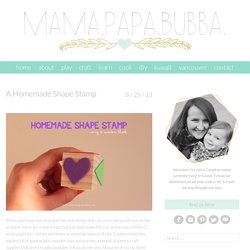
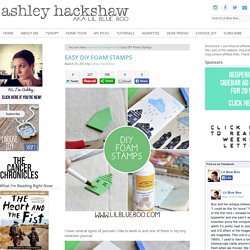
In the case of Miss G, we brought her clothes and shoes as would be expected, plus 2 rubbermaid bins packed full of good quality wooden toys and puzzles, a couple of games, craft supplies that aren’t readily available in Kuwait, her very favourite dress-up items and puppets, and as many soft covered books as would fit. One thing that didn’t make the cut however, was her awesome collection of wooden stamps. DIY craft foam stamps. I drew the design onto a thin sheet of craft foam, using a pink Sharpie marker.
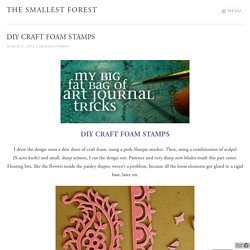
Then, using a combination of scalpel (X-acto knife) and small, sharp scissors, I cut the design out. Patience and very sharp new blades made this part easier. Floating bits, like the flowers inside the paisley shapes, weren’t a problem, because all the loose elements got glued to a rigid base, later on. The Plumed Nest: Make: Geometric Foam Stamps. I am not big into using stamps which means I never remember to buy them while at the craft store, but once in awhile I wish I had a stamp or two with a geometric pattern on hand.
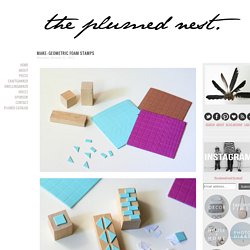
Well, I decided to stop kicking myself for forgetting to get some for the last 5 years and just make some myself. I used foam pieces that came as stickers and just stuck them to pieces of wood. If you don't have foam stickers or can't find any you can simply cut out your own shapes with an exacto knife and use double sided tape to adhere them to a block or almost any small hard surface. It's that simple folks. It really is. Enjoy xx. {creative soul}: Mojo Monday: Creating your own foam stamps! Happy Monday to you!
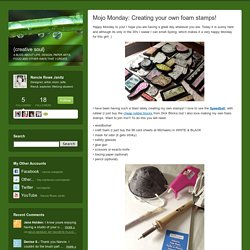
I hope you are having a great day wherever you are. Today it is sunny here and although its only in the 30's I swear I can smell Spring, which makes it a very happy Monday for this girl! :) DIY Simple Stamps from Foam. Fun foam stamping « genuine mudpie. It was one of those experiments that went very smoothly and turned out amazingly well, which doesn’t happen too often for me but when it does, it’s super exciting!
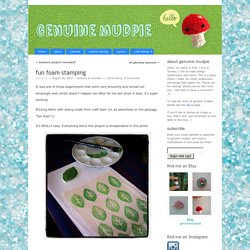
Printing fabric with stamp made from craft foam (or, as advertised on the package, “fun foam”)! It’s REALLY easy. Everything about this project is encapsulated in this photo. Art Techniques And Experimentation: Craft Foam Stamping. Craft foam is usually found in the children's crafts and comes in different sizes, shapes, and thicknesses.
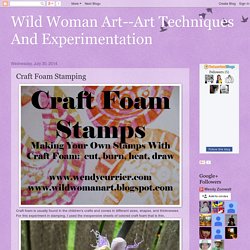
For this experiment in stamping, I used the inexpensive sheets of colored craft foam that is thin, Have you seen passion flowers? They grow on a vine and are in bloom now in Kentucky, USA. This beautiful example is from my neighbor-around-the-corner's garden. Easy DIY Foam Stamps. I have several types of journals I like to work in and one of them is my tiny moleskin journal: I love using color pastels on the pages: But they can be a little messy but a fixative “fixes” your images to the page but keeps them workable: Fixative also keeps charcoal from smudging: Just a light spray of the fixative is all you need:
Printmaking Techniques for Preschoolers. Untitled. Like most people I know, I have been trying to lessen the clutter in my home and studio. I admit, one of the categories of supplies that has been relegated to the "out" box is my stash of rubber stamps. Homemade Stamp Pads for kids. Ink stamp pads can be expensive and the ink in them stains little fingers for quite some time! I thought I would try my hand at some homemade stamp pads! They were a hit and we found we could use them over and over!
Check out our video below on how to make your own stamps and stamp pads below! To make your own you will need: Sponges. c21000f9957ac8f3d18b49597c45ca17.jpg (JPEG Image, 236 × 217 pixels) The Artful Child: The Art of Painting: Homemade Stamps & Stamp Pads. Making your own stamps and stamp pads is quick, easy & cheap! To make your own stamps, save your bottle caps, jar lids or wine corks. Then, apply foam stickers on the top of the lids and bottom of the corks. Voila! You have your own stamps in no time at all! All are equally fun to use, but the wine corks are really handy for younger toddlers, because they have more to hold on too.
Now for the stamp pads... DIY Art Materials: How to Make a Stamp. Make Your Own Stamp Pads. Whenever we do stamping projects in the studio we usually use stamp pads we've made ourselves. Homemade stamp pads are less expensive than store-bought and allow us to customize their size and the type of pigment we use in them.
To make our stamps, we use upholstery foam, polystyrene (like Styrofoam) tray and a hot glue gun. Upholstery foam is sold by the yard at fabric stores, and sometimes in packages at craft stores, and it's worth the effort to find a coupon if you're going to use it and purchase a lot. It doesn't need to be super-dense or thick, maybe 1/2" or 3/4". We like upholstery foam because the density and small size of the holes distributes paint well, but an easy and less-expensive alternative are cellulose dish sponges. Hot-glue a piece of upholstery foam (or a sponge) to polystyrene foam tray or a dessert-sized plastic plate.
Use a plastic spoon, palette knife or spatula to smear tempera or other water-based water-soluble paint into the upholstery foam. Make Your Own Foam Stamp « Making Art with Children. Hello! This post has moved to our new blog URL here. The Eric Carle Museum of Picture Book Art has a new website! 3e82f822e793fc2fd02972de773674b4.jpg (JPEG Image, 650 × 650 pixels)