
Plackets. Vented cuff. Fold-up cuff. Reducing shoulder-cap ease. Following the April discussions about Simplicity, I began to reflect on an issue that has arisen with every pattern I’ve encountered, and which Susannah wrote so hilariously about: shoulder cap ease.
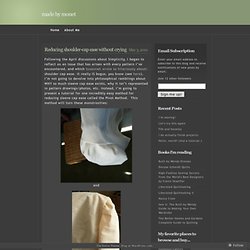
It really IS bogus, you know (see here). I’m not going to devolve into philosophical ramblings about WHY so much sleeve cap ease exists, why it isn’t represented in pattern drawings/photos, etc. Instead, I’m going to present a tutorial for one incredibly easy method for reducing sleeve cap ease called the Pivot Method. This method will turn these monstrosities: and into these lovely, smooth-looking sleeves in no time! Reduce Sleeve Cap Ease. I have written an additional entry on sleeve cap ease.
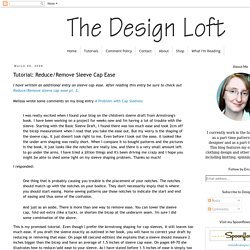
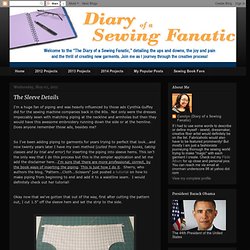
Sew sleeves flat (bathrobe) When I learned to sew, I was taught to sew sleeves separately and then insert them into the armhole on a dress or shirt. This is the method I use most often and the method outlined in the 90 Minute Shirt Tutorial and Beach Robe Pattern. But there’s always more than one way to do things. Set in sleeve tutorial. How do you set in a sleeve? This is the way I attach sleeves for a set-in sleeve style. Now I am not a tutorial kind of gal, but this is one case where the pattern instructions are not the best way of doing it. So, for the benefit of my fellow domestic seamstresses who have ever sworn and cursed over a puckered sleeve head, here it is: Mark all notches on sleeve and shoulder as per pattern pieces. I nick in with the scissors just a few millimetres deep. Now match all other notches, the 'waves' inbetween is the fullness to be eased in. Pin the whole sleeve head, pins cheek to jowl, as it were.
The whole thing is now pinned ready to go. Tutorial - Set-in sleeves. This is my first sewing tutorial for sewing set-in sleeves flat - please forgive the photo intensive entry and anything that is not too clear.
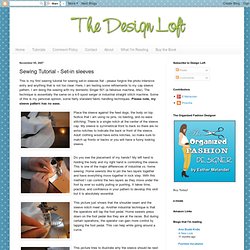
Here, I am testing some refinements to my cap sleeve pattern. I am doing the sewing with my domestic Singer 501 (a fabulous machine, btw). The technique is essentially the same on a 4-5 spool serger or industrial straight stitch machine. Some of this is my personal opinion, some fairly standard fabric handling techniques. Sleeve Details - piping. I'm a huge fan of piping and was heavily influenced by those ads Cynthia Guffey did for the sewing machine companies back in the 80s.
Not only were the dresses impeccably sewn with matching piping at the neckline and armholes but then they would have this awesome embroidery running down the side or at the hemline. Does anyone remember those ads, besides me? So I've been adding piping to garments for years trying to perfect that look...and now twenty years later I have my own method (culled from reading books, taking classes and by trial and error) for inserting the piping into sleeve hems. This isn't the only way that I do this process but this is the simpler application and let me add the disclaimer here...I'm sure that there are more professional, correct, by the book ways of inserting the piping. Tulip Sleeve Tutorial. It must be wedding season again.
My aunt called me up a week ago saying she was going to make a bridesmaid dress for a woman she does not know, and would not meet until the day of the wedding. She could not get a pattern in the same style as the other maids would have, and her challenge was to modify a pattern to make it look similar, as well as make it fit. The one thing she said she wasn't going to do was to try to make it a tulip sleeve like all the other girls would have. Tulip Sleeve Tutorial. As promised here is my tulip sleeve tutorial.

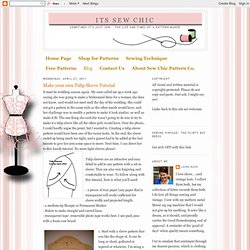
Tulip sleeves are an overlapped sleeve that can be fitted or puffed. It allows for a greater range of motion than the normal cap sleeves and adds some variety. You can trim the edge of the sleeve with pleats, ruffles, braided or beaded trim or lace. A Summery Flutter Sleeve. I do not go sleeveless.
Ever. I am lucky to be fairly strong, but my upper arms are not very well defined, so if I can avoid exposing them, I do. This is sometimes tricky, as there are many summer styles that are sleeveless. So, if there's a shirt or dress that I adore, but it comes sans sleeves, I add a flutter sleeve to cover the doughier parts of my upper body. I love using a lightweight chiffon or knit chiffon, which work great for the dupioni top in this example, but if I'm working with a more casual top, a drapey knit also works fabulously.
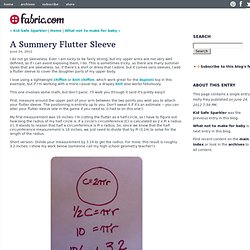
This one involves some math, but don't panic. First, measure around the upper part of your arm between the two points you wish you to attach your flutter sleeve. My first measurement was 10 inches. Short version: Divide your measurement by 3.14 to get the radius. Once you know the length of your radius, you have to mark out your semi-circle on paper to start your pattern. Eventually, your arc will make a half circle.