

Folded Rose Tutorial. Polly Wiggins, a quilling friend in Kansas, encrusted this paper mache heart with beautiful folded roses and fringed flowers.
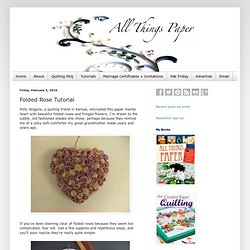
I'm drawn to the subtle, old fashioned shades she chose, perhaps because they remind me of a silky-soft comforter my great grandmother made years and years ago. If you've been steering clear of folded roses because they seem too complicated, fear not. Just a few supplies and repetitious steps, and you'll soon realize they're really quite simple. Supplies: Quilling paper - any width will work, but 3/8 inch or 1/4 inch are used most commonly. Tutorial Ruffle Chiffon Flower. I make hair accessories for a local boutique and have been trying to make a chiffon flower that would be perfect for special occasions like weddings and such.
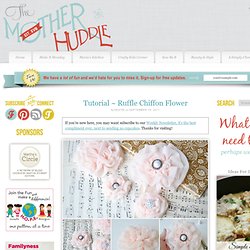
I think I finally got it. Layers and layers of ruffles and just the right amount of pouf. I made some little tiny ones for newborns, and some mighty big ones for the big girls. I think the big ones would be perfect to clip on special occasion dresses too. I have a full tutorial with pictures and I found a simple way to get the ruffles without all the fray that comes with chiffon too – that little tip in itself is worth the jump! Supplies: chiffon fabricall your sewing stuffrotary cutter and mat (can use shears, but it will be a little harder)buttonhair clip (I used single prong, but any would work)feltneedle and threadhot glue Instructions:
Everyday Mom Ideas: Scrap Paper Tree Centerpiece Tutorial (Featured guest blogger) Hi there! I'm Sharon from Two Girls Being Crafty, and I am so delighted to be today's guest blogger on Everyday Mom Ideas! Easy peasy D.I.Y - Beyond Beyond. This D.I.Y Revolution will not be televised This D.I.Y revolution will not require you getting up at stupid o’clock and fighting your fellow man tooth and nail for paint and nails This D.I.Y revolution will not require giving up most of your weekend and crying about the flakes of paint in your hair This D.I.Y revolution will not feature Laurence Llewelyn-Bowen or any of the team from Extreme Makeover: Home edition* It will just require you – some card and scissors and you can get your homemade flowers on for full deets on this DIY teach get thee gone to Cardgirl Invitations and see the end result via Dozi Design as Wendy is the original genius behind these.

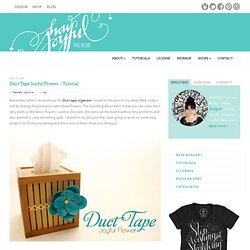
*We would like to offer our sincere apologies to Gil Scott Heron for ruining a classic – but he had to be sacrificed in the name of blogging! About the author I'm the big kahuna with the whole shebang. Duct Tape Joyful Flower – Tutorial. Remember when I showed you the Duct tape organizer I made for the pens in my desk?
How To: Rolled Fabric Flowers. So I am jumping on the bandwagon and loving all the rolled fabric flowers I've seen here and there.
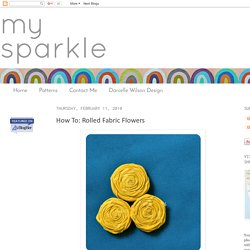
We decided to make some with the girls in our church youth group, but I couldn't find a great tutorial on how to make them so I played around and this is what I came up with.Enjoy! Start with about a 1" ripped strip of fabric (you can use any width...this was the width I liked best). The length and weight of your fabric will dictate the end diameter of your flower. Fold the strip in half and dot a little fabric glue on the end 1/2" or so. Roll the glued end a few times to get a nice tight center. Then, once you have a center you like, start twist/folding your fabric away from the center as you roll. It will start to look like this. Continue rolling until you have a flower that is sized the way you like, but make sure you leave at least a 1" or 2" tail (enough to cover flower bottom).
Spread glue all over the bottom side of the flower. Craftaholics Anonymous™ Learn how to turn old t-shirts into pom poms!
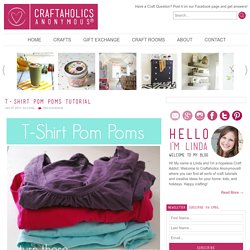
T-shirt Pom Poms are so much more durable than tissue paper ones. And I think they look loads better! Got an old tee or two {or 20!} That you don’t wear anymore? Turn them into *pretty little pom poms! Supplies t-shirts, 1 per pom pomscissorscardboard use round objects to trace circles onto cardboard to make 2 templates like those shown above. i used a roll of tape and my camera lens cap…. the diameter of the outer circle is 6.5″ and the diameter of the inner circle is 2.5″. you can play around with different template sizes to get different sized pom poms. cut your t-shirt into 1/2″ strips. i only used from the arm pits down on each shirt. . take one strip and one template and place strips as shown close to the inner circle. sandwich the strip by putting the other template on top. take a fabric strip and place on cardboard with the end even with the outer edge. continue winding the strips around the template until you reach the other side.
Decor du jour: pom poms – DUJOUR MAGAZINE. How to Make a Simple Bow. These little bows are so simple and fun-- I make them all the time.

They are so versatile-- you can wear them as shoe clips, hair clips, broaches, whatever you want! I've also attached them to headbands. (Photo from last year when I was obsessively watching Mad Men and attempting the bee hive hairdo. Looks a bit like Marge Simpson if you ask me. ;) ) How to Make Simple Bows: Step 1: First you need to cut a rectangle of fabric with a little sliver of fabric to set off to the side. Step 2: Next you need to fold the fabric onto itself, lengthwise. Step 3: Now fold the fabric in the other way to to middle. Step 4: Stitch those bad boys together. Step 5: With a curling iron, straightener, or iron, press the sides of the little sliver of fabric together.