
t-shirt pom poms | Craftaholics Anonymous™ Learn how to turn old t-shirts into pom poms! T-shirt Pom Poms are so much more durable than tissue paper ones. And I think they look loads better! got an old tee or two {or 20!} Supplies t-shirts, 1 per pom pomscissorscardboard use round objects to trace circles onto cardboard to make 2 templates like those shown above. i used a roll of tape and my camera lens cap…. the diameter of the outer circle is 6.5″ and the diameter of the inner circle is 2.5″. you can play around with different template sizes to get different sized pom poms. cut your t-shirt into 1/2″ strips. i only used from the arm pits down on each shirt. . take one strip and one template and place strips as shown close to the inner circle. sandwich the strip by putting the other template on top. take a fabric strip and place on cardboard with the end even with the outer edge. wind around the template as shown. pull the strip tightly so that it stretches the material. when you get to the end of the strip….
How to Make a Simple Bow These little bows are so simple and fun-- I make them all the time. They are so versatile-- you can wear them as shoe clips, hair clips, broaches, whatever you want! I've also attached them to headbands. (Photo from last year when I was obsessively watching Mad Men and attempting the bee hive hairdo. How to Make Simple Bows: Step 1: First you need to cut a rectangle of fabric with a little sliver of fabric to set off to the side. Step 2: Next you need to fold the fabric onto itself, lengthwise. Step 3: Now fold the fabric in the other way to to middle. Step 4: Stitch those bad boys together. Step 5: With a curling iron, straightener, or iron, press the sides of the little sliver of fabric together. Step 6: All done!
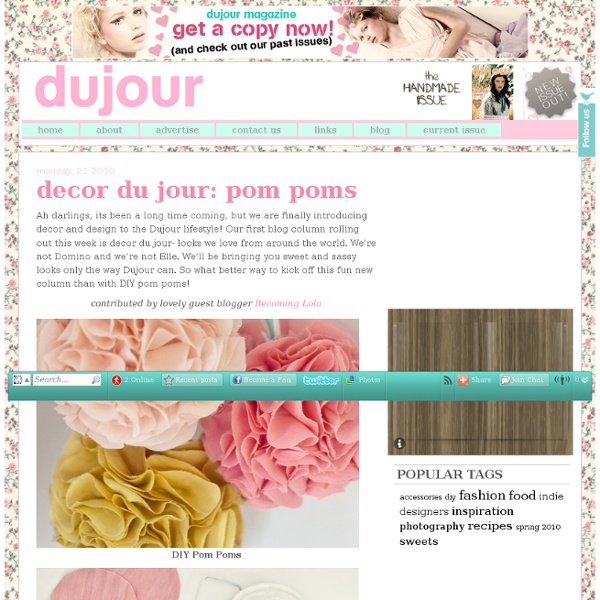
Tissue Paper Flowers You'd think after making hundreds of these for my wedding, I'd be completely sick of them. But I can't help it, I love them so much! I'm a little sad that I didn't save a bouquet of paper flowers from my wedding, but I never thought I'd want to see them again. So I made some for home, only this time as a garland... ...And as bedroom decor... ...And maybe I couldn't resist making just a few little blossoms... Want to make some? Materials: Tissue paper Heavy-duty scissors Floral wire Make sure you use a pair of scissors that you don't mind ruining, because they're going to take a serious beating here. For a package of 20" x 25" tissue paper, 8 sheets: Large flowers (Peonies): 16 per pack Small flowers (Carnations): 32 per pack Mini pompoms (Garland): 8 per pack Small pompoms: 2 per pack Medium pompoms: 1 per pack* Large pompoms: 1 per pack *There will be enough paper leftover from a medium pompom to make flowers or mini pompoms The flowers are easiest, so lets start there. And here's completed!
Watermark Tee by Sweet Verbana Hello U-Create readers! I am so excited to be guest posting here today. It just so happens to be my first guest post and I'm still a little shocked that it's here at Ucreate, one of my favorite blogs! A little bit about me.. I'm from a little town called Keller, Texas. I'm a junior at Texas A&M University (whoop!). I'm working on my education degree and expect to be an elementary school teacher in just two short years. When I'm not busy studying for classes, I love to sew. I just started blogging in May and have already met all kinds of wonderful women, I hope you'll stop by and say hi too! Watermark Tee Tutorial What I love about this project is that it's completely customizable. Materials: Elmer's Blue Gel Glue (it must be the blue gel, white won't work) Fabric Dye (RIT is my tried and true brand) A white cotton Tee, Tank, Dress etc. Tutorial: If you're unfamiliar with Batiking, it's a method of dyeing fabric in which you create a design with a dye- resist. Step 1: Prepare Step 2: Design
I Heart Reclaimed and Repurposed Reclaimed wood AND repurposed leather belts AND mason jars - Holly and PJ from Getting Weddy on Etsy put them together to create unique wall sconces. The fact that they are using existing resources makes my heart sing. The fact that they are saving money for their 2012 nuptials is just too sweet for words. Until next time... Stumble this post How To: Rolled Fabric Flowers So I am jumping on the bandwagon and loving all the rolled fabric flowers I've seen here and there. We decided to make some with the girls in our church youth group, but I couldn't find a great tutorial on how to make them so I played around and this is what I came up with.Enjoy! Start with about a 1" ripped strip of fabric (you can use any width...this was the width I liked best). The length and weight of your fabric will dictate the end diameter of your flower. Fold the strip in half and dot a little fabric glue on the end 1/2" or so. Roll the glued end a few times to get a nice tight center. Then, once you have a center you like, start twist/folding your fabric away from the center as you roll. It will start to look like this. Continue rolling until you have a flower that is sized the way you like, but make sure you leave at least a 1" or 2" tail (enough to cover flower bottom). Spread glue all over the bottom side of the flower. Then fold tail down to cover glue. Maybe.
Six paper flowers It got into my head that I needed to make some paper flowers. I don’t know why. But I figured it wouldn’t be a big deal because the Internet is a veritable smörgåsbord of craft tutorials, and all I had to do was fire up Lappy 5000 and pick one out. About 300,000 search results later, I was no longer any more confident in my ability to make a paper flower than I was in my cat’s ability to retrieve his stupid mouse instead of staring at my hand after I throw it. There were just too many choices and although I could compare the photos, they didn’t reflect (1) how good each tutorial was, (2) how closely my flower would resemble the picture, or (3) which flowers would look nice together. Then again, I thought, if anyone is supposed to try every single one, it might as well be me. After some consideration, I decided that 300,000 might be a few too many to take on, so I narrowed it down to the six most promising and got to work. Wow, that sounded kind of racist, didn’t it? Hope that helps.
Carbon Couture: Your Cheat Sheet to Everything Chic Tutorial Ruffle Chiffon Flower I make hair accessories for a local boutique and have been trying to make a chiffon flower that would be perfect for special occasions like weddings and such. I think I finally got it. Layers and layers of ruffles and just the right amount of pouf. I made some little tiny ones for newborns, and some mighty big ones for the big girls. I think the big ones would be perfect to clip on special occasion dresses too. Supplies: chiffon fabricall your sewing stuffrotary cutter and mat (can use shears, but it will be a little harder)buttonhair clip (I used single prong, but any would work)feltneedle and threadhot glue Instructions: First decide how big you want your flower and how much pouf you are going for. Now here comes the trick I was telling you about. See, no fray! Cut a circle from your felt that will be the base of your flower. Now pull the corner of the end down and tack with a dab of glue onto the back like shown. You could be finished here. You can sew a button onto the center. ~Destri
Duct Tape Joyful Flower – Tutorial Remember when I showed you the Duct tape organizer I made for the pens in my desk? Well, today I will be sharing the tutorial to make those flowers. The cool thing about them is that you can clean them very easily unlike fabric flowers I used to decorate, this ones can be dusted without any problems and also washed in case something spills. **The download is a PDF format file, so you will need to have Abobe Reader installed on your PC or MAC. [ Click on Images to enlarge] There are so many ways to used them!! Happy crafting! * This tutorial is provided for personal, non-commercial use only.
Lunch bag flowers Making flower decorations out of paper bags was a fun treat. The kids really had fun helping me. I first saw these on the Something Old, Something New wedding blog. From there I got the link to the pattern and instructions on the Martha Stewart website. I chose brown paper bags for a more neutral tone. They turned out so nice. I made a tutorial showing how to make this paper craft with your own paper. I used book paper but newspaper, wrapping paper or scrapbook paper would all work great too. Click the image below to see the tutorial. Enjoy! P.S.- I made this... DreamPatch: Sewing Kit Tutorial and Giveaway! A little while ago I put together a little sewing package for a friend that was learning to sew. Inside a sewing kit very similar to this. I thought it might be fun to do a little tutorial on hoe to make it. I'm sure you'll have everything you need in your stash to make one. ;) What you'll need: For the body: 9 strips of fabric1.5" wide or 1 piece of fabric 10.5" x 7.5" 1 piece of contrast fabric 10.5" x 7.5" (for lining) 1 piece of batting about 12" x 9" For the pockets: 2 pieces of fabric 3.5" x 7.5" (I just used more of my lining fabric) 1 piece of fabric 3 3/4" x 5" (your choice of colour) Needle book: 2 pieces of fabric 3" x 4" (I used a scrap piece from my front panel) 1 piece of felt 3.5" x 2.5" Extra: about 40" of binding. a piece of elastic. a contrasting button. Please dont be alarmed at all those numbers. Step 1. Trim your panel to measure 10.5" x 7.5". Tip: Square your ruler from a seam not from the edge of the fabric. This is what you should have at this point. Step 2. Step 3. Step 4.