
Unusual Fonts. 1001 Free Fonts - Download Free Fonts for Windows and Macintosh. Create a nifty glass text effect. 18 Awesome Photoshop Text Effect Tutorials. 33 Creative Photoshop Tutorials Text Effects for Beginners and Advanced. Tutorials February 9, 2010 In creating texts for your images- whether it be for logos or headlines- we are given the option to make it more lively or to make it plain and simple… However, nowadays, ‘too simple’ is not quite the standard in designs.
Of course, as designers, we know people tend to expect too much. Following several guidelines and tips, we can create out-of-this-world images and unique designs right from our fingertips. Applying effects on your text is one of the coolest things to do in Photoshop. Not only do text effects add beauty to your designs, but they are pleasurable to the eye.
Create a Stunning Text on Wild Fire Effect This tutorial will teach you how to create a wild fire effect. How to Create a 3D Text Photo Manipulation In this tutorial, you will learn a 3D text photo manipulation. Create a Spectacular Grass Text Effect in Photoshop This will teach you how to add a grass like texture in photoshop. Ask H&FJ: Four Ways to Mix Fonts. The League of Moveable Type. Lost Type Co-op. A comprehensive guide to the anatomy of type. Create an Editable On Screen Text Effect using Smart Objects « PsAwesome★ Awesome Photoshop Tutorials. In this Awesome★ Photoshop tutorial, i’m going to show you how to create an editable screen shot text effect.
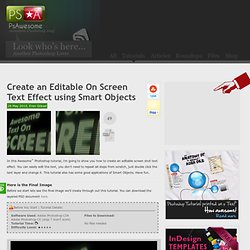
You can easily edit the text, you don’t need to repeat all steps from scratch, just double click the text layer and change it. This tutorial also has some good applications of Smart Objects. Have fun. Here is the Final Image Before we start lets see the final image we’ll create through out this tutorial. You can download the layered PSD document here. Before You Start | Tutorial Details: Software Used: Adobe Photoshop CS4Adobe Photoshop CS (step 7 won’t work)Tutorial Time: Difficulty Level:★★★★★ Files to Download: No files needed Create a New Document Lets start by creating a new document which is 900 x 600 pixels at a resolution of 300 pixels/inch, make sure Color Mode is set to RGB.
Create the RGB Pattern Fill the Background with Black. Create the Text Now you can delete all shape layers and clear the guides by going to View > Clear Guides. La sélection des 60 plus belles typographies gratuites du web. Download Free Fonts. Here you'll find various fonts that you can download for free.

Please feel free to browse around and download them. We currently have 568 free fonts available for download: Font downloads have been disabled until further notice as it has been brought to our attention that some of the fonts within the database require licenses. We are in the process of removing these fonts and until we are done doing so, we cannot allow any downloads. Cool Font Pairings. Create realistic type on wood. In this tutorial we are going to take some regular text and add some effects to make it look like it has been painted or printed on wood.
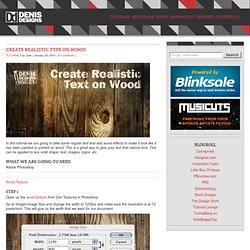
This is a great way to give your text that natural look. This can be applied to any solid shape, text, images, logos, etc. What we are going to need Adobe Photoshop Wood Texture Step 1 Open up the wood texture from Zen Textures in Photoshop. Go to Image>Image Size and change the width to 1200px and make sure the resolution is at 72 pixels/inch. Step 2 Using the Type Tool (T), create some white text that will roughly fit the width of the document (leaving some space on the edges). Using the Crop Tool (C) crop the top and bottom edges so they have a small margin around the text, about the same amount as the sides or a little more. Step 3 Click on the eye icon to the left of the text layer to make the text disappear. Go to File>Save, and save it as a Photoshop file.
Step 4 Make sure you have the background layer selected. Now go to Image>Adjustments>Threshold.