

Poppytalk. DIY : Print Your Own Fabric. Guest post by Karina from Maple Ash and Oak Hello there, I am Karina from Maple Ash and Oak.

Here I will show you a simple and inexpensive way to create your very own fabric pieces. No need for large screens, squeegees, and emulsion. Beautiful prints can be created with simple methods and materials. Most of the supplies are household items and the rest can be found at your local art or craft store. Industrial Strength Jewelry.
My mom, sister, and I have been on a washer necklace making kick lately.
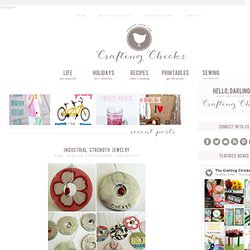
Here’s what you do: Phase 1 Supplies: Stamps Hammer Washer (we use fender washers) Hard surface Hair Spray Magic Marker Scissors Scrapbook paper You can buy the metal stamps from Harbor Freight Tools for about $5 (here’s a 20% off coupon if you are interested). Once you have decided on a saying or word for your washer, hold on tight to the stamp and give it one firm and quick swing with the hammer. The wood actually wasn’t hard enough and we ended up moving to the tile floor. Photography and Handcrafts by Shireen Nadir. I wanted to share a super easy technique for bead weaving that I used to create an adorable Swarovski crystal bracelet, at less than a tenth the price.
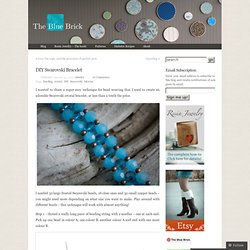
I needed 32 large frosted Swarovski beads, 16 clear ones and 32 small copper beads – you might need more depending on what size you want to make. Play around with different beads – this technique will work with almost anything! Step 1 – thread a really long piece of beading string with 2 needles – one at each end. Pick up one bead in colour A, one colour B, another colour A and end with one more colour B. Step 2 – Insert needle B back through the last bead added, so now both ends of your threads are coming out of one colour A bead, like so: DIY Fashion. Genius inspired window treatment. DIY: Rope Bowl. I have quite a love for WWII military, and this bowls fits perfectly into that love being made out of a 1940s Army tent rope.
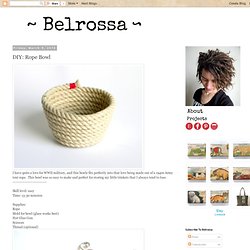
This bowl was so easy to make and perfect for storing my little trinkets that I always tend to lose. ---------------------------- Skill level: easy Time: 15-30 minutes. Pintuck Pillows. There’s something going on with me lately that makes me want to sew repetitive lines.
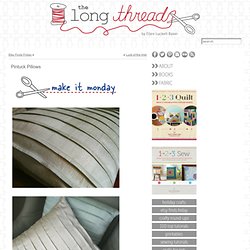
May need psychoanalysis. Anyway, I made these pillows from washed silk. I had some silk remnants, washed them on cold and let them air dry, which gives the silk a wrinkled look. These pillows use pintucks to create a tailored, clean look. How To Make An Easy Dress (For Cheap!) Two facts about me: I'm cheap.
I love dresses. I wear dresses probably 6 days out of the week. It's not that I one day just decided to wear dresses to feel cute and girly. Far from it. Mouse Pincushion Video Tutorial. Divergent and Insurgent Book Cover Necklaces AKA Glass Tile Pendants Tutorial. Le.Fanciulle: DIY Leather Lunch-bag. Ever since I saw this post on Kaye's blog last year, I've been dying to do this DIY!
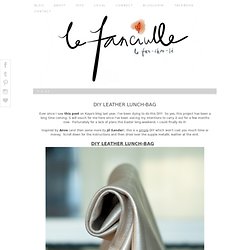
So yes, this project has been a long time coming; S will vouch for me here since I've been voicing my intentions to carry it out for a few months now. Fortunately for a lack of plans this Easter long-weekend, I could finally do it! Inspired by Anve (and then some more by Jil Sander), this is a simple DIY which won't cost you much time or money. Scroll down for the instructions and then drool over the supple metallic leather at the end. Materials Rustle up a big piece of leather (or pleather, or anything else you might fancy it in), some supa-glue, scissors, 4 press-studs, and a sewing machine.
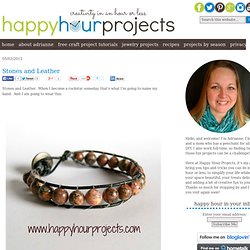
Measure and cut out a large rectangle of leather (mine was about 45cm x 70cm) - the easiest way is to find a paper bag or a box which is similar in size to what you'd like your bag to be, then use those dimensions (lay it out as if you're going to wrap the box). Et voila! Roll, fold, or bunch the top and off you go. No Sew Leather Paper Bag Clutch. DIY Braided Seed Bead Bracelet. Stones and Leather. Stones and Leather.
MAGIC Decal Transfer Tutorial with Free Printables! Some of you may remember, a little while back I posted a tutorial for DIY waterslide decals.
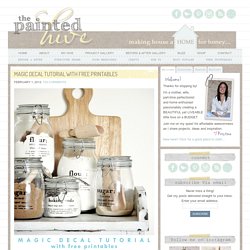
Among other things, I mentioned how awesome they are for creating custom embellishments without the need for any fancy-pants equipment. Yep, waterslide decal paper is a truly fab product, though as great as it is, there is one drawback – although it’s somewhat tough it’s not especially durable. So, whilst it’s perfect for ornamental purposes, it’s not ideal for more practical applications…until now that is! Magic decal coating paper is a product designed to be used in conjunction with standard decal paper to make the finished transfers super durable – yes, even dishwasher resistant! If you’re already familiar with magic decal coating paper then please excuse my tardy excitement, though for everyone else who is just getting to the party now too, feel free to start throwing the streamers!
1 Image to transfer. Use anything you like. 2 Printer. Stencils from The Stencil Library - Over 3500 STENCILING designs available - Stencil Catalogue. The letter 4: Organize Your Jewelry.