
Sewing 101: making a pouf. Add a burst of color to your room with this crafty pouf!

At 17” wide and 10” deep, it’s large enough to serve as floor seating or a foot stool. (And if you have pets, I have a feeling they may want to make this their new favorite spot!) This project is a little challenging to sew, but it’s not too difficult, so if you’re comfortable with the basics of sewing, give it a try. You can make a colorwheel effect with a range of solid colors, or choose a variety of patterned fabrics for a louder patchwork effect. Medium-weight cottons work well for this design (check out quilting shops for great selections of solids and prints). I love the idea of making a set of these poufs in a range of sizes, for a sculptural stack of cushions that will become a room element in their own right. CLICK HERE for the full how-to after the jump! Finished Dimensions: 17” diameter by 10” tall What You’ll Need ¼ yard each 12 coordinating fabrics (I used quilting cottons) 1 yard muslin 3 pounds fiberfill stuffing iron 1.
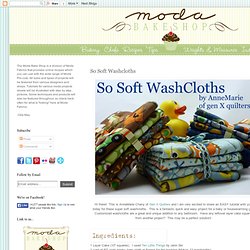
So Soft Washcloths. Hi there!

This is AnneMarie Chany of Gen X Quilters and I am very excited to share an EASY tutorial with you today for these super soft washcloths. This is a fantastic quick and easy project for a baby or housewarming gift. Customized washcloths are a great and unique addition to any bathroom. Have any leftover layer cake squares from another project? Pajama Eaters – The Tutorial. There are few new additions to our household.

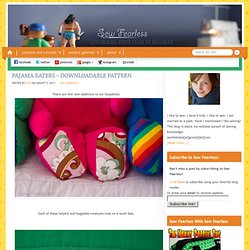
Each of these helpful and huggable creatures lives on a small bed, and has quite an appetite for clean-but-not-squeeky pajamas. We feed them every morning and they give back the jammies at night. Isn’t that nice of them? We call them our Pajama Eaters. Project Materials For this project you will need: 1 yard of fabric (42″ wide) for the monster’s body and limbsA fat quarter (18″ x 22″), or 1/2 yard cut of fabric for the mouth and pillow liningFabric scraps for applique eyes and for the soles of the feet9″ x 12″ sheet of white felt for teeth12″ zipper that matches the mouth fabricFiber-fillSewable iron-on adhesive like Heat ‘n’ Bond Lite for the eye appliquesmatching threadsThe Usual Sewing Implements – sewing machine, pins, hand sewing needle, scissors, etc I used quilter’s cotton to make the monsters pictured (except the hot pink material is corduroy).
Download the Pattern and Directions This pattern has been moved to my pattern shop! Tutorial~Ruffle shirt~ Make a Custom Pair of Tap Pants. By Haley Pierson-Cox For me, summer in NYC means two things: 1) I will eventually wear a light skirt into the subway when my hands are full, and 2) on that day, when I step onto the stairs of the station, a gust of wind will come barreling up from below, lifting my skirt and showing my backside to anyone who cares to look. This year, on the very first nice day, my skirt flew up not once, but twice. In the same commute. Grumbling and scrambling to pull it down, it hit me: I definitely needed a pair of tap pants. In case you’re not familiar, tap pants work like a slip, but they’re actually shorts, making them the perfect solution to my summer skirt woes.
DIY No Knit Scarf. We love Rike Feurstein.

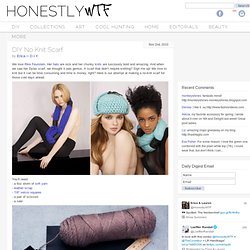
Her hats are sick and her chunky knits are lusciously bold and amazing. And when we saw her Dylan scarf, we thought it was genius. A scarf that didn’t require knitting? Sign me up! We love to knit but it can be time consuming and time is money, right? Faux Chenille Blanket. Tutorials 49: Oilcloth Summer Tote. DIY Shift Dress. TUTORIAL: Reconstructed Men's Shirt to Button-down Tank Top! (surgery prep) Bear with me, this is my first tutorial ever!

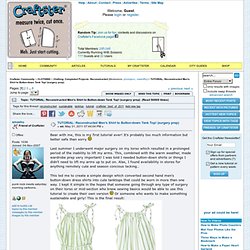
It's probably too much information but better safe than sorry Last summer I underwent major surgery on my torso which resulted in a prolonged period of the inability to lift my arms. This, combined with the warm weather, made wardrobe prep very important! I was told I needed button-down shirts or things I didn't need to lift my arms up to put on. Alas, I found availability in stores for anything remotely cute and season concious lacking..
This led me to create a simple design which converted second hand men's button-down dress shirts into cute tanktops that could be worn in more than one way. Or someone who wants to make something sustainable and girly! ON TO THE TUTORIAL! Turn the shirt inside out and cut off the sleeves leaving the seam allowance on the piece you are cutting off. Now that you have a raw edge around the arm hole, you need to finish it so it doesn't come apart while you are you working on the rest of the shirt. Oilcloth Tote Tutorial.