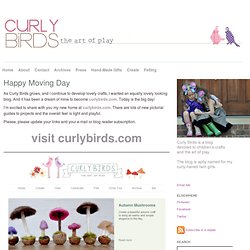

Curly Birds. A couple of years ago around this time of year, a friend of mine taught me how to make a needle-felted mushroom.

It was red and white and had little spots on the top. I've been hooked on needle-felting ever since. Needle-felted mushrooms are a beautiful autumn craft. Creating something organic brings an earthy and simple elegance to the day. And the roving (wool fleece) feels and smells so good. These mushrooms would make a really pretty centerpiece for an autumn meal and I'm about to create a fairy tea party for Nola and Kira using them as decorations. Continue reading "How to Make a Needle-Felted Mushroom" » Yellow Heart Art. ((I apologize ahead of time for my ghetto fab photos.

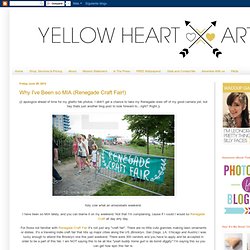
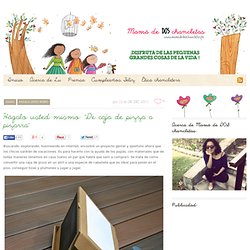
I didn't get a chance to take my Renegade ones off of my good camera yet, but hey thats just another blog post to look forward to…right? Right.)) holy cow what an amazeballs weekend. I have been so MIA lately, and you can blame it on my weekend. Not that I'm complaining, cause if I could I would so Renegade Craft all day erry day. For those not familiar with Renegade Craft Fair it's not just any "craft fair". I'm going to be sharing tips and tricks on how to prep for a craft fair on this lil lady's blog in a few weeks, so for now I'm just going to tell you about my experience with Renegade. Holy. I absolutely LOVED it. Home - Creature Comforts - daily inspiration, style, diy projects + freebies. Duduá. Hágalo usted mismo: “De caja de pizza a pizarra” Buscando, explorando, husmeando en internet, encontré un proyecto genial y oportuno ahora que los chicos saldrán de vacaciones.

Es para hacerlo con la ayuda de los papás, con materiales que de todas maneras tenemos en casa (salvo un par que habrá que salir a comprar). Se trata de cómo convertir una caja de pizza en un atril o una especie de caballete que es ideal para poner en el piso, conseguir tizas y plumones y jugar y jugar. Este proyecto lo encontré en Kireei y luego fui a la página original: “Whipup” para verlo completo.
Pide una pizza, de preferencia familiar, guarda la caja y busca los siguientes materiales: Pieza extra de cartón corrugado del mismo tamaño que la parte superior de la caja de pizza.Una tapa de botellaUna pequeña pieza de espumaPapel de contacto transparente (para la pizarra acrílica)Cartulina blanca.Pintura negra para pizarra (*)Cutter, tijeras, pistola de silicona. Paso 1: Pegar hacia abajo las solapas de la caja de pizza para que no se salgan.
Hablamos, Lu. Holder for Charging Cell Phone (made from lotion bottle) My husband and I both have cell phones.

And both of us have phone chargers. And that means lots of obnoxious cords. You never know when one of us may be moving phone cords around, to give our phones an extra charge while we’re chatting away……… or trying to charge our phones up before running errands or something. Needless to say, those phone cords seem to be everywhere…..and are generally in the way and hanging all over the floor.
(Okay, and how about when you’re in a hotel or visiting family/friends. I was looking around on the internet for a solution and found this. It made the perfect little holder for my cell phone while it’s being charged. Holder for Charging Cell Phone And no more phone hanging down from the outlet while in this room or that room……..the cord and phone are now up off the ground, and tucked away into the little holder, while the phone drinks up a full charge.
If you look closely, you can see that the orange print is fabric. And turns out, it’s pretty useful. Cool. Supplies: Stamp Fabric ink pad Pre-washed Twill trim (I use 1/2" wide) Scissors Iron (optional) The stamp I use is a letterpress block I made to say "BELROSSA" To get started, make sure the trim is pre-washed to minimize stamp fading.

Simply press the stamp onto the ink pad and then onto the trim about an inch or more apart After stamping the trim, I like to heat set the ink onto the trim. This is optional, but will give longer lasting results. Next, cut the trim into pieces, and you are ready for sewing! To sew, fold the raw edges under and sew a straight line up and down near the fold. *I found my letter press letters at a local antique store, they are also available multiple placed around the internet...etsy, ebay, antique webstores.
Fab You Bliss. DIY ropa! Kojo Designs. Cool. Alisaburke.