
Mandilicious Christmas: Magnetic Geo Clay Planter. Have a few people still on your list?
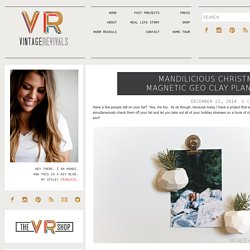
Yea, me too. Its ok though, because today I have a project that will simultaneously check them off your list and let you take out all of your holiday stresses on a hunk of clay! Win win!! To make this project you will need: Clay (we Amaco Air Dry Clay from the craft store ) The clay takes about 24 hours to dry A marker or something to make a hole. Mandilicious Christmas: Himmeli Gift Topper. You guys are in for a treat today.
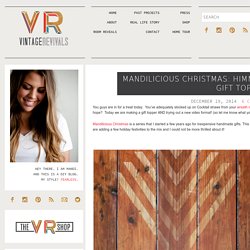
You’ve adequately stocked up on Cocktail straws from your wreath making I hope? Today we are making a gift topper AND trying out a new video format! (so let me know what you think!) Mandilicious Christmas is a series that I started a few years ago for inexpensive handmade gifts. Vintage Revivals — Fearless DIY. Geometric Himmeli Wreath 2.0. I have had SO many requests for this tutorial, I hope that you guys love it!
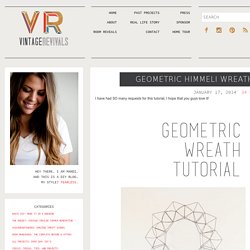
This design is a little more complicated than the first geometric himmeli wreath, and as I was shooting the pictures, there was just so much in the pictures, it was pretty confusing. Geometric Himmeli Heart Tutorial. You guys are in for a treat today.
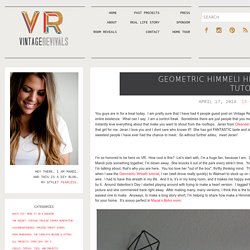
I am pretty sure that I have had 4 people guest post on Vintage Revivals in its entire existence. What can I say. I am a control freak. Sometimes there are just people that you meet that you instantly love everything about that make you want to shout from the rooftops. Jeran from Oleander and Palm is that girl for me. I’m so honored to be here on VR. So, there are lots of steps, but its really simpler to make then you think. 1. 2. 3. 4. 5. 6. 7. The Nugget: Retro Diamond Sharpie Wall Pattern. Dudes!
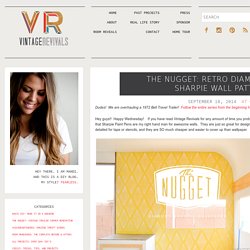
We are overhauling a 1972 Bell Travel Trailer! Follow the entire series from the beginning here! Hey guys!! Happy Wednesday! Geometric Halloween Moon Art. Happy Monday you guys!!

I can.not believe that it is almost Halloween. Isn’t it still supposed to be June? Where have the last 5 months gone?! Oh wait. I remember. The Nugget: Painted Diamond Table Top. If you have been wondering if the diamond theme continues throughout the Nugget.
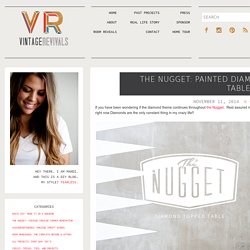
Rest assured my friends, right now Diamonds are the only constant thing in my crazy life!! When we started out, the table in the Nugs was a lovely shade of lime green. We updated it with concrete overlay when we did the countertops. (Tutorial for that here!) This cute project can be duplicated just about anywhere. Search Results geometric floor. Dudes!
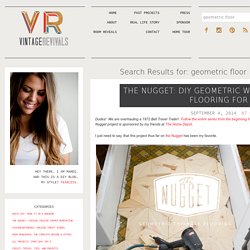
We are overhauling a 1972 Bell Travel Trailer! Follow the entire series from the beginning here! This Nugget project is sponsored by my friends at The Home Depot. DIY Cake Dome & Cloche Jars. DIY Striped Drink Perch. The 2nd project in my small space DIY series is a graphic sofa drink perch.
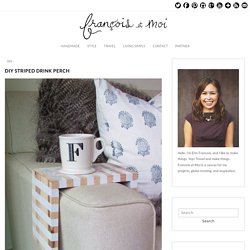
(See the 1st project, Gilded Bedside Sconces, here!) As I’ve mentioned before, we recently moved into a 628 square foot apartment in our ideal Downtown Minneapolis neighborhood. Though it’s smaller than our previous 750 sf apartment, it’s space-planned incredibly well, so it doesn’t feel too small or unmanageable–a true testament to great design! We’ve also paired down our furniture layout and have been rethinking what it means to be a living room, bedroom, etc.
Do you have to have two freestanding end tables with a table lamp on each flanking your sofa? DIY Project: Basket Weaving. The one (and only) big problem I have with being a DIY blogger is the fast accumulation of, for want of a better word, stuff.
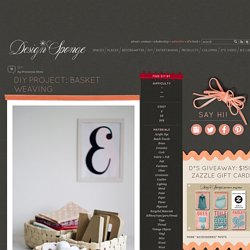
In every single thing I own I see an endless potential for a project. Crafts materials quickly stack up. It’s the life of a hoarder with a cause which goes directly against my ideas of a beautiful, clutter-free home. So, as I gather up more and more materials, I need to find more and more attractive ways of hiding them and this is where I come into my element. Making my own storage is always the best option for me. Square woven baskets are easy to make, durable and look fantastic, so I made this trio of baskets in various sizes for my latest attempt at controlling the clutter. Click through for the full how-to after the jump! Materials: – Basket cane/reed -Metal ruler -Scissors -Pegs. Floral Embroidered Top DIY. Try This: Skull Succulent Planter. If you like the thought of decorating for Halloween but don't feel very crafty (or don't have a lot of time to devote to decor), then this skull with succulent eyes is a quick idea to add a bit of spooky fun around the house.
When you love growing things as much as we do, it's hard not to see the planter potential in most objects, and the abundance of plaster skulls in the craft stores seemed like the perfect opportunity to make a Halloween-themed planter. I gave my skull a coat of semi-gloss spray paint to add a bit of luster to the surface, and then cut fresh stems off a larger succulent plant and added them into the eye sockets. Since these particular succulents are a bit top heavy, I used a drop of super glue to keep them in place so they wouldn't fall out. You can use real succulents if you'd like, or, if you want to keep the look for much longer, you can use fake succulents instead. Credits // Author and Photography: Laura Gummerman. Use Nail Wraps to Create a Geometric Nail Design. I have to admit that I've never been the girl that's really into nail art.
In fact, if there was a "skip" button on Pinterest, the same way you can skip a song on Pandora, I would probably have skipped the entire category all together. However, I have been noticing lately that there are some simple nail ideas that I not only like, but that I would actually do myself at home. I've also been noticing the really cool nail decal patterns that are around now, and this is a simple way to use them to make a custom look without a trip to the salon. Cubed End Table. We moved into our house almost six months ago, and we're just now getting our living room in order. Once we received our awesome sofa from Joybird, things started clicking. I wanted to create some kind of side table solution that would go with the couch.
Sarah had an idea for it, which I took and ran with. How To Make a Fresh Flower Crown. There are few things that say, "Celebrate! " to me more than fresh flowers. For our Friendsgiving celebration we thought it would be fun to try our hand at creating fresh flower crowns for all the ladies (and little ladies) to wear! Supplies Needed: Floral tape, floral wire, fresh flowers, and scissors. Make Your Own (Simple) Wooden Cutting Board. Make Your Own Photo Wall Clock! I don't know why, but I always had the impression that making a DIY clock would be really tedious and stressful.
Boy was I wrong! This cute, customized photo clock is simple to make in about an hour. Really! Concrete Countertop DIY. Gold Moon Wall. Sequin Phrase Sweatshirt DIY. Favorite Quote Tote Bag. I am of the opinion you can never have too many tote bags. I use them for hauling groceries, carrying books from the library or just as a purse. They are so versatile! Here's how I made this hand-stamped quote bag: 1. Supplies: blank tote bag, leather strips (mine were 1"x23"), scissors or a seam ripper, letter stamps, and fabric paint. 2.
Paint Dipped Balsa Wood Candle Holder. Working with wood can be a really rewarding experience. I've only started doing wood projects this past year, but there's something that's been extra satisfying about wading into the world of carpentry. I have to admit though, all the saws and equipment that's needed to do big projects can be a little intimidating, so it's nice to have smaller projects with balsa wood to start out on. Here's an easy way to create modern candle holders with a geometric feel: Supplies: Balsa wood (I used 3/32 inch thick wood), gold and pink craft paint, masking or painter's tape, ruler, X-Acto knife, glass votives, and tea lights.. 1. NOTE: I used these specified dimensions to fit my particular votive, but you can easily adjust the sizes to fit any votives you have. I used the same template and just shorted or elongated the bottom section to get the different heights.
Credits // Author and Photography: Laura Gummerman. Create a Wallpaper Look with a Geometric Stencil. My DIY Glitter Countertop! - Making Nice in the Midwest.