

How to Create a Gearbox Settings Icon Using Simple Shapes. Much can be done in Illustrator without relying on the Pen tool, as demonstrated by the recent hourglass tutorial.
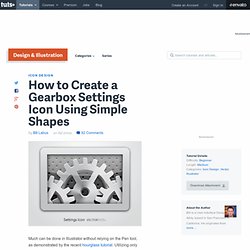
Utilizing only simple, predefined shapes, as well as tools like the Pathfinder and transformations, entire illustrations can be created from scratch. In this tutorial, we'll create an icon suitable for portraying options, settings, preferences, etc., similar to OS X's system preferences icon. So let's get started! Want access to the full Vector Source files and downloadable copies of every tutorial, including this one? Join Vector Plus for just 9$ a month. Step 1 Begin by creating a new document of any size you'd like, I've used 600px by 400px, as that's the size used for the tutorial images. We'll start with drawing the gear. Step 2 Next, select the largest and second largest circles, then open the Pathfinder palette and click the Minus Front button to subtract the smaller circle from the larger one. Now select the other two smaller circles, and do the same. How to Create Colorful Abstract Artwork in Illustrator. In this tutorial, I’ll teach you how to make a colorful and vivid abstract artwork completely from scratch with Illustrator.
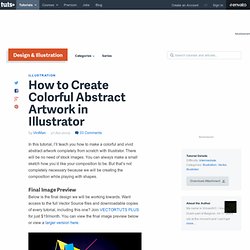
There will be no need of stock images. You can always make a small sketch how you’d like your composition to be. But that’s not completely necessary because we will be creating the composition while playing with shapes. Final Image Preview Below is the final design we will be working towards. How to Create a Vector Stamp Set in Illustrator. In the following tutorial you will learn how to create a vintage, vector stamp set in Adobe Illustrator.
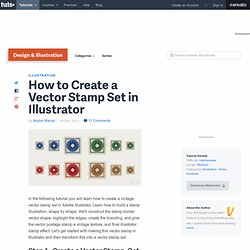
Learn how to build a stamp illustration, shape by shape. We'll construct the stamp border vector shape, highlight the edges, create the branding, and give the vector postage stamp a vintage texture, and final illustrator stamp effect. Let's get started with making this vector stamp in Illustrator and then transform this into a vector stamp set. Step 1 - Create a Vector Stamp, Get Started Now it's time to begin with making our post stamp in vector.
You can also open the Info panel (Window > Info) for a live preview with the size and position of your shapes. Shimmering Cityscape in Perspective, Using Illustrator CS5. The Perspective tools in Illustrator CS5 make it a lot easier to draw in perfect one, two or three-point perspective.
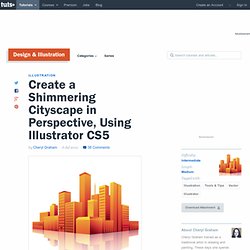
Using symbols in conjunction with the Perspective tools will make quick work of this stylized cityscape. Republished Tutorial Every few weeks, we revisit some of our reader's favorite posts from throughout the history of the site. This tutorial was first published in April of 2011. Step 1 Click the Perspective Grid Tool. A basic 2-point grid is the default setting. Using the Perspective Grid tool, move the Horizon line down, close to the ground level. If you want, you can save this grid as a preset to use for future illustrations. Step 2. Create a Notepad Spiral Brush Background.
In today's tutorial, I'm going to show you how to create a notepad spiral pattern brush to then use in a notepad styled background.
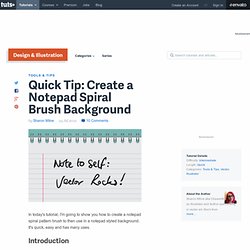
It's quick, easy and has many uses. Introduction In today's tutorial, I'm going to show you how to create a quick notepad spiral pattern brush to then use in a notepad styled background. There really isn't much to it, so let's begin! Step 1 Use the Rectangle Tool (M) and hold Alt + Shift and pull outward to create an even square. Duplicate the shape twice and use your arrow keys to nudge each shape upwards as shown below and color them from light grey to mid grey.
Create interlocking rings in Illustrator. After finishing this tutorial try to take it one step further, and create a background for the rings like I did here.
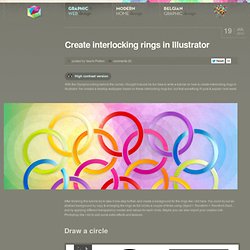
You could try out an abstract background by copy & enlarging the rings as full circles a couple of times using Object > Transform > Transform Each… and by applying different transparency modes and values for each circle. Maybe you can also import your creation into Photoshop like I did to add some extra effects and textures. Create a Textured Bunting Decoration with Adobe Illustrator.
In today's tutorial I'm going to show you how to create a textured bunting decoration, which you can use to add detailing to a variety of projects including posters and illustrations.
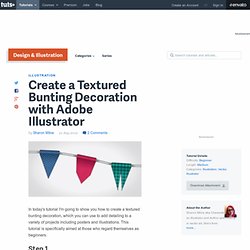
This tutorial is specifically aimed at those who regard themselves as beginners. Step 1 Use the Rectangle Tool (M) to draw a tall rectangle with a black fill. Keep the rectangle selected. Enable Smart Guides (Command + U) to help you locate the middle of the bottom side of the shape and add a point using the Pen Tool (P). Step 2 While your shape is still selected, go to Effects > Stylize > Round Corners and input the value 4pt and click on Ok. Create a Detailed, Vector Clothespin Illustration. In the following tutorial you will learn how to create a detailed clothespin illustration.
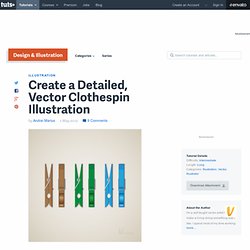
It all starts with a simple pixel perfect vector shape building techniques. Then we'll use the appearance panel and Illustrator effects to add dimension to the illustration. You can use these professional techniques to create quality icons, detailed web graphics, and more. Step 1 Hit Command + N to create a new document. Next, you'll need a grid every 5px.
Create a Realistic Leather Wallet with Illustrator. In most vector illustrations, the underlying objects are pretty simple.
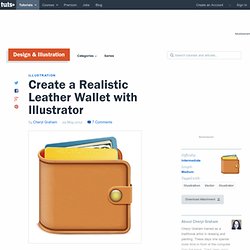
It's the details and polish you add that really bring them to life. In this tutorial, we'll start with basic building blocks, then use texture and effects to add realism. Let's get started! Step 1 This tutorial will use raster effects, such as Gaussian Blur. I'm also going to use the VectorScribe plugin from Astute Graphics. First, draw a rectangle 500 pixels wide by 400 pixels deep. Create a Vector Space Composition in Illustrator. In this tutorial, you will learn how to create a vector space composition featuring the planet Saturn.
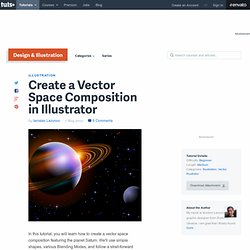
We'll use simple shapes, various Blending Modes, and follow a strait-forward workflow that is as simple as a basic circle. Check this out yourself at the jump. Step 1. How to Create a Vector Goldfish in Six Steps. In this tutorial I'll show you the process I use for creating a vector goldfish in six easy steps. The steps are a bit condensed so Intermediate Illustrator users will benefit greatly, though beginners will be able to get similar results, you'll just need to experiment a bit more with these tools and techniques. The vector goldfish is created with the use of the Mesh, Blend and Symbol Tools. Let’s get started! Final Image Preview Want access to the full Vector Source files and downloadable copies of every tutorial, including this one?
How to Create a Golden, Vector Compass in Illustrator. Create a Jar Illustration and Splashy, Purple Text Effect. In the following tutorial you will learn how to create a jar illustration and splashy, purple text effect. We'll craft this with numerous, layered shapes and with various opacities. We'll work with paths and the Pathfinder tools to enhance our text, give it dimension, and style. Let's get started! Create a Retro-inspired Stylized Birthday Cake. In this tutorial you will learn how to quickly illustrate a retro-inspired stylized birthday cake, layered with cream filling and covered with chocolate icing and candles on top.
Create a Realistic Candy Bar in Illustrator. Realistic renderings can be done easily in Adobe Illustrator. With vector shapes, the objects can be preserved and edited infinitely which is a great advantage over raster objects. A few simple tweaks from the Effects menu and an understanding of basic object rendering can create a bold and stunning finish. In this tutorial, created exclusively for WDD by Wendy Ding, she’ll be guiding you step by step through the stages required to create a realistic candy bar using Illustrator. 1. Sketch Start by sketching the overall shape complete with linear guides, which will be used to show how to define the vector shapes that we’ll be drawing on top. 2. Scan the sketch into Photoshop and adjust Image > Adjust > Brightness / Contrast until the lines are clearly visible. In the Layers panel, double click on the sketch layer to bring up the layer options pop-up window and check Template. 3.
Use Warp Effects to Create a Pastel Colored Candies Illustration. Creating a Dramatic Portrait with Chunky Line Art. The Making Of “Brooklyn City” Create a Sketchy Hand-Drawn Camera Illustration in Illustrator. Creating an Architectural Illustration Using Reference Photography. Note from the editor: This post was written by Pete Maric. Some Like it Dirty: Comic Book Inking and Coloring Tutorial. Earlier this year I was commissioned to come up with a series of character illustrations for Cohort Pictures new film project; ‘The Northern Mist‘, a suspense horror set during the Roman occupation of Briton. The illustrations would be used to help the rest of the creative team cast the roles for the film, aid in costume design and provide a bit of promotional material to drum up interest from investors and audiences.
It was a great chance to really flex my creative muscles and get into some good ol’fashioned doodling. My favourite piece to come out of this one was what I nicknamed the Lady Briton sketch, so I decided to run a quick step by step tutorial for anyone interested in how I took this illustration through from brief to final concept. The Brief So the brief for this character went something like this (and this is me paraphrasing pretty extensively)- After a bit of pleading, Patrick (the director working on the film) also sent me through this rough sketch he’d put together. How to Create a Witch Doctor Character Concept in Photoshop. Creating an effective character concept is more than just producing a great looking illustration. Create an Evil Queen in Photoshop. In this tutorial we will create the Evil Queen from Snow White and the Seven Dwarves using digital painting techniques in Photoshop.
Rapid-Fire Illustration Tutorial. Go Media’s Rapid-fire Illustration Technique. Hot Rod Monster Design Process. Hi, Philip Hepler here from 316 Graphics. A few weeks prior to writing this, Jeff Finley and I discussed possibilities for the next Arsenal vector pack. We decided to concept some hot rod elements which later turned into a vector set inspired by the art style of Ed “Big Daddy” Roth. Here’s the design process for this fun vector pack. For the record, here’s my list of tools I’m working with: Andre Meca’s MSCED 183: A Case Study. Tracing a Vector Face From a Reference Photo. How to Create a Line Art Vintage Vector Scooter in Illustrator. Design And Print a Vector Skate Graphic. Make Watercolor and Marker Style Portraits with Illustrator. Create A Grisly Zombie Illustration With A Pen Tablet In Illustrator. Gruesome Zombie Illustration.
Creating Complex Style Illustrations: A Process.