
Create the "My Paper Mind" Effect. Create an Ethereal Morphing Letter Canvas. Create an Inspirational Vector Political Poster. Playing with Vectors in Illustrator. Last week I decided to spend some time playing with Illustrator and trying to come up with a cool black and white artwork.
My inspiration came from some skateboard deck designs which have this sort of 3D effect without using gradients or anything, and not exactly a woodcut effect either. After a few hours I was able to come up with a really nice design, but the most important thing, the whole process was an excellent way to improve my Illustrator techniques. Cinema 4D Tut: NitroBlast Cuts Object. Use Photo Manipulation and 3D Layers to Design a Surreal Cover Art Illustration. Create a 60′s Psychedelic Style Concert Poster. In this tutorial, we will go through the steps to create a retro 1960s psychedelic concert poster.
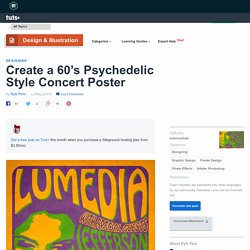
This tutorial relies heavily on the use of the Warp Tool, but includes a few other techniques as well. Let's get started. Create a Steam Powered Typographic Treatment – Part I. Whether or not you're a Steampunk fan, this two part tutorial is sure to test your knowledge on Illustrator, Cinema 4D and Photoshop.
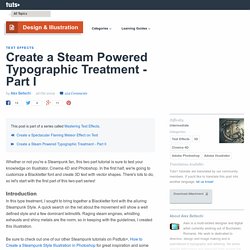
In the first half, we're going to customize a Blackletter font and create 3D text with vector shapes. There's lots to do, so let's start with the first part of this two-part series! In this type treatment, I sought to bring together a Blackletter font with the alluring Steampunk Style. A quick search on the net about the movement will show a well defined style and a few dominant leitmotifs. Raging steam engines, whistling exhausts and shiny metals are the norm, so in keeping with the guidelines, I created this illustration. Create a Steam Powered Typographic Treatment – Part II. Recreate The Matrix Chopper Scene. In this 3ds Max/AE combo tutorial, you will learn how to make a stream of raining bullets using PF source in 3DS Max and then combine all the elements together in AE to give a stunning "Matrix-like" effect.
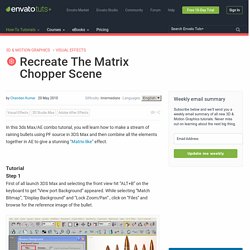
First of all launch 3DS Max and selecting the front view hit “ALT+B” on the keyboard to get “View port Background” appeared. While selecting “Match Bitmap”, “Display Background” and “Lock Zoom/Pan” , click on “Files” and browse for the reference image of the bullet. Pick the Line tool and draw the shape according to the middle bullet. Apply “Lathe” modifier on the spline and click on “Max”. Apply a “Shell” modifier on it and increase the inner amount to something like 2.0 to give some thickness to the shell. Press “M” on the keyboard to open Material Editor. Now drag a PF source icon in the view port. Hit “6” on the keyboard to open the Particle View window. Put “Shape Instance” in the event instead of “Shape”, and pick the bullet from the scene as Particle Geometry Object. Simulate An Advanced Muzzle Flash.
QuickTip – How To Create A Realistic Pool Of Blood. Put Your Face Onto An Inanimate Object. Ignite A Sizzlin' Hot Fire Burst. Create a Futuristic Floating Hologram Effect. A masterclass in CSS animations. Manual de CSS 3. Comentarios josep_espua_soler descarga Sres. de Desarrollo web, como puedo descargar el manual CSS 3, no veo enlace para descarga.
Muchas gracias. Atentamente, Josep Espuña. eugim Descarga del Manual de CSS 3 Hola Josep y demás lectores! El manual de CSS 3, como tenía pocos artículos, no habíamos publicado descarga... pero ya que tenemos en el momento de escribir este comentario ya 9 artículos, pues es buen momento para publicar el PDF para imprimir el manual.
Esperamos que sea de vuestro agrado y podáis aprender fácilmente las nuevas características de CSS3. GRan manual de CSS 3 Este tutorial de CSS 3 es una gran referencia... muchas gracias por la descarga! Xjazielx Caradura Hola Gracias por este manual, soy novato en estas lides, pero seguro que vuestros documentos me serviran de mucho, gracias de nuevo Simonleafar Faltan capítulos. Ahora ya son 14 artículos, y el manual sigue teniendo 9. Enhorabuena por los artículos. catodi 1000 Gracias!!! Groner archivo dañado joralfonso. Coloring and Line Work in Illustrator CS5. Do a search on "coloring comics," and you get dozens of Photoshop tutorials.
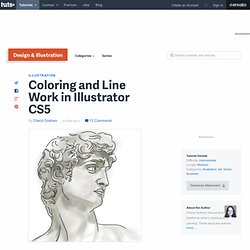
They all seem to involve building up areas of color with transparent brushes. Now you can achieve that same effect with Illustrator CS5, using the Bristle Brush. Unlike Photoshop, however, Illustrator gives you the flexibility to edit individual paths. Since Illustrator's brush strokes are vector, you can change the shape, width, color and blending mode to achieve exactly the look you want. The Art of Skin Shading. Skin shading is a large part of creating portrait and people art.
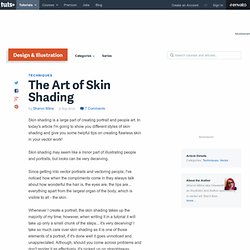
In today's article I'm going to show you different styles of skin shading and give you some helpful tips on creating flawless skin in your vector work! Skin shading may seem like a minor part of illustrating people and portraits, but looks can be very deceiving. Since getting into vector portraits and vectoring people, I've noticed how when the compliments come in they always talk about how wonderful the hair is, the eyes are, the lips are... everything apart from the largest organ of the body, which is visible to all - the skin. Whenever I create a portrait, the skin shading takes up the majority of my time; however, when writing it in a tutorial it will take up only a small chunk of the steps... it's very deceiving!
I take so much care over skin shading as it is one of those elements of a portrait, if it's done well it goes unnoticed and unappreciated. Create a Burning, Vector Match Using Gradient Meshes. Quick Tip : Create an Abstract Natural Text Effect with Adobe Illustrator. In this quick tip you will learn how to create a 3D text effect in perspective with a multi-purpose green abstract look that you can save and use any time you like.
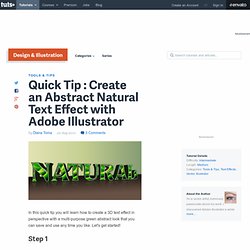
Let's get started! Step 1 First open a new web document. Take the Type Tool (T) and type Natural using a font called Titania that you can find here. Go to the Object menu and select Expand then Ungroup the letters. Step 2. Create a Marker Text Effect in Illustrator. In the following tutorial I will show you how to create a marker illustration.
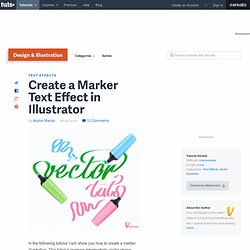
This tutorial involves intermediate vector shape building skills in Illustrator to create the markers, along with some layering and script usage to create the text effects. Let's get started. Step 1 Create a 700px by 630px, RGB document. Create Flash Animations Entirely in Illustrator. The world of animation can seem really intimidating - between AfterEffects, Flash and everything else, there's so much to learn.
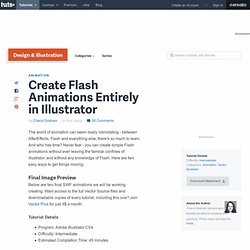
And who has time? Never fear - you can create simple Flash animations without ever leaving the familiar confines of Illustrator, and without any knowledge of Flash. Here are two easy ways to get things moving. Final Image Preview Below are two final SWF animations we will be working creating.