Start at the beginning. Welcome to the Freedom Experiment, I’m so excited to have you here & connect with you!
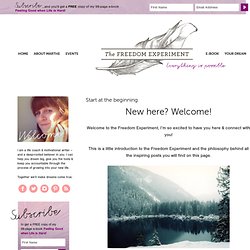
This is a little introduction to the Freedom Experiment and the philosophy behind all the inspiring posts you will find on this page. A freedom experiment is a project where you put a mini-version of your dream into action. It’s about breaking free from your limiting beliefs, dream big and fly high. It’s about finding freedom from norms, conventions and unwritten rules to enable you to be who you really are.
In Spaces Between. Travel. I haven't blogged in over a week. Terrible, I know. Forgive me? I went to New York this weekend. NYC, The Big Apple, The City that never sleeps... you get the idea. It was a last minute plan to escape the bank holiday crowds in London and visit my boyfriend's parents. Custom repaired TOMS. Don’t judge me for the well worn state of my TOMS…they are so comfortable. Twirl Around Cross Back Dress. - StumbleUpon.
OLUKAI PAKELE SHOE & Womens & Footwear & Shoes. DIY Nail Art: A Modern French Manicure Inspired By Marchesa. The Girls' Room. Heima Store. Wallflowers. Green Village Green Village, founded by jewelry designer John Hardy and designed by his daughter Elora, is a community of sustainable and ecological houses sitting along the Ayung River in Bali.
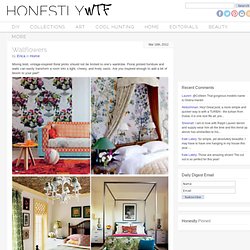
Each of the homes are made entirely […] Beni Ourain Rugs I’m currently on a serious mission to find a large, traditional Beni Ourain rug for our living room. These incredibly plush rugs, made by the Beni Ourain tribe and other neighboring tribes in the mountains of Morocco, typically feature […] DIY Découpage Floral Bag. When H&M asked us to DIY a boho-inspired item for their summer issue, découpage was the first thing that came to mind.
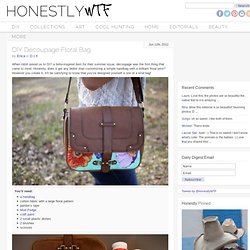
Honestly, does it get any better than customizing a simple handbag with a brilliant floral print? However you create it, it’ll be satisfying to know that you’ve designed yourself a one of a kind bag! You’ll need:a handbagcotton fabric with a large floral patternpainter’s tapeMod Podgecraft paint2 small plastic dishes2 brushesscissors Start by taping off the edges and hardware of the handbag.
Squeeze a dollop of colored craft paint into a small disposable container. Allow the first layer to dry completely. While the paint dries, carefully cut out a handful of flowers from the fabric. Arrange them onto the painted section of the bag. Remove the painter’s tape when the Mod Podge has dried clear and your floral handbag is complete! DIY Market Bag - Honestly WTF.
With Earth Day just around the corner, we’re turning to artist and environmentalist Chris Jordan for inspiration.
In this large-zoom photograph he has captured 1.14 million brown paper supermarket bags, the number used in the US every hour. Unique Gifts & Unusual Gift Ideas. 45+ Exceptionally Useful Free Handwritten Fonts. Should Handwritten Fonts be used in web design? For quite some time companies and governments have been working hard to make daily life things available as digital services in whatever way possible to speed processes up and cut costs. At the same time most communication takes place on digital channels by sending emails, chatting, electronic orders, paying online, doing banking online…well almost anything goes on the line today. Sending a good old snail mail letter is still possible but not that popular really.
Even on vacations we are not offline and stick to digital channels, keep the blog updated with “near real time images and stories. - StumbleUpon. Videojug - Get Good At Life. The world's best how to videos plus free expert advice and tutorials. Gift Ideas for Poor Creative Souls (12)
Posted by: Cathy on Jun 03, 2012 Tagged in: Untagged Summer Lights Garland I loved this idea and who would not love to receive this pretty gift.
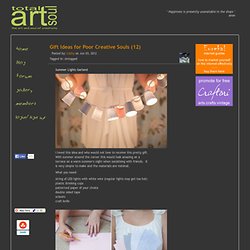
With summer around the corner this would look amazing on a terrace on a warm summer's night when socialising with friends. It is very simple to make and the materials are minimal. What you need: string of LED lights with white wire (regular lights may get too hot) plastic drinking cups patterned paper of your choice double sided tape scissors craft knife 1. Away with the Fairies... Hair Styles For Hot Weather - Best Summer Hairstyles 2012. Strapless Apparently there aren't a lot of styles that don't work with this type of dress — as long as they aren't too over-the-top and don't interfere with the simple neckline of the dress — but Cole loves the look of classic, undulating waves.
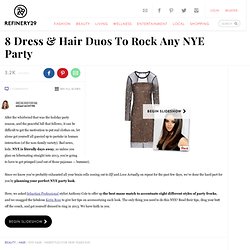
"A strapless dress showcases beautiful, sexy shoulders and the collarbone; waxy waves cascading over the shoulders are the ultimate accessory," he says. Just as you can't really go wrong with a hairstyle for a strapless dress, there aren't many accessories you can't wear, either. "Strapless dresses are suggestive without being trashy," says Rose.
"Let your accessories do the same: Keep the neck and clavicle bare, with minimal jewelry. Rebecca Taylor Lil Bit Leather Strapless Dress, $495, available at Rebecca Taylor. Photo: Jim Smeal/BEImages. Fat mum slim. Everyday Photography. My Happy Blog. Frankie Magazine - Australian Fashion Blog. DIY rope bracelet from a J.Crew shopping bag! « sideoats + scribbles. I must confess, I love jcrew so much.
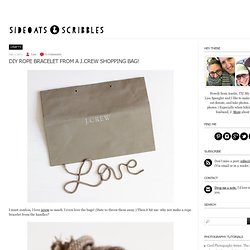
I even love the bags! (Hate to throw them away.) Then it hit me: why not make a rope bracelet from the handles? Here’s how I did it in just a few steps. (It took longer to write this up than it did to actually make it!) First, remove the handles from the bag.