
Origami Flower DIY. Origami Rose in Bloom (Part 1) Explore Publish Login|Sign Up share what you make With Instructables you can share what you make with the world, and tap into an ever-growing community of creative experts.
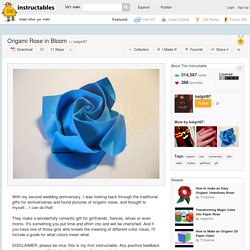
How it Works » New Instructable » Origami Rose in Bloom by batgirl87 Download 11 Steps Share Favorite I Made it! Intro Intro: Origami Rose in Bloom With my second wedding anniversary, I was looking back through the traditional gifts for anniversaries and found pictures of origami roses, and thought to myself... Step 1: Materials - A square piece of paper, in any desired color. Step 2: Prepare the Base Take the paper, wrong side up, and fold in half. Step 3: Now we are going to fold to the outermost creases shown in pic 1 Fold the paper, so that the edge meets this crease.
Step 4: Now fold the paper in half along both of the diagonals. Step 5: Forming the flower Step 6: Now, focusing on one corner again, make a valley fold along the pink line shown in pic 1. Step 7: Begin work on the petals. How to make origami rose paper flowers. 50+ Paper Flower Tutorials & Templates: {Free. Here’s a lovely assortment of paper flowers to make, I’ve organized them in a few sections for easier browsing: Bouquets & Centerpieces, Tissue Paper, Crepe, Origami and the rest under general tutorials.
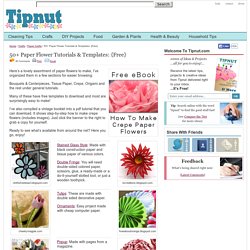
Many of these have free templates to download and most are surprisingly easy to make! I’ve also compiled a vintage booklet into a pdf tutorial that you can download. It shows step-by-step how to make crepe flowers (includes images). Just click the banner to the right to grab a copy for yourself. Ready to see what’s available from around the net? Ninthstreeteast.blogspot.com Stained Glass Style: Made with black construction paper and tissue paper of various colors. Double Fringe: You will need double-sided colored paper, scissors, glue, a ready-made or a do-it-yourself slotted tool, or just a wooden toothpick. increations.blogspot.com cheekymagpie.com. Six paper flowers. It got into my head that I needed to make some paper flowers.

I don’t know why. But I figured it wouldn’t be a big deal because the Internet is a veritable smörgåsbord of craft tutorials, and all I had to do was fire up Lappy 5000 and pick one out. About 300,000 search results later, I was no longer any more confident in my ability to make a paper flower than I was in my cat’s ability to retrieve his stupid mouse instead of staring at my hand after I throw it.
There were just too many choices and although I could compare the photos, they didn’t reflect (1) how good each tutorial was, (2) how closely my flower would resemble the picture, or (3) which flowers would look nice together. It was terribly overwhelming. Then again, I thought, if anyone is supposed to try every single one, it might as well be me. After some consideration, I decided that 300,000 might be a few too many to take on, so I narrowed it down to the six most promising and got to work.
Origami - Folding Instructions. Basic Bases in Origami. Basic Folds in Origami: Petal Fold and Squash Fold. Basic Bases in Origami: Bird Base. Origami Insects DIY. The Fitful Flog » Model Menu. How To Make Japanese Paper Dolls. Last Sunday, I had a ball teaching the Brisbane Brown Owls group how to make "Ningyogami" - Japanese paper dolls.
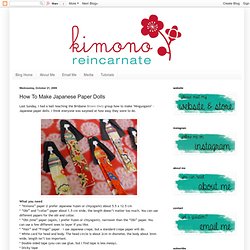
I think everyone was surpised at how easy they were to do. What you need * “Kimono” paper (I prefer Japanese Yuzen or chiyogami) about 5.5 x 12.5 cm * “Obi” and “collar” paper about 1.5 cm wide, the length doesn’t matter too much. You can use different papers for the obi and collar. * “Obi-jime” paper (again, I prefer Yuzen or chiyogami), narrower than the “Obi” paper. You can use a few different ones to layer if you like. * “Hair” and “Fringe” paper – I use Japanese crepe, but a standard crepe paper will do. * White card for head and body. The head circle is about 2cm in diameter, the body about 3mm wide, length isn’t too important. * Double-sided tape (you can use glue, but I find tape is less messy). * Sticky tape * Scissors 1. 2.