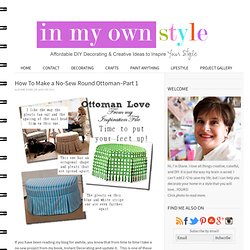

Make Your Own Ottoman. If you have been reading my blog for awhile, you know that from time to time I take a no sew project from my book, Instant Decorating and update it.

This is one of those projects. Ottomans are one of my favorite pieces of furniture. I love them as they are so versatile and can be used for more than resting your feet. Place a tray on top and it becomes a table. Put wheels on the bottom and it can easily be moved around the room when extra seating is needed as they are low profile and don’t take up much “visual” space and best of all they just look pretty in any room. I am currently updating it with new fabric. This is not the first makeover of this ottoman – since it is a no sew project -it’s the third fabric change since it made the cover of my book. Supplies Needed: This is what the ottoman I built looks like after the fabric and foam top were removed. Use 1-inch screws to attach the boards as shown in diagram. Lay the foam on the floor and place the base upside down on it. Drop-Dead Denim: One Tough Pouf.
And just like that… we’re here!

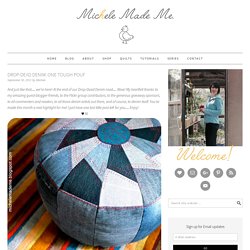
At the end of our Drop-Dead Denim road… Wow! My heartfelt thanks to my amazing guest-blogger-friends, to the Flickr group contributors, to the generous giveaway sponsors, to all commenters and readers, to all those denim artists out there, and of course, to denim itself. You’ve made this month a real highlight for me! I just have one last little post left for you… Enjoy! I hadn’t made any denimy goodness for the boy this September, bad me, and I felt I needed to rectify that. Tutorial: One Tough Pouf I kinda made this up as I went along.
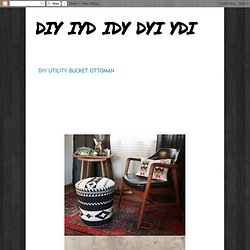
You will need: Denim scraps in different shades18″ round template (I used a large plastic platter rescued from the recycling bin.)5″ round templatepaper templates as drawn out in #2 belowPair of scissorsSewing machineRuler and pencilstraight pinsneedle and threadstuffing (I used the stuffing from 2 large cushions that we rarely used)Optional: embroidery thread and dimensional fabric paint 1. 2. 3. 4. DIY 5 Gal. Utility Bucket Ottoman. Materials yardage for fabric chalk scissors spray Glue stapler 5-gallon utility bucket ruler turkey carver sewing machine tape measurer piping foot (The cord we used is 5/32 and is sold by the yard.) foam (20′ square of 3” high-density foam and 60” x 1” of foam) Dacron square ruler Instructions 1.

Take off the bucket handle and measure the top of the bucket (38″) — the bucket tapers at the bottom, so you need to measure the top and bottom — measure the bottom (33”) and measure the height (17 1/2”). Source.You can also wrap the foam around the bucket and cut accordingly. 2. 3. 4. 5. 6. 7. 8. 9. 10. 11. 12. 13. 14. Make This: Coastal Style Ottoman. Mushroom Ottoman From Tree Stump & Sweaters. Bobby and I have been working on this one since Christmas.

The is how my brain works… Debi, think of a simple but genius project to do quickly so you you can catch up on that giant to- do list, over there in the corner. Me, (replying to myself) ok, how about a mushroom stump? Easy and quick. find a stump hollow it out cut some scrap wood add a little foam throw a sweater over the top doll it up with polka dots Boom! I run the design plan past Bobby, and he says, “no problem, I know where we can find a free stump” We skip off to the wood pile, bring back the perfect specimen and fire up the chainsaw! About 20 minutes in Bobby says, ” do you have a back up plan for this weeks video? Bobby worked on the stump like a banshee for a month, chainsaw blazing, chisel, router repeat, the work yard looked like we were in the middle of a sawdust storm.
I yell above the noise of the chainsaw, “Bobby! Bobby replies, “do you want this done or not?” And so it went, from Dec into 2014… Yikes! Here’s the video! Debi. Galvanized Tub Storage Bench. Every month Lowe’s challenges me to create another unique project to share with you.

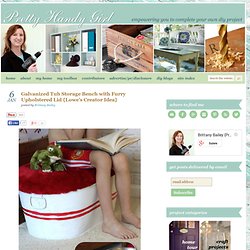
This month’s challenge was creative storage ideas. Have kids? This is a unique storage solution using a galvanized tub and a furry upholstered lid. It’s the perfect place to store and corral all that kid clutter in your child’s bedroom. The storage tub doubles as a bench and a step stool. Grab these materials and tools and follow along with me (and my 13 year old assistant.) Creating the Galvanized Storage Bench and Lid Materials for the Galvanized Storage Tub and Lid: Galvanized Tub (5 gallon or larger)1/2″ plywood2″ x 2″ lumber (cut to 2 – 8″ and 2 – 4″ sizes)Upholstery foamSpray adhesiveOld t-shirt (optional)Furry fabric (or cheap throw blanket)Staple gun3/8″ staplesSharpie markerJig sawClampEye protectionSander with 80 grit & 220 grit sandpaperElectric carving knifeDrill with drill bitsPhilips head bit2″ wood screws Instructions: Turn the galvanized tub upside down on the plywood.
Turn A Coffee Table Into An Upholstered Ottoman. HomeMade Modern DIY $5 Bucket Stool.