
Pumpkin Shirt for Audrey. Happy Fall Y'all!
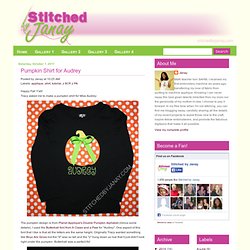
Tracy asked me to make a pumpkin shirt for Miss Audrey: The pumpkin design is from Planet Applique's Double Pumpkin Alphabet (minus some details). I used the Butterball font from 8 Claws and a Paw for "Audrey". One aspect of this font that I like is that all the letters are the same height. Originally Tracy wanted something like Boyz Are Gross but the "d" was so tall and the "y" hung down so low that it just didn't look right under the pumpkin. You know, this may be one of the first times I have added a bow to a shirt. After Tracy's coworker saw Audrey's shirt, she needed a set for her daughters. :) Double or nothing. It works exactly like the 0.5" tape maker, I just widened the appropriate parts.
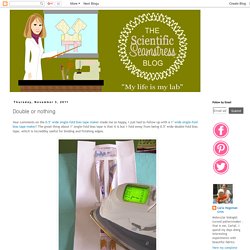
It took some tweaking, but once I got it optimized it went together quickly since the instructions were essentially the same. Now I'm going to take the laziness a step further and recycle some blog content :) . The free pdf contains instructions for printing and assembling the tape maker. There is some careful cutting involved, but it goes together pretty quickly and can be used over and over again. And if you happen to smash/tear/burn it, simply print another. The contraption is optimized for folding 1.875" bias strips into 1" wide single fold tape. Here is how it works: The strip is fed into a "slide" that does the folding.
The result is 1" wide tape with folds that are a bit over 1/4" wide (just like purchased tape of this size). Now that I have an easy, foolproof way to make double-fold bias tape, I'm going to have to knock out a bunch of Betsey Aprons for the holidays! Turn one fat quarter into 5 yards - Stop staring and start sewing! 5 beautiful yards of bias tape that is!
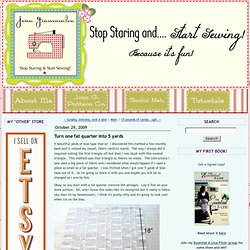
I discovered this method a few months back and it rocked my (small, fabric-centric) world. The way I always did it required cutting the first triangle off but then I was stuck with this wasted triangle. This method uses that triangle so there's no waste. The instructions I saw used a big piece of fabric and I wondered what would happen if I used a piece as small as a fat quarter. I was thrilled when I got over 5 yards of bias tape out of it. Okay, so you start with a fat quarter (remove the selvage). Okay, so fold it over and crease the fold (just run your finger up and down the line hard enough so you can see the crease when you unfold it).
That crease is your cutting line so cut along the line. Move your newly cut piece over to the other side. Now stitch them together using a 1/4" seam. Okay, now take a straight edge and mark lines 1 3/4" apart all the way across your fabric. Press your seam open. Keep cutting. Yay!