
Mayatutorials. David Rodriguez AnimationMethods copyright © 2013 "I'm learning more from Animation Methods than my college teacher ever taught me.

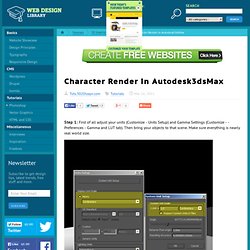
By far thebest explanations without the confusing technical stuff. Keep it up. We love your tutorials. " -Jenni. Character Render in Autodesk3dsMax. Step 1: First of all adjust your units (Customize - Units Setup) and Gamma Settings (Customize - - Preferences - Gamma and LUT tab).

Then bring your objects to that scene. Make sure everything is nearly real world size. Step 2: I used 2 mr Sky Portal lights. How near or far the light to an object really matters to the lighting so place your lights optimally. Step 3: For kelvin control, put a mia_black body to the Portal lights Color Source ( to unhide it in 3ds Max 2010 look at this link: ).
Step 4: Create a Plane and link it to your light and assign an A and D material to the plane and put a Gradient Ramp in the Cut-Out map of this material. Step 5: We must make Gamma adjustment to our textures. Step 6: For the Exposure Control, use mr Photographic Exposure Control. Step 7: Here are the Final Gather Settings. Step 8: Here is my result. (Credits to Jeff Patton for the 3ds Max Gamma Configurations tutorial. MentalRay Character Rendering-Lighting in Autodesk 3dsmax2010. You can view and/or purchase my other illustrations at zazzle.com on my store Gallery.

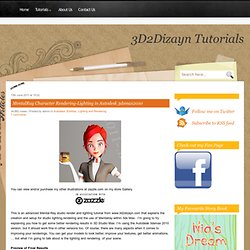
This is an advanced Mental-Ray studio render and lighting tutorial from www.3d2dizayn.com that explains the creation and setup for studio lighting,rendering and the use of Mentalray within 3ds Max. I’m going to try explaining you how to get some better rendering results in 3D Studio Max. I’m using the Autodesk 3dsmax 2010 version, but it should work fine in other versions too. Of course, there are many aspects when it comes to improving your renderings.
You can get your models to look better, improve your textures, get better animations, … but what I’m going to talk about is the lighting and rendering of your scene. 3ds Max Tutorials. 3ds Max Help (loop tool) Blog.bttrove. I wanted to push myself on how far I could go, so I decided to build a piece capable to make an art statement; I didn’t want to feel that it was just another 3D model. Being an automobile nut, I, like some of you, have had the idea of building a car from the first to the last bolt. I find out that for this task a good set of blueprints is never enough. I spent around a week collecting photographs before the beginning of the modeling process, and I was still collecting references at the end of the texturing and rendering steps. My first advice to you will be, if you are trying to make a model above average, start with planes, boats or cars that had been restored.
You will easily find part catalogues, illustrations, schemes and diagrams of objects with historic meaning. I usually try as much as possible to start from spline cages. Later on, you can use the spline curves to loft panels that will be the base mesh of your car body.