
Electricity Worksheets. Play dough circuits 1: getting started › Tricks (ABC Science) The Surfing Scientist › Tricks Create colourful electrical circuits with play dough and light-emitting diodes - even the littlies can get involved!
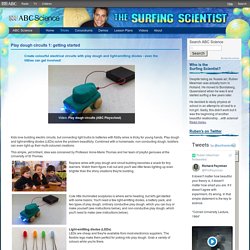
By Ruben Meerman Kids love building electric circuits, but connecting light bulbs to batteries with fiddly wires is tricky for young hands. Play dough and light-emitting diodes (LEDs) solve the problem beautifully. Combined with a homemade, non-conducting dough, toddlers can even light up their multi-coloured creations. This simple, yet brilliant, idea was conceived by Professor Anne-Marie Thomas and her team of playful geniuses at the University of St Thomas. How to Make a Simple Electric Motor. D battery Insulated 22G wire 2 large-eyed, long, metal sewing needles (the eyes must be large enough to fit the wire through) Modeling clay Electrical tape Hobby knife Small circular magnet Thin marker Starting in the center of the wire, wrap the wire tightly and neatly around the marker 30 times.
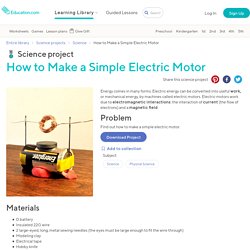
Slide the coil you made off of the marker. Bot Building for Kids and Their Parents: Celebrating Student Robotics. By Amy Cowen on April 8, 2013 8:00 AM Interest in student robotics continues to grow.
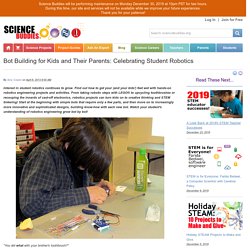
Find out how to get your (and your kids') feet wet with hands-on robotics engineering projects and activities. From taking robotic steps with LEGO® to upcycling toothbrushes or recouping the innards of cast-off electronics, robotics projects can turn kids on to creative thinking and STEM tinkering! Play dough circuits 3: make fun sculptures › Tricks (ABC Science) The Surfing Scientist › Tricks Now that you've mastered some basic play dough electronics, apply your creative skills and produce your own shiny, flashy, beepy works of art.
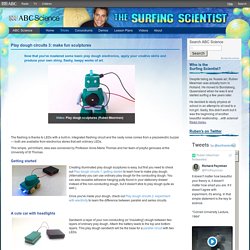
By Ruben Meerman The flashing is thanks to LEDs with a built-in, integrated flashing circuit and the nasty noise comes from a piezoelectric buzzer — both are available from electronics stores that sell ordinary LEDs. This simple, yet brilliant, idea was conceived by Professor Anne-Marie Thomas and her team of playful geniuses at the University of St Thomas. Getting started A cute car with headlights Play dough pussycat Flashing lights Buzzers Beeping robot with flashing light head ^ to top What's going on?
Diodes make the world go round. Como hacer un telegrafo casero. El telégrafo es uno de los aparatos de comunicación a distancia que se han inventado a lo largo de la historia.
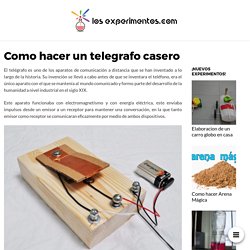
Su invención se llevó a cabo antes de que se inventara el teléfono, era el único aparato con el que se mantenía al mundo comunicado y formo parte del desarrollo de la humanidad a nivel industrial en el siglo XIX. Este aparato funcionaba con electromagnetismo y con energía eléctrica, este enviaba impulsos desde un emisor a un receptor para mantener una conversación, en la que tanto emisor como receptor se comunicaran eficazmente por medio de ambos dispositivos. Te mostraremos como elaborar dos telégrafos en casa utilizando pocos materiales, con la finalidad de que muestres en la clase de ciencia en el colegio cómo funcionaban estos aparatos antiguos.
Klackerlaken. KlackerlakenWorkshop (2011) A special kind of vermin was identified in the summer of 2011.
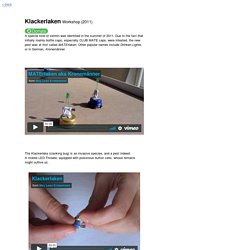
Due to the fact that initially mainly bottle caps, especially CLUB MATE caps, were infested, the new pest was at first called MATErlaken. Other popular names include Drinken Lights, or in German, Kronemänner. The Klackerlake (clanking bug) is an invasive species, and a pest indeed: A mobile LED-Throwie, equipped with poisonous button cells, whose remains might outlive us.
Science for kids, Stem projects, Robots. Science for kids, Stem projects, Robots. (253) Pinterest. Electrical Circuits For Kids. The positive terminal is where electric charge flows into the battery. The negative terminal is where electric charge flows out of the battery. When electrical components (parts) are connected in series, they share the power of the battery. If there are two identical components, then each will receive half the power. These two light bulbs are arranged in series, so they have to share the battery’s power. They glow dimly as a result. When electrical components (parts) are connected in parallel, each receives the whole power of the battery. These two light bulbs are arranged in parallel so they both receive the full power of the battery and glow brightly. Even if this connecting wire is cut, current will still flow to the first light bulb because the two are connected in parallel. Wires connect the other components of the circuit.
The battery creates the current in the circuit. The two light bulbs will produce light, because the circuit is unbroken. Diagram of a series circuit › Tecnología, Programación y Robótica » Crocodile Clips. Crocodile Clips 3 es un programa que permite simular circuitos eléctricos y electrónicos de una manera sencilla y rápida.
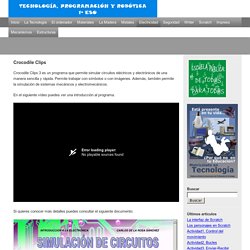
Permite trabajar con símbolos o con imágenes. Además, también permite la simulación de sistemas mecánicos y electromecánicos. En el siguiente vídeo puedes ver una introducción al programa. Si quieres conocer más detalles puedes consultar el siguiente documento: Prácticas de Electricidad con soluciones. Introducing Circuits.