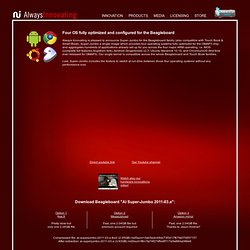

Always Innovating: Introducing the Smart Book. Four OS fully optimized and configured for the Beagleboard Always Innovating is pleased to announce Super-Jumbo for the Beagleboard family (also compatible with Touch Book & Smart Book).

Super-Jumbo a single image which provides four operating systems fully optimized for the OMAP3 chip, and aggregates hundreds of applications already set up for you across the four major ARM operating, i.e. AIOS (complete full features Angstrom fork), Android Gingerbread v2.3, Ubuntu Maverick 10.10, and ChromiumOS (first time ever released for OMAP3). Our single kernel is compatible across the whole Beagleboard and Touch Book families. Last, Super-Jumbo includes the feature to switch at run-time between those four operating systems without any performance loss. Innovation and Open Source at the ELC At Always Innovating, we strongly believe in Open Source.
Installation on a Windows Server with Apache. Note: You will probably need administrative access to the computer you're installing on.

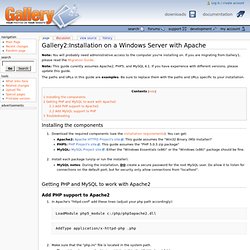
If you are migrating from Gallery1, please read the Migration Guide. Note: This guide curently assumes Apache2, PHP5, and MySQL 4.1. If you have experience with different versions, please update this guide. The paths and URLs in this guide are examples. Be sure to replace them with the paths and URLs specific to your installation. Installing the components Download the required components (see the installation requirements). Getting PHP and MySQL to work with Apache2 Add PHP support to Apache2 In Apache's "httpd.conf" add these lines (adjust your php path accordingly):LoadModule php5_module c:/php/php5apache2.dllAddType application/x-httpd-php .php Make sure that the "php.ini" file is located in the system path.
Add MySQL support to PHP Check the phpinfo() output and see if there is a "mysql" section. Troubleshooting Make sure that "libmysql.dll" is in your system path. "No such file or directory"
DATFile. Fees_for_government_animal_quarantine_cats. Unlabeled. .Net1.1. Coruption. 6.1. Software. Windows Marketplace. Powertoy. Mac OS X as an NFS Client. OverviewI'll discuss the changes necessary to mount NFS filesystems onto a Mac OS X machine.

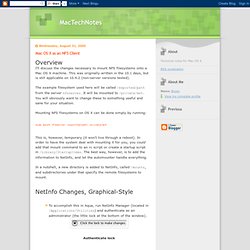
This was originally written in the 10.1 days, but is still applicable on 10.4.2 (non-server versions tested). The example filesystem used here will be called /exported/path from the server nfsserver. It will be mounted to /private/mnt. You will obviously want to change these to something useful and sane for your situation. Mounting NFS filesystems on OS X can be done simply by running: sudo mount nfsserver:/exported/path /private/mnt This is, however, temporary (it won't live through a reboot). In a nutshell, a new directory is added to NetInfo, called /mounts, and subdirectories under that specify the remote filesystems to mount.
NetInfo Changes, Graphical-Style Properties are now setSave changes. This can, of course, be repeated for other NFS mounts. NetInfo Changes, Command LineAdding an NFS mount point via the command line is actually quite simple, once you know the secret. A Few Notes to Know.