
Tutorial: Homemade Sidewalk Chalk. By Michelle Vackar, Modern Handmade Child One of our favorite outside activities at our home is drawing with chalk on the driveway.

You can play hopscotch, four-square, and of course draw and create silly stories. My daughters and I were talking one day as we played hopscotch about how to make chalk and I thought to myself, let’s try it! It ended up being quite a lot of fun. What you will need: • Toilet paper or paper towel tubes • Scissors • Duct tape • Wax paper • Small bucket or disposable container to make the recipe • ¾ cup of warm water • 1 ½ cups Plaster of Paris • 2-3 tablespoons of tempera paint • Paper bag or a “mess mat” ** we made six tubes of chalk – we simply doubled the above recipe Step 1: If you are using paper towel tubes, cut each tube in half, so it is roughly the length of a toilet paper roll tube.
Step 2: Cover one end of each tube with duct table to hold the contents within. Step 3: Cut as many pieces of wax paper as you have tubes. 31 Insanely Easy And Clever DIY Projects. How to make Gak (Slime) We had a few days of rain around here so we made some slime to occupy our time inside.
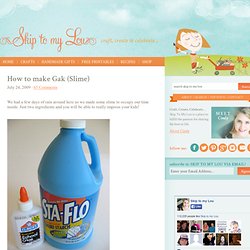
Just two ingredients and you will be able to really impress your kids! To make simply mix equal parts of liquid starch and glue together. We placed 1/4 cup liquid starch into a sandwich bag and added about 3 drops of green food coloring. Next add in 1/4 cup glue Mix well. Take it out of the bag and have fun! Looking for more ways to impress your kids?
Need a way to use up the rest of the starch? You will find other rainy day activities here. Crafty Uses of Everyday Objects (13 Pics) Put your stuff up in the air! Hanging DIY ideas & tutorials. Posted by ScrapHacker.com on onsdag, juni 27, 2012 · 9 Comments To heck with both feet on the ground!
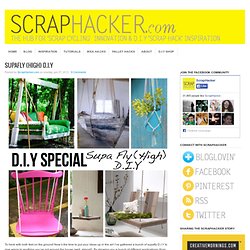
Now’s the time to put your ideas up in the air! I’ve gathered a bunch of supafly D.I.Y to give wings to anything you’ve got around the house (well, almost!). By showing you a bunch of different applications (from chunky sofas to delicate D.I.Y hanging planters) I hope you’ll all find a little something to get your DIY juices flowin’ in the mix – Enjoy! Pics via here The hanging desk is not only cool looking but an awesome space saver! Pics via GreenWeddingShoes, CapitolRomance & Etsy Gotta love the swinging chair! Eleanor from team behind awesome venture SCRAP (a.k.a the School & Community Reuse Action Project), has made a great ”Hanging notepad” tutorial for Etsy – DIY TUTORIAL HERE Hanging Notepad #2! Pics via here Check out the awesome tutorial on how to make a hanging ”Kokedama string garden”, by talented Aura Scaringi of Mimimou for DesignSponge – DIY TUTORIAL HERE. Cake Stands Galore Thrifty DIY! If you are on Pinterest, I am sure you have seen the many ways you can make cake stands using thrifted materials.
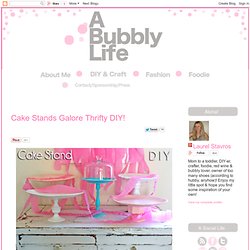
Well, I wanted to do my own for Kalia's first birthday party. I began hunting down materials two months before her party and gathering candlesticks and plates: I looked for candlesticks that had cool shapes and tried to find plates with interesting edges. On a deadline, I finally bought a couple more that were not exactly what I wanted, but I love the way they turned out. I primed, then spray painted my desired colors. *I used Gorilla Glue because it is what I had around house. Spray painted stands are NOT food safe, so be sure to place a layer on the stand when putting any food. The plates ranged in price from $.90 to $1.91 for the larger. I love them, I alternate between the white beauty above and the blue one for my favorite!
Super easy DIY and I think the results are beautiful! 101 Pretty Printables {free} EverythingEtsy.com — Etsy Blog. You knew i was going to make one. They are all over pinterest....
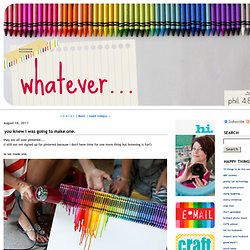
(i still am not signed up for pinterest because i don't have time for one more thing but browsing is fun!) So we made one. i took a box of 64 crayons and took out the blacks and browns.i used another small box and doubled up on the good colors i liked and hot glued them to the top of our canvas. then we turned our blow dryer to hot on high. not long after you set the hair dryer by the crayons they get shiny and then the wax starts to melt! And it dries really quickly too. seriously. what could be happier than this?? GREAT project. loved it today is the first FULL day with ALL my kids in ALL day school.yeah...i am smiling as i type that. it's good. it's quiet.
30 Easy And Cuddly DIY Ideas For Recycling Old Sweaters. Look to inspire.