
Handpicked free fonts for graphic designers with commercial-use licenses. 50 Carefully Selected Photoshop Text Effect Tutorials. Wet Window Text Effect. Step 1 Lets start by laying down a nice radial gradient on the "Background" layer.
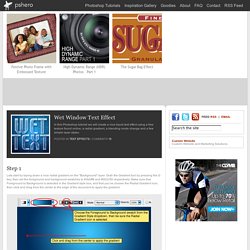
Grab the Gradient tool by pressing the G key, then set the foreground and background swatches to #3bbff8 and #002c59 respectively. Make sure that Foreground to Background is selected in the Gradient style box, and that you’ve chosen the Radial Gradient icon, then click and drag from the center to the edge of the document to apply the gradient. Step 2 Now open the wet texture file you want to use. Step 3 Use the Blend Mode drop down menu at the top of the Layers palette to change the layer’s blend mode to Soft Light.
The Soft Light blend mode lightens or darkens the image depending on the color of the top layer: if the top layer’s pixel is dark, then the bottom layer’s pixel is darkened; if the top layer’s pixel is light, then the bottom layer’s pixel is lightened. Step 4 With the background all set, invoke the Text tool by pressing the T key. Create a realistic folded paper text in Photoshop. Today we will learn how to realize a folded paper text effect from scratch in Photoshop.

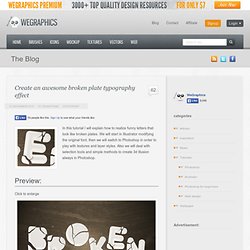
We will firstly create the background using a couple of patterns, then we will work on the type treatment with the help of the pen tool, layer masks and other useful techniques related to dodge,burn and the transform tool. This tutorial is very simple to follow, so I suggest to everyone to give a try. Preview: Click to enlarge Become a Premium Member and get unlimited access to source files and premium resources for only 7$/month. Create an awesome broken plate typography effect. In this tutorial I will explain how to realize funny letters that look like broken plates.
Modern 3D Text Effect. Introduction In this Photoshop tutorial we’re going to step outside my usual Photoshop Only philosophy and use the 3D rendering power of Adobe Illustrator to create a cool little 3D text effect.
Don’t worry noobs, you don’t need to know anything about Illustrator, as usual I’ll coach you through the whole process, but you do need to have it installed on your computer. (*note: If you don’t have Illustrator, you can jump over to Adobe.com and download a 30 day trial version to play around with.) Step 1 – Setting Up The Photoshop File Lets get started by opening a new Photoshop document by choosing File > New from the Main Menu or by using the keyboard shortcut Command-N (PC: Ctrl-N). Photoshop Collage Tutorial multiple images in Photoshop. Tutorials on creating metal type abound online, as do variations on simple liquid effects.
Most are fairly short, offering a good foundation for the reader on how certain effects are achieved but fail to take that extra step (or few steps) to make the piece really shine. How to Create a Copper Photoshop Text Effect. This is a strong and eye-catching text effect, though relatively simple to create.
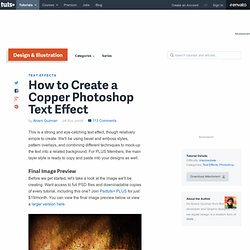
We'll be using bevel and emboss styles, pattern overlays, and combining different techniques to mock-up the text into a related background. For PLUS Members, the main layer style is ready to copy and paste into your designs as well. Final Image Preview Before we get started, let's take a look at the image we'll be creating. Want access to full PSD files and downloadable copies of every tutorial, including this one? Step 1 Copper is a wonderful metal. First, create a new black document, 1024 pixels by 768 pixels this time. Step 2 Since the copper has green tones when it gets old (like the Statue of Liberty in New York, USA).
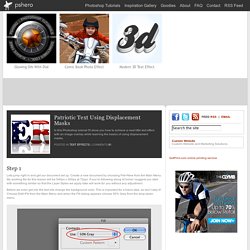
Patriotic Text Using Displacement Masks. Step 1 Lets jump right in and get our document set up.
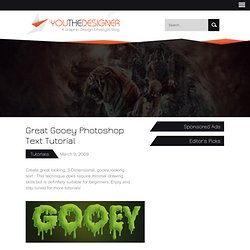
Plastic Jelly Styles. Great Gooey Photoshop Text Tutorial. Tutorials March 9, 2009 Create great looking, 3-Dimensional, gooey looking text .
This technique does require minimal drawing skills but is definitely suitable for beginners. Create a Trendy Typographic Poster Design. This post was originally published in 2008 The tips and techniques explained may be outdated.
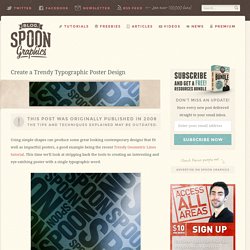
Using simple shapes can produce some great looking contemporary designs that fit well as impactful posters, a good example being the recent Trendy Geometric Lines tutorial. This time we'll look at stripping back the tools to creating an interesting and eye-catching poster with a single typographic word. Find a random image to base the design on, the subject of the photo isn't at all important, just choose a picture with varied contrast and preferably tailored towards your chosen colour scheme. Design a 3D Newspaper Cropped Text Effect. When the older generation were young, and needed to create a school design or anything that involved cropping letters, we often cropped them first from an old newsprint, before proceeding to work with a colored paper.
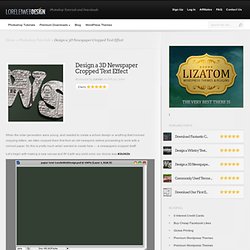
So this is pretty much what I wanted to create here — a newspapers cropped draft! Let’s begin with making a new canvas and fill it with any solid color, our choice was #2b362b: To give it a bit of depth, while the background is still selected, go to Layer Styles (Layer >> Layer Style >> Gradient Overlay) and apply the following settings.. This will give a lighter spot in the middle of the canvas that normally gives nice depth. Now, find online or scan any newspaper pager. Using a huge Cooper Black font, type your word on top of the newspapers layer. Now it’s a little bit tricky for those of you who are still beginners, so please pay attention.. You are now left with 2 layers, cropped from newspapers letters and the typed letters layer, which you can now delete. Grungy Rusted Carbon Fiber Text Effect. Here we’re going to show you how to create a grungy rusted carbon fiber text effect using a couple patterns from Webtreats ETC.
Step #1 First you will need to download the two textures below and convert them into photoshop patterns for later. To do this simply open each image then go to EDIT >> DEFINE PATTERN in the menu. Alternatively, if you’ve downloaded the source files at the end of this post, simply install the included (.pat) pattern set by double clicking on it.) Click here to download all tutorial assets in zip file. Text on Foggy Window. Contact Links Submit News Posts Email Stunning Mesh Your local training center Articles Blogging Clients. Beveled Jelly Text effect in Photoshop. So here is another text effect, this time I tried to make something Sweet effect.
I called it Jelly text effect. Hopefully you will like it while making. 1. Lets start with a new document and give the Radial Gradient (by using Gradient Tool ) with #e1ff01 color in the middle and #95ec00 color around, like: 2. With Hard edges and make some dots having different sizes and #F3FF8D color, like: (to change brush size you can use ‘[' and ']‘) Glittering Text Effect. In this tutorial, we’ll create a sparkly glittering text effect, by using Layer Styles and applying some Filters.
The Final Result. Dazzling Wool Text Effect. In this tutorial, we’ll create a dazzling woven-like text effect, using Photoshop’s Filters and Layer Styles. Because this effect is so busy and uses big bold fonts, it looks better when applied for 1 – 3 letters only. The Final Result Tutorial Details Software Used : PhotoshopVersion : CS5 ExtendedTime : 0:45 – 1:15 Resources. Plasma Cut Text With Shooting Sparks at Design Panoply. Displaced Text.