
Creating Drawing Effect on the Photo. In this Photoshop tutorial you will learn how to create a black and white drawing effect using a photo.
Final Image As always, this is the final image that we’ll be creating: Tutorial Details Program: Adobe Photoshop CS3Estimated Completion Time: 25 minutesDifficulty: Beginner-Intermediate Resources Girl Step 1 Open the image “Girl”. Step 2 Duplicate the background layer by pressing Ctrl + J. Step 3 The hair is a little too black for our purposes so let’s lighten it up a bit. Adjustment Layers are a non-destructive way of performing changes and applying effects to your pictures so you should use them frequently.
Step 4 As you can see the Curves Adjustment Layer has a layer mask attached to it by default. Layer masks allow us to partially or totally hide portions of the layer. Step 5 The results are pretty decent but let’s further improve the drawing effect. Select the chalk brush and lower the size to 2px. Step 6. More Texturing Photoshop Tutorial on Photoshop Contest. By: ledirlo This tutorial demonstrates an effect that gets so photorealistic it led to some cheating controversies in the past. Aside from the interest of the created effect it also gives key layer technique information. The only material needed is these two photos, the crumpled paper and what we want printed on it.
Let's start by opening the two photos and moving the grass photo above the paper's layer; you can turn the grass layer into multiply mode and transform it to get the correct placement. In this case I chose to avoid the darkest tree parts as they don't produce a great effect on the paper. How To Make Digital Photos Look Like Lomo Photography. A Post By: Darren Rowse The following tip on getting digital images to look like Lomo Images was submitted by DPS reader – Frank Lazaro.
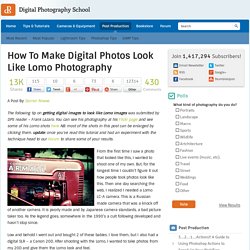
You can see his photography at his Flickr page and see some of his Lomo shots here NB: most of the shots in this post can be enlarged by clicking them. update: once you’ve read this tutorial and had an experiment with the technique head to our Forum to share some of your results. From the first time I saw a photo that looked like this, I wanted to shoot one of my own. But, for the longest time I couldn’t figure it out how people took photos look like this. Then one day searching the web, I realized I needed a Lomo LC-A camera. Low and behold I went out and bought 2 of these babies.
I searched and searched and after trying several different Photoshop methods, I finally came up with my own using a mix of different techniques. Get Free Weekly Digital Camera Tips via Email. Changing Hair Color . Adobe Photoshop CS3 Tutorial. Steps for Changing Hair Color This is the final output.As you can see, there are two different colors on the hair-Green and Red.
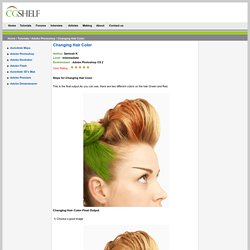
Changing Hair Color-Final Output 1) Choose a good image Good Hair Image 2) Choose the Pen Tool to select a particular area of hair. After that press Ctrl+Enter to make selection. . Pen Tool 3) Add a new layer(Ctl +Shift + N) and paste(Ctl+ V) the copied area on the same place. Coloring Effects » LoonDesign. Today we will have a photo edit tutorial and sure, it is simple and easy to follow as usual.
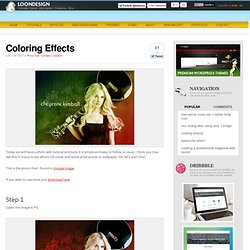
I think you may see this in many music album CD cover and some artist poster or wallpaper. Devil's Eye. Creating Energy Spheres in Photoshop. For this tutorial you’ll want to find a photo of someone doing something that looks a bit larger than life.
I used this photo that I found at the stock photo website Stock Exchange. For this tutorial you’ll need a photo that you want to manipulate and some special brush sets which I downloaded from here. This will be the final result. Download the brush set and install it. Now I’ll show how to take a child with a big imagination and turn him into the powerful being he imagine himself to be. I grouped these together then, using the technique from Step 7 again, I use layer masking to block one half of the sphere I created. How to turn your photo into movie-like effect using Photoshop? « ebin. What you need to have: Adobe Photoshop What you will learn: colour mood adjustments + depth of field effect + film effect PS: ⌘ key for Mac users / CTRL key for Windows users Colour mood adjustments 1.
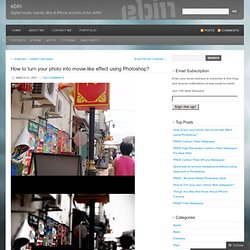
Adjust the Hue/Saturation: ⌘U/CTRL-U 2. Adjust the brightness and contrast: Menu > Image > Adjustments > Exposure… Depth of field effect. Watercolor Effect » LoonDesign. As my tutorial had been choose for the Top Ten in June by NI-LIMITS BLOG.
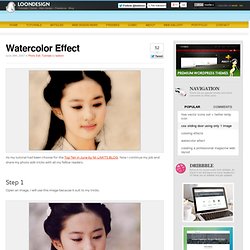
Now I continue my job and share my photo edit tricks with all my fellow readers. Step 1 Open an image, I will use this image because it suit to my tricks. Step 2 CTRL + J, duplicate the image. Step 3 CTRL + J again to duplicate layer 1 and you will get a new layer which labeled as “layer 1 copyâ€. Step 4.