
Laser Disco Nail Art Tutorial. The Digi Nails - A Hybrid Manicure & The Hybrid Chick. I’ve been seeing lots of outrageous nail art lately on pinterest.
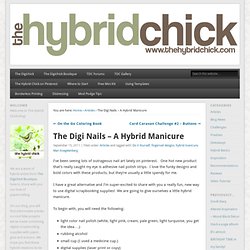
One hot new product that’s really caught my eye is adhesive nail polish strips. I love the funky designs and bold colors with these products, but they’re usually a little spendy for me. I have a great alternative and I’m super-excited to share with you a really fun, new way to use digital scrapbooking supplies! We are going to give ourselves a little hybrid manicure. To begin with, you will need the following: light color nail polish (white, light pink, cream, pale green, light turquoise, you get the idea….)rubbing alcoholsmall cup (I used a medicine cup.)digital supplies (laser print or copy)nail polish topcoat 1) Before getting started, quickly measure your fingernails. 2) Open a new Photoshop document and create for yourself 10-15 boxes that are a little larger than your nails. 3) Find some great papers that you’d like to have on your nails. 4) Print your page. 5) Paint your nails with your light colored nail polish.
Galaxy Nails Tutorial - Nails and Noms. Allo!

Better late than never, here’s my tutorial for the galaxy nails I created for day 19 of the 31 Day Challenge. What’s great about this look is that there’s not really a wrong way to do it. It doesn’t have to be precise, and it’s almost better if each nail looks slightly different from one another. This is my first tutorial so let me know if I left anything out or if any of the steps are confusing! ^_^ Galaxy Nails Tutorial 1. 2. 3. 4. Makeup Savvy: Dazzle Dust Nail Tutorial. I've been wanting to try out paint splattered nails for ages now, however it seems like alot of hard work and also kind of messy!
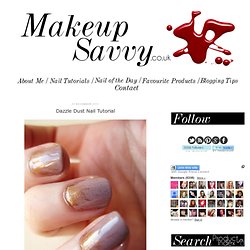
So me being supposedly 'savvy' and all I came up with a probably just as messy idea...but slightly more fun and prettier. Also it looks alot more delicate than having a paint splattered effect and alot less nail arty and more wearable. Now like I say... it is kind of messy so you will need at least one face wipe/baby wipe and something to do it on like the back of a magazine. Also your nail polish of choice and a pigment or dazzle dust! I used a Barry M Dazzle Dust in Brass (100) £4.50 and the nail polish is by Beauty UK in Smokey Lilac £1.79. 1) Firstly you need to give your nails one coat of nail polish. 2) Once dry you can apply the second coat. 4) You can either place the pigment on every finger all in one go or do one nail at a time. 5) Then you basically blow the pigment in the direction of the nail.
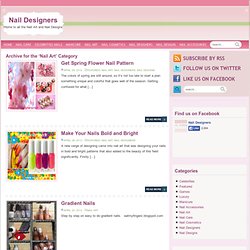
At this stage your nails will look something like this! Nail Designers. Get Spring Flower Nail Pattern April 28, 2012Featured, Nail Art, Nail Designers, Nail Designs The colors of spring are still around, so it’s not too late to start a plan something unique and colorful that goes well of the season.
Getting confused for what […] Half Moon Nails — Pretty Shiny Sparkly. Water Marble Nail Art - Just Five Steps Away!