
Iron on decals from plastic shopping bags. I've been playing around with this idea for a while (you can tell from the Christmas tree in the background of a few of the photos).

It's quite fun and a good way to cover up stains that can't be removed from well, nearly all the tshirts my kids have. Online : How-To: Make cheap castable silicone from caulk. Simple, elegant garage casting hack here from Instructables user mikey77, who calls the stuff “Oogoo,” which is, I think, a portmanteau of “Oobleck” and “Sugru.”

If you’ve ever bought casting silicone, you know it can be pretty expensive. If, seeking a cost-saving alternative, you’ve ever experimented with making castings using the dirt-cheap silicone caulk they sell at the hardware store, you know that it doesn’t work very well. Large volumes set up very slowly, if at all. Turns out, though, that mixing in some cornstarch accelerates the drying process; just how much depends on how much starch you add.
How to use a metal letter stamp set with clay? In July, I saw the new exchange program on Totally Tutorials.
The idea behind it is that suppliers offer supplies in exchange for a tutorial. Posterized Image Stencil. How to make gift bags from envelopes. Perfect Summer Bangle. Here's a fun tutorial on how to make a message bangle that's one-of-a-kind, done in the sun, waterproof and weatherproof.

Even after several trips to the beach, it won't fade or wash off! Essentially, it's the Perfect Summer Bangle. Used in this tutorial: Inkodye Red Prepare. All you'll need for this project is a raw wooden bangle (we got ours from DIYBangles.com), a black paint marker, plastic wrap, and some Inkodye! Transcribe. Perfect. My Family Tree Shadow Box. I've been wanting a Family Tree of sorts for a while now, a few ideas have been tossing around in my head.

I'm a visual person, the type that doesn't really read the articles in magazines, just scans through to see the pictures. Which is ironic- being that English was my favorite subject and our Dad is an Editor/Journalist. So when we girls wanted to do something inspired by Martha Stewart 2 ideas came to mind..... 30 Days For 30 Dollars - Day 30 - A Tiny Little Library to Wear. Wondering what 30 Days for 30 Dollars is??

Read all about it here. Day 30!! 30 days of craft projects all for a total budget of 30 dollars - and I actually came in just under budget at $29.25So, for the finale, I have . . . Little Wire Bird Nests. Sweet tiny wire nests!

So pretty added to product, collage, or even hanging from a delicate chain or ribbon and worn around your neck. Nests to me always represent motherhood, so I am especially fond of them. Above are photos of a couple on my Nest and Home bottles that were sold through my Etsy shop. I use 24 guage wire, (brass, silvertone or sterling silver) and little cultured pearls or pearly-looking beads. You can find the little pearls through most jewelry/bead suppliers. Thread the beads onto the wire. Turn, bend the wire around the beads threading back through itself here and there.
Using round-nose jewelry pliers or needle-nose pliers, bend, kink and twirl the wire further. Here’s the finished nest with extra wire curls extending and tucked into yet another watch case! New England Through Yummy Moms Eyes: Tutorial: Photo Wood Blocks - StumbleUpon. Provo Craft is the innovative maker of Cricut and other great consumer... - StumbleUpon. Origami Paper Box - StumbleUpon.
Oriversity: Practical Lessons. How to Make Crayon Monogram. Copycat Crafts - StumbleUpon. You knew i was going to make one. They are all over pinterest....
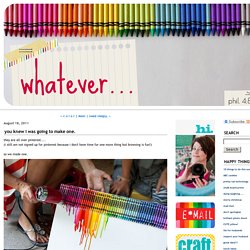
(i still am not signed up for pinterest because i don't have time for one more thing but browsing is fun!) So we made one. i took a box of 64 crayons and took out the blacks and browns.i used another small box and doubled up on the good colors i liked and hot glued them to the top of our canvas. then we turned our blow dryer to hot on high. not long after you set the hair dryer by the crayons they get shiny and then the wax starts to melt! And it dries really quickly too. seriously. what could be happier than this?? GREAT project. Craftaholics Anonymous - StumbleUpon. How make tiny candles using old bottle caps!
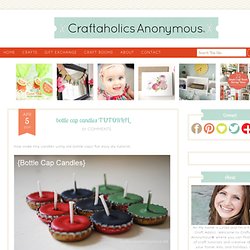
Fun easy diy tutorial. these tiny candles are a really fun to make and come together quickly. AND you can up-cycle several materials in the process, which makes this a fabulous Earth Day craft :) {Earth Day is April 22} to make these colorful tiny candles, i used several materials that usually end up in a land fill: bottle caps, broken crayons, and empty soup cans. the only thing i bought to make them was the pre-waxed wicks which cost me $1.50 for a set of 12. Iphone app magnets.