
GIMP Magazine. Fake HDR Look in Gimp GIMP Tutorial. JD Smith: Code - Exposure Blend. Exposure-blend: A GIMP plug-in for contrast blending 3 bracketed images.
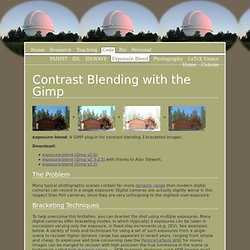
Download: The Problem Many typical photographic scenes contain far more dynamic range than modern digital cameras can record in a single exposure. Digital cameras are actually slightly worse in this respect than film cameras, since they are very unforgiving to the slightest over-exposure. HDR tutorial: how to create HDR photos with free Qtpfsgui and GIMP. Today, most businesses want a website.
Some already have one. Others want one. They don’t want to hire IT staff and probably can’t afford any. And in most cases, an in-house IT staff, especially for your typical small business, just isn’t necessary. But, that doesn’t mean that you have to go without or will be forced to use some cookie cutter website or a personal Frontpage experiment gone awry. FX Foundry - Retouche Libre. More GIMP Tricks for Doctoring Images (part 2) - Many Ways to Make Selections.
Many Ways to Make Selections November 11, 2010 By Akkana Peck In a previous article, I wrote about some basic tricks for cutting objects out of your photos.
But you can get a lot more flexibility and control by adding a few advanced techniques. Suppose you've spent a lot of time carefully selecting a figure in a photo (Figure 1). figure 1 You use the Quickmask to paint carefully over those thin legs and antennae. Saving your selection The first goal is save your selection so you don't lose it: Select->Save to channel. Figure 2 Initially the channel is named "Selection Mask copy".
Now it's safe to start changing the selection, knowing you won't lose all your earlier work. GIMP Tricks for Isolating Parts of Images - Erasing to Alpha. Erasing to Alpha October 28, 2010 By Akkana Peck.

Enhancing the colors of your photos. There are many different ways to enhance the colors of your photos using the Gimp.
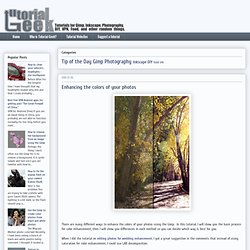
In this tutorial, I will show you the basic process for color enhancement, then I will show you differences in each method so you can decide which way is best for you. When I did the tutorial on editing photos for wedding enhancement, I got a great suggestion in the comments that instead of using saturation for color enhancement, I could use LAB decomposition. I played around with it a bit and it has some interesting results. Before I show you all the different methods for color enhancement, I will show you the basic process. Step 1 - Prep The photo. 60+ Best GIMP Tutorials of 2010. The Gimp is a fantastic and free piece of software that can run on all major operating systems and can do nearly any graphic related task!

I have been using GIMP for over two years now and really appreciated the many tutorials I had at hand for when I was starting out. Since the early days I have produced my own tutorials in an effort to give back to the open source community and so the purpose of this post is to share and acknowledge the hard work that people have put in into making these great tutorials of 2010! Best GIMP Tutorials of 2010. Tutoriel Gimp et Digiscrap. Tutoriaux The Gimp. Liquid Rescale. Tutorial - Liquid Rescale GIMP plugin. In this section there are some tutorial videos.
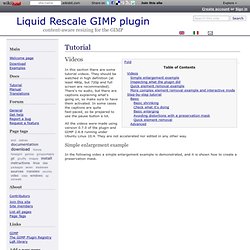
They should be watched in high definition (at least 480p, but 720p and full screen are recommended). There's no audio, but there are captions explaining what's going on, so make sure to have them activated. In some cases the captions are quite fast-paced, so be prepared to use the pause button a lot. All the videos were made using version 0.7.0 of the plugin and GIMP 2.6.8 running under Ubuntu Linux 10.4. They are not accelerated nor edited in any other way. Simple enlargement example In the following video a simple enlargement example is demonstrated, and it is shown how to create a preservation mask. The image of the video was taken from this link and is distributed under Creative Commons Attribution/Non-Commercial/Share-Alike.
Inspecting what the plugin did Quick element removal example The following video demonstrates how to quickly remove simple objects from an image with few clicks. More complex element removal example and interactive mode. Penguin Pete's Blog. Really, this tutorial will be about masking: taking a photograph and separating a foreground subject from the background, for the purposes of doing something interesting with it.
This kind of subject may prove unsatisfying, because when you sit down to write a tutorial, you're free to pick whatever nice clean image you want as your subject. In the real world, clients come to you with fuzzy, blurry, low-res JPGs that have been saved numerous times, with a whole circus of noise in the background. So that's how these masking tutorials make it look so easy: we cheat. If you find this work to be slow, frustrating, and tedious, you're right: masking is just like that, and takes some skill to pull off. So, for our nice, clean, no-hassle subject image, we'll use this Model-A Ford photo from Wikimedia Commons.