
Pattern drafting. You need 1 18″ reversible nylon closed zipper2.5 yds. of shell fabric, 60″ wide1.5 yds. of liner fabric, 60″ wideCoordinating thread1 roll of kraft paper or pattern-making papper1 tracing wheel On a sheet of kraft paper, draw a straight line about 2″ from the edge along the length.

In the middle of this line, mark point 1. 2 from 1 = 29″ 3 from 1 = 29″ 4 from 1 = 29″ Connect points 2, 3, 4 with an arc radiating from 1 as shown. 5 from 1 = 1 ½” 6 from 1 = 3 ½” 7 from 1 = 4 “ Connect points 5 and 7 with a shallow curve. Join points 6 and 7 with a deep curve as shown. 8 is located midway between point 6 and 3. Square down from 7 and across from 8 to locate point 9. 10 from 5 = 1 ½” 11 from 7 = 1 ½” Connect 10 to 11 with a curved line parallel to line 5-7.
Draw a tangent line from 11 passing through point 9 and continue to locate 12 at the intersection. With a tracing wheel, trace out onto a new sheet of paper the following from this draft: Free PDF Sewing Pattern – Boy’s Vest Size 4-5T. I so wanted to have this vest pattern up before Easter, but I ended up testing for my little guy up until the night before.
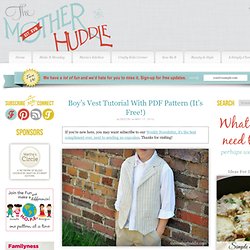
Although, who needs a holiday to get dressed up, right? I so love this style, it’s polished with a little formal thrown in, but depending on the fabric and shirt worn with it can be very fun and playful. Top-Toberfest: Peter Pan Collar Tutorial with Erin of Sutton Grace. It surprises me how many people I know that have craft blogs.

I know people from high school, people from college, and people from church. Our guest poster today is someone that I know through family, but didn't meet in person until after I'd found her blog. I'm pretty lucky to share a sister in law with her, and was thrilled when I got to meet her in person this past summer. Erin, of Sutton Grace, is not only extremely talented, but she's a doll as well.
She has a Top-toberfest tutorial that I am eager to try out. Hi! I loved it so much I added peter pan collars to matching store bought dresses for my daughters. 5- Find the center of the front piece. 9- Remove all the pins except the two holding the front and back pattern pieces together at the shoulder seam. 10- Pin and cut out your pattern piece on fabric that is folded on the bias. 11- With your two fabric pieces right side together sew along the bottom edge. 12- Find the center front of your shirt. Finished!
Free Front Or Back Tie Pillowcase Dress Pattern & Tutorial. Hello friends!
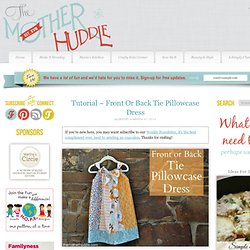
Today I have a front tie or back tie option that I am excited to add to the Fat Quarter Pillowcase Dress collection. Using a front tie is a great way to make a pillowcase dress look a little more formal, and a back tie is a great option for keeping little fingers from untying the bow. You could of course use this idea for any pillowcase dress pattern, and I will explain how to do that as well.
I made this dress to fit a size 4T so I made a big sash, to make a big bow – but you could make that sash any size you want. 71836950.pdf (Objet application/pdf) A simple skirt. With spring and summer upon us, it’s time for skirts!
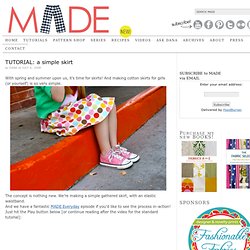
And making cotton skirts for girls (or yourself) is so very simple. The concept is nothing new. We’re making a simple gathered skirt, with an elastic waistband. And we have a fantastic MADE Everyday episode if you’d like to see the process in-action! Just hit the Play button below [or continue reading after the video for the standard tutorial]: If you’ve made a gathered skirt before then you know how easy it is. It’s lightweight and bouncy. For sharing ice cream, and sharing secrets. It’s a skirt that’s just, you. Make it a single or double layer. Make it as detailed or as simple as you’d like. Ready to sew? FABRIC:* Fabrics to use - lightweight cottons (such as broadcloth, batiste, chambray, seersucker, voile) - lightweight knits (such as jersey.
The diagram below shows what your pattern piece looks like. Let’s define it a bit more. . * Skirt Width: Measure around the entire waist and then double it. Then iron out your seam. Voila!