
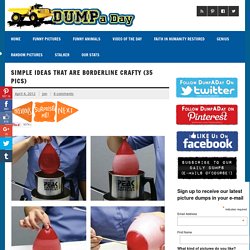
String bowl. In this tutorial you’ll learn how to make a sculptural string bowl for your home. This is the kind of satisfying DIY project that is not only extremely straight-forward to make, it also only requires just a few basic supplies. And the end result is nothing short of hand-crafted heaven! Let’s get started. Supplies 250ml bottle of fabric stiffener. Step 1: Prepare the Materials Cover the outside of your bowl with cling film, making sure the ends of the film wrap over into the inside of the bowl.
Cover your work surface. Pour some fabric stiffener into the other bowl. Cut 12 lengths of string measuring about 110cm (42 in) each. Step 2: Soak the String Wind the lengths of string around your fingers to form a neat roll. Place the string in the bowl with the fabric stiffener. Step 3: Make the String Bowl Start wrapping the string randomly around the bowl. Use eight or nine pieces of string and the bowl should be pretty well covered. Step 4: Strengthen the Overlaps Step 5: Leave to Dry. Rope vasen. These rope coil vessels are quite meditative to make.

I found the repetition of the stitches gave me a sense of stillness as I sat in the autumn sun making them. There are various methods of making rope coil bowls and baskets, and the traditional way of stitching is more uniform than I have made mine. In my tutorial the placement of the stitches is random and I love the texture and visual interest that results from this method.
Rope coil vessels are very sturdy and you can make them in any size or shape you like. Mine have straight sides (well, handmade, wonky/straight sides!) Click on the link below for the full step by step tutorial. You’ll need: Cotton rope. Craft Ideas. Click Here For More Amazing Ideas.
DIY: Decoupage. Also known as DIY Mod Podge **Update - Click here to see our VIDEO tutorial and get to know us a little better :) Don't you guys love Pinterest?
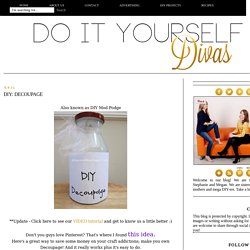
That's where I found this idea. Töpfe mit Moos. Hello!
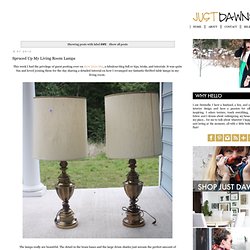
I'm Vicki, Dawnelle's mom, visiting today from over at HomeVestures to share a fun project with one of my favorite materials while Dawnelle is spending time with her sweet new baby. So here we go! Moss has a very chic element in design. Today we see moss holding hands with the vintage beat, and lending good 'Feng Shui' to modern and contemporary spaces. So many top merchandisers have been using moss to accent and showcase their products. We are going to create a fabulous center piece. We like assorted sized cans...but, matching cans could be stunning as well. Moss doesn't have a deep root system, it kind of grows on top of the ground and so there's not much in digging it up. If you have moss growing in your back yard, it's like striking GOLD! It grows in the shadows of the trees where it's cool and damp. We moulded the moss into the cans to create smooth clean edges.
You can bring it inside and it doesn't need alot of light or water. Vicki BTW background music while posting... DIY-Origami_Heft10_Boxen. Wallflowers. I never seem to grow tired of flowers.
And this version reminds me of being a kid, with a grown-up twist. Did you ever make those tissue paper flowers in grade school? You know, where you fold them up like a fan and then pull the petals back? Yep, that’s what we’re doing here! But by using paper napkins, instead of tissue paper, the flowers have a more structured hold. And the white ones look like real magnolias to me. DIY Marbled Glassware.
When graphic designer and artist Joanna Bean Martin shared with us her technique for marbling the bottoms of glassware with nail polish, we couldn’t wait to try it ourselves.
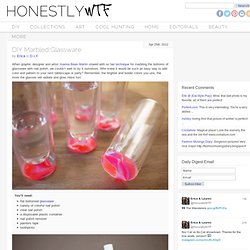
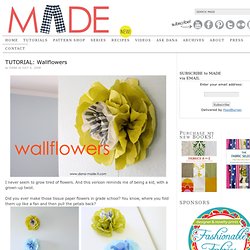
Who knew it would be such an easy way to add color and pattern to your next tablescape or party? Remember, the brighter and bolder colors you use, the more the glasses will radiate and glow. Have fun! You’ll need:flat bottomed glasswarevariety of colorful nail polishclear nail polisha disposable plastic containernail polish removerpainters tapetoothpicks Mask off the bottom of the glass with painters tape. Fill a disposable, plastic container with water. Simple DIY: How to Tint Bottles and Jars - Its Overflowing. April 16, 2012 by Aimee • Here is one of my favorite, SIMPLE Craft/Decor tips… How to Tint Bottles and Jars with Mod Podge, Water, and Food Coloring!
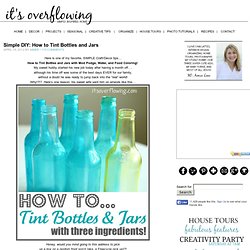
My sweet hubby started his new job today after having a month off…. although his time off was some of the best days EVER for our family, without a doubt he was ready to jump back into the “real” world! Why!?!? Honey, would you mind going to this address to pick up a box on a random front porch {aka, a Freecycle pick up}?! Usually, he rolls with it, but picking up a box of used beer bottles totally weirded him out! You can use any jar for this tutorial! Microwave 3 Tablespoons of water for 30 seconds, then add a lot of gel food color and dissolved FULLY. Mix the mod podge solution with a regular spoon or knife.